Bicycle Baggage Net From Old Inner Tube
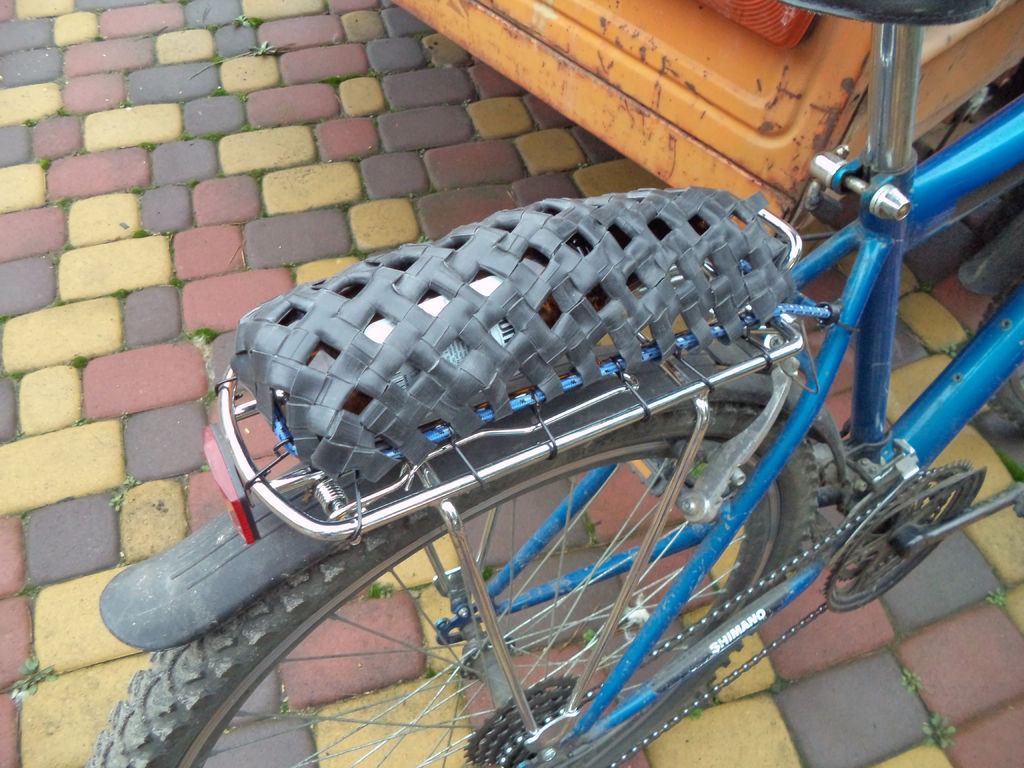
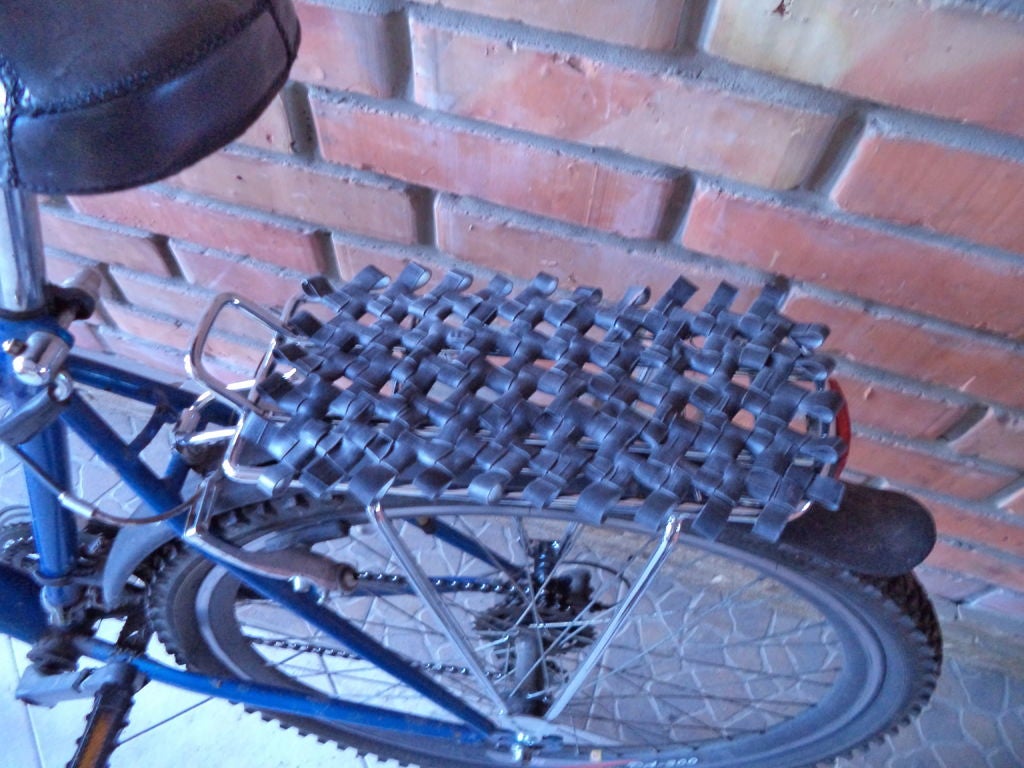
A bicycle baggage net meant to be used on your bicycle rack for fixing your baggage on place in convenient and secure way. Can hold glass bottles, oddly shaped things or multiple things of smaller sizes. Made from a net like structure, made by interlinking rubber rings cut from bicycle inner tubes.
It is flexible yet firm and resilient, so it shapes around the object and provides reliable grip without unwanted vibrations.
Here’s some points on the usage abilities this baggage net has:
– Semi-fragile objects. Like bottles and jars. The rubber is really not slippery, the net shapes around the object holding it really firm without rattling around.
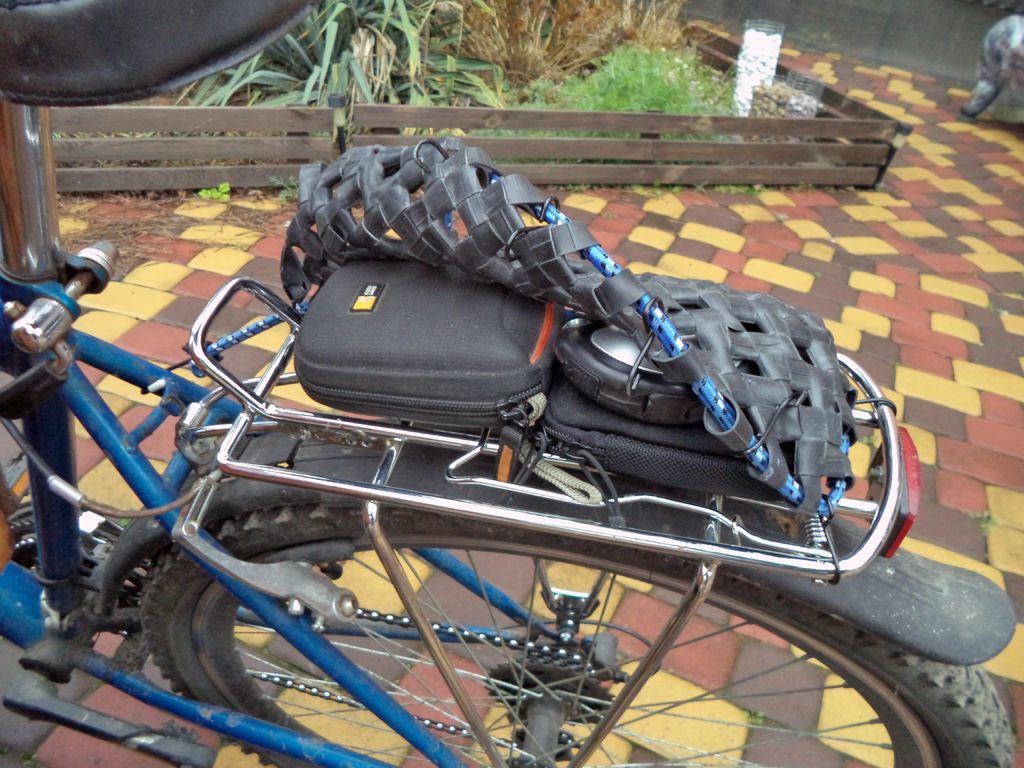
– Multiple objects. This is definately something, regular bicycle rack is not very capable of.
– Irregular shaped objects. Such as firewood.
– Human beings. You can fold your coat, sitting mat or a towel, and put it underneath the net, thus making the trunk a perfect comfortable sitting place for a reasonable sized passenger.

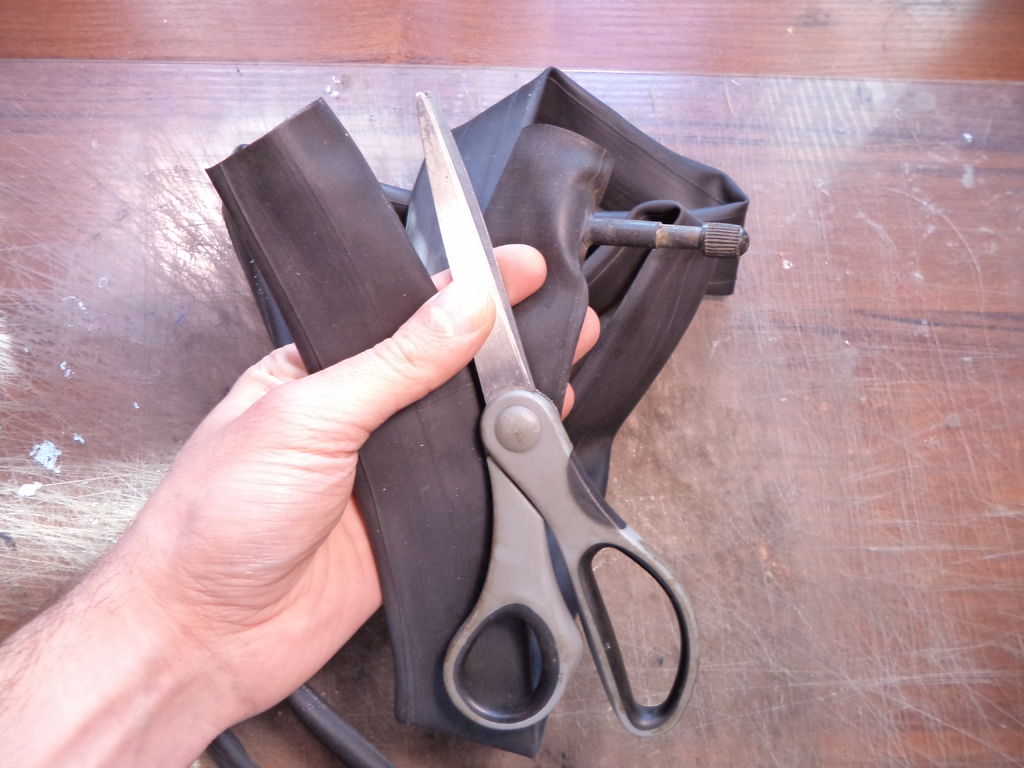
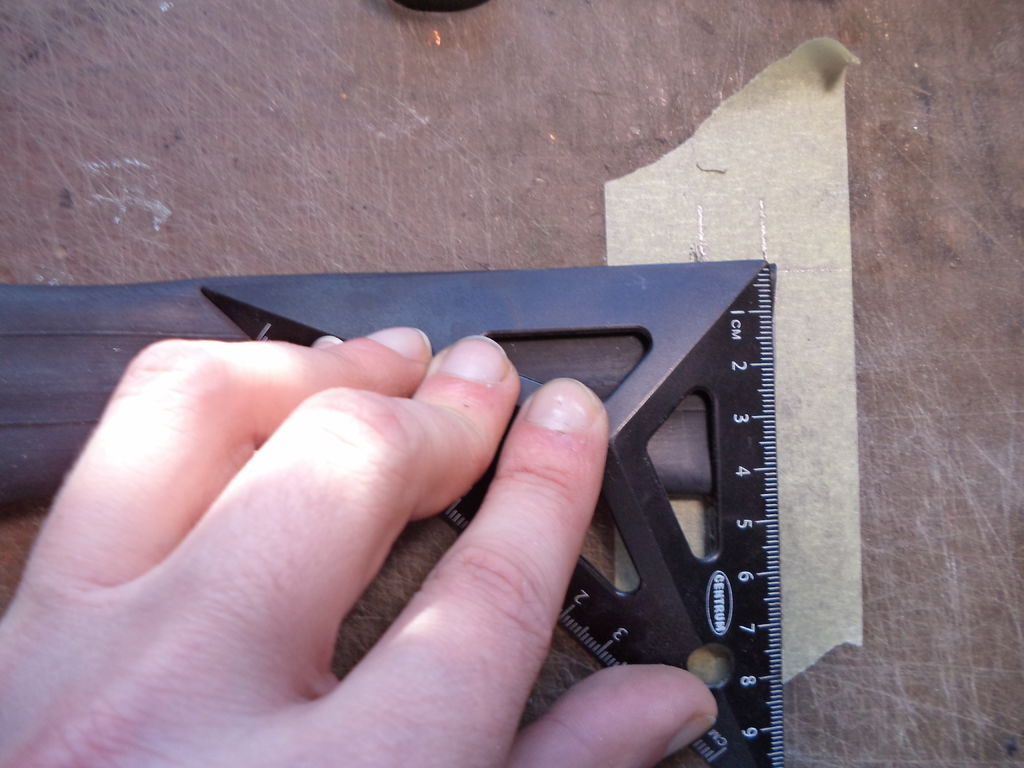
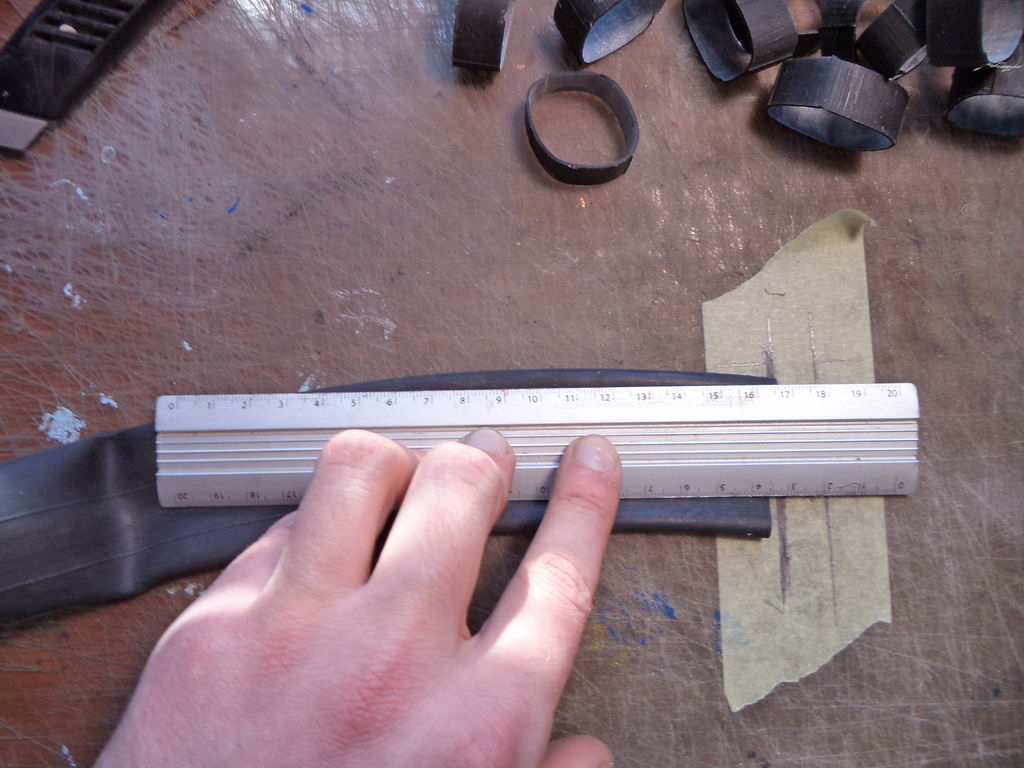
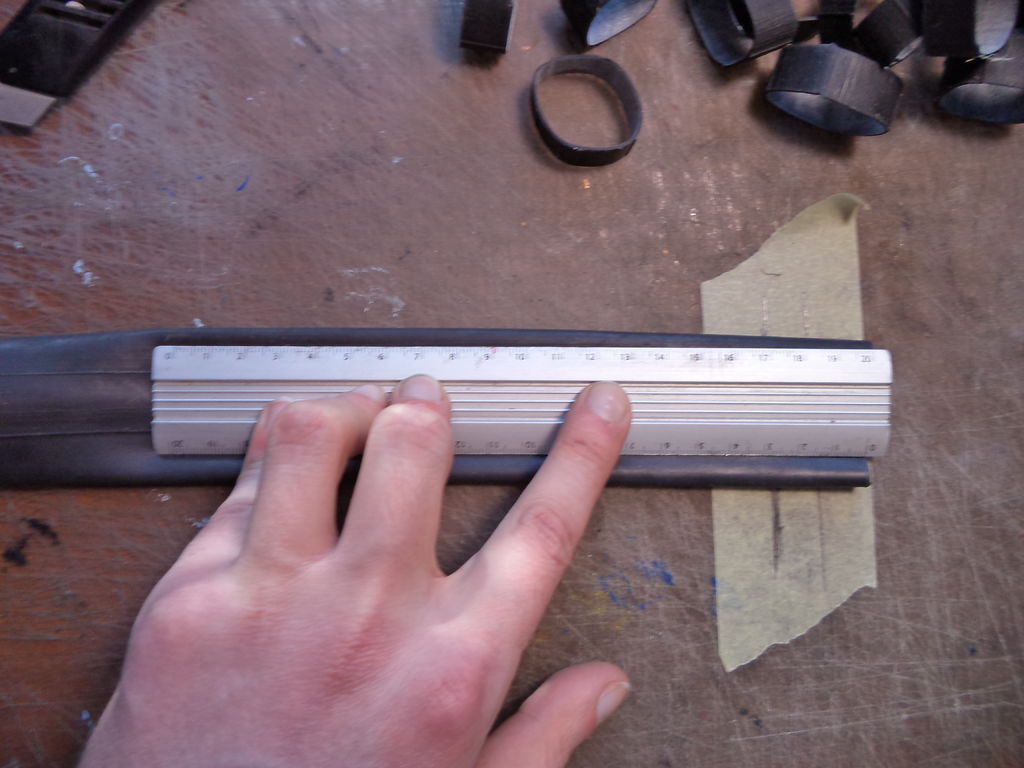
1. Cut inner tube into rings
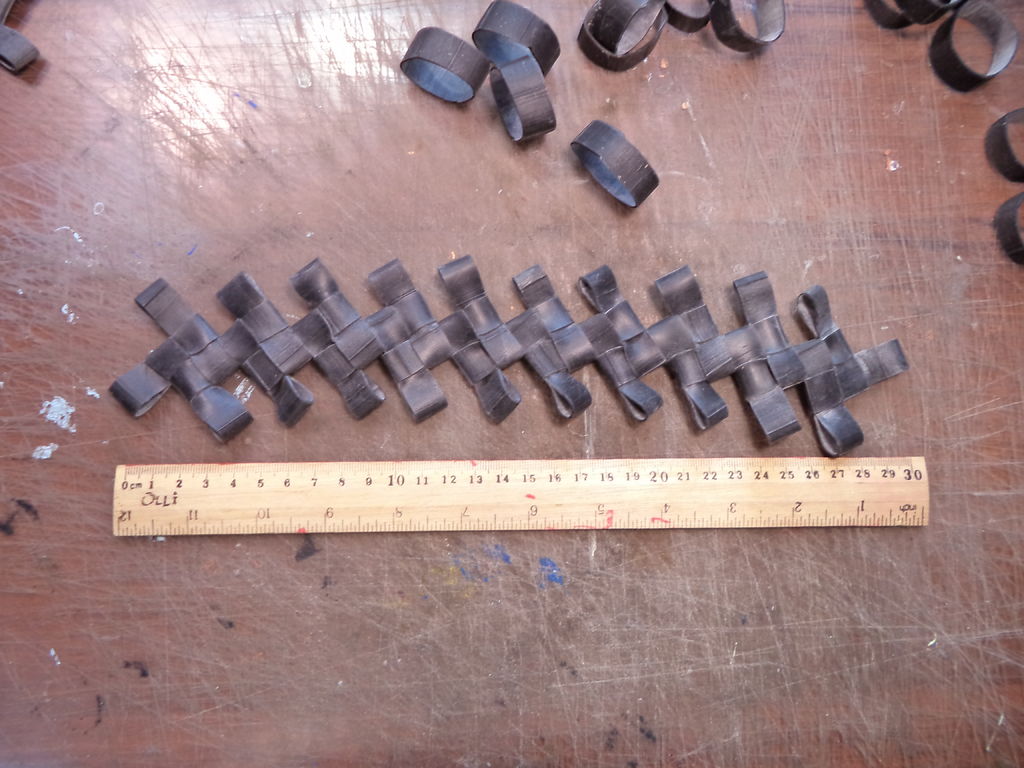
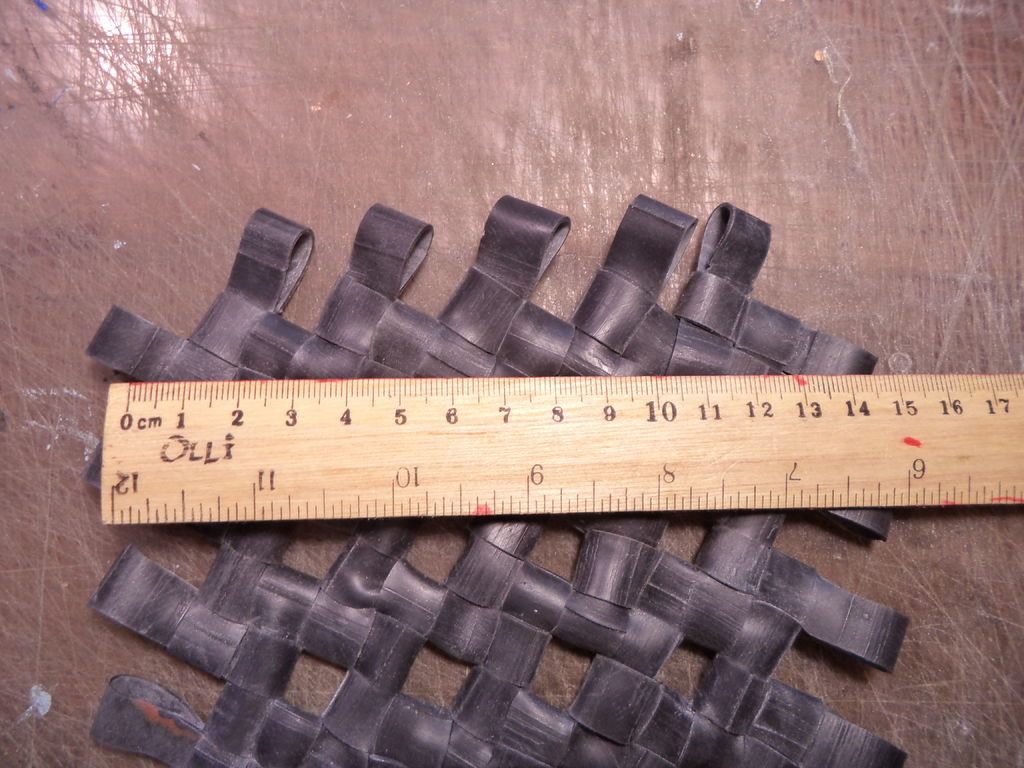
Decide on the size of the net you want. What I was aiming for is the size of my bicycle rack ~13X30cm, and this is roughly the size one regular inner tube can provide ( I added one more row of modules than shown on the photos to make the piece longer, and still I had 15-20 rings left).
If you want a bigger net, count for more than one tube. You can make it any size you need.
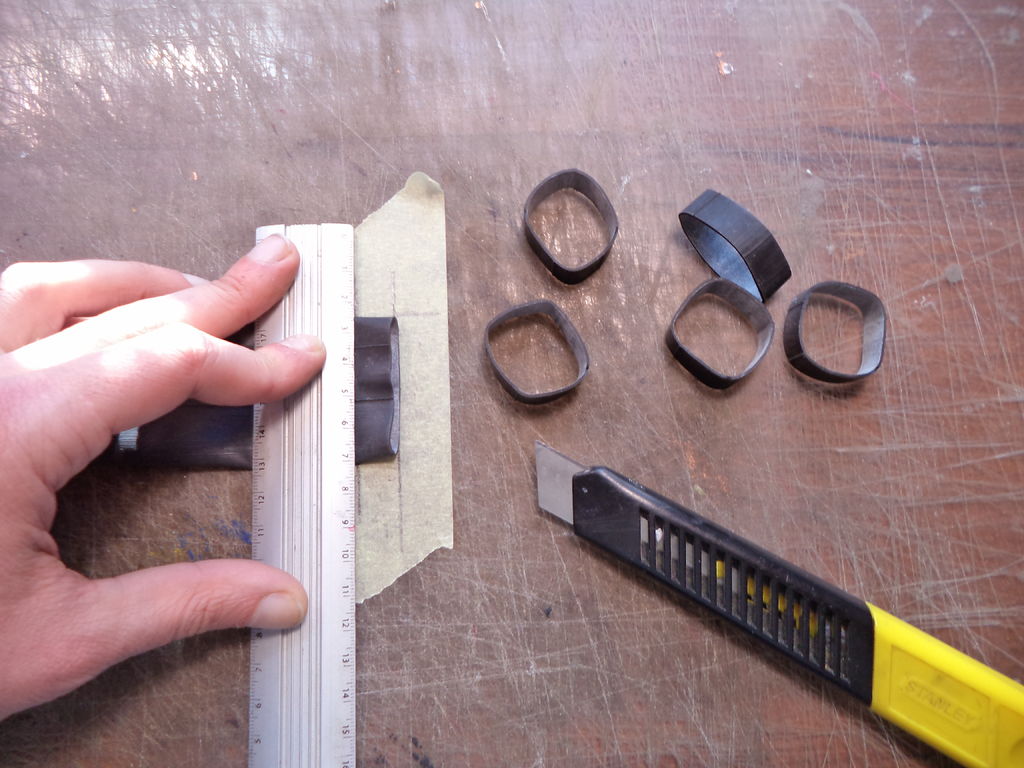
To draw the pattern correctly, you need to know the width of the ring. In his instructable, Idea63 says, that it has to be equal to 1/4 of the length, which is correct in theory, but in practice, you want to have them a couple millimetres narrower. When cutting the first batch of rings I had the width equal 12mm, which is exactly 1/4 of 46mm of the tubes width (which is also the length of the rings, which is also a bit confusing, but you know, what I mean). Anyway, those rings were a bit too snug for the interlinking. 10mm of the second batch were much better fit. Make a few and try them out before cutting the rest.

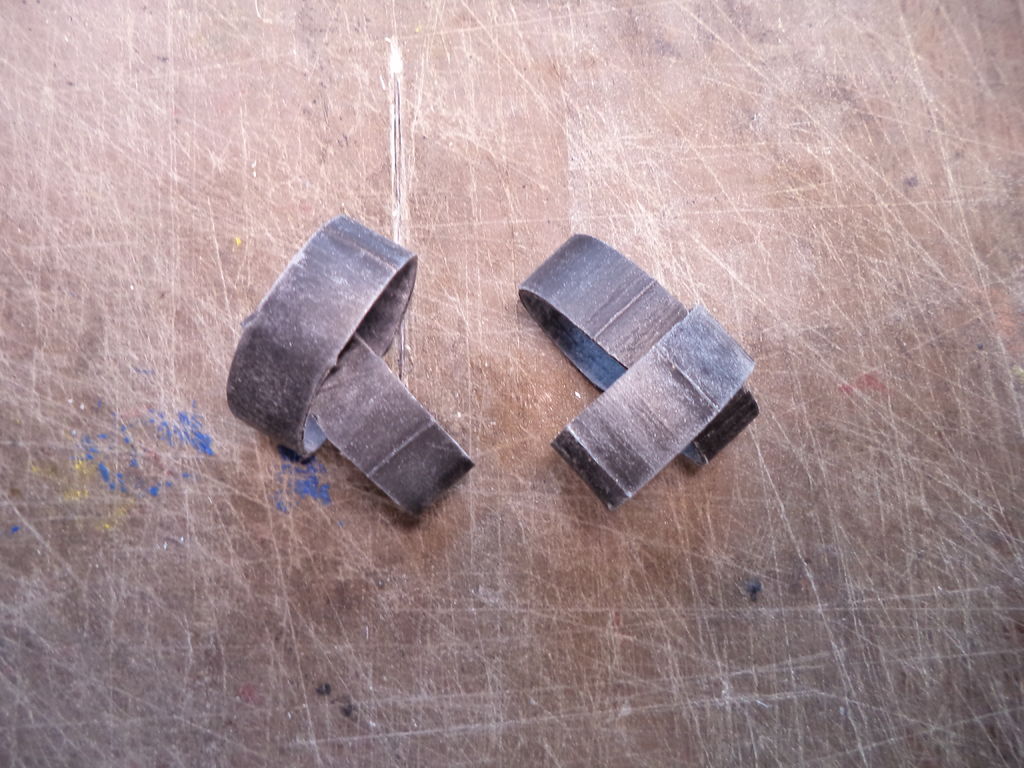
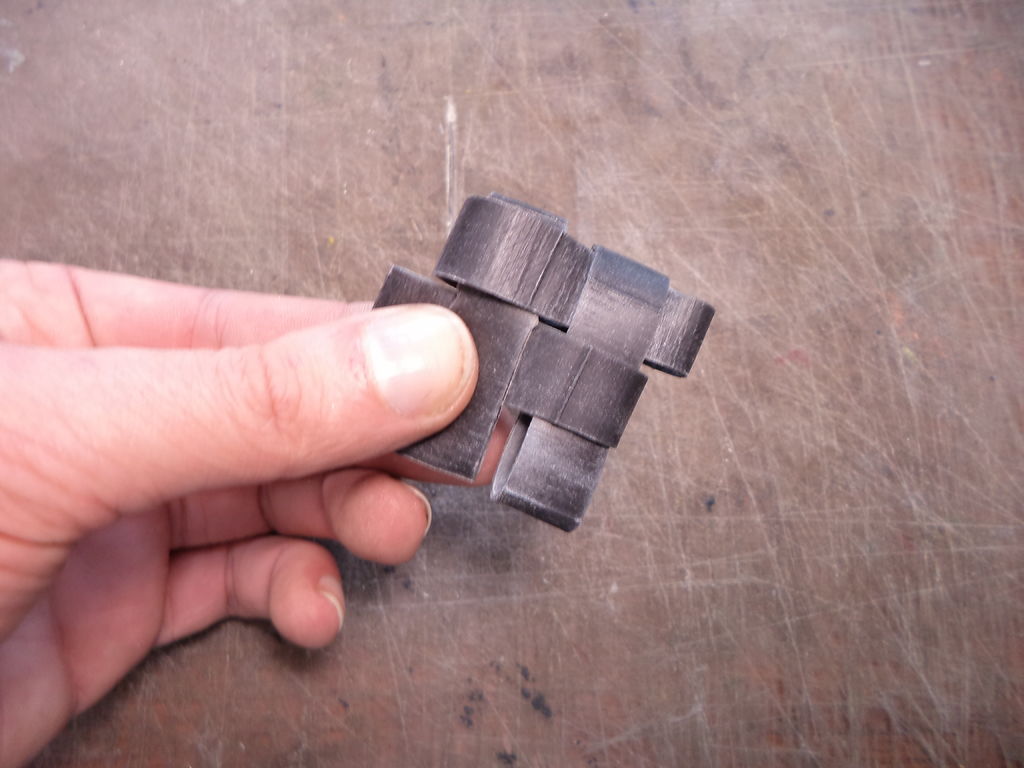
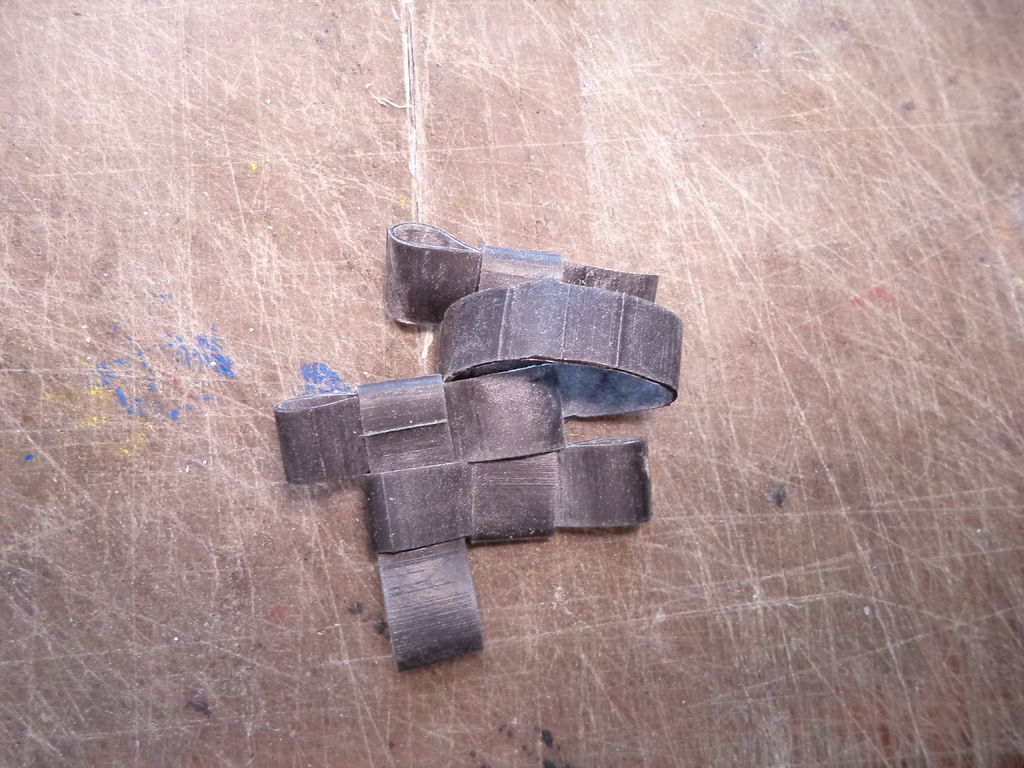
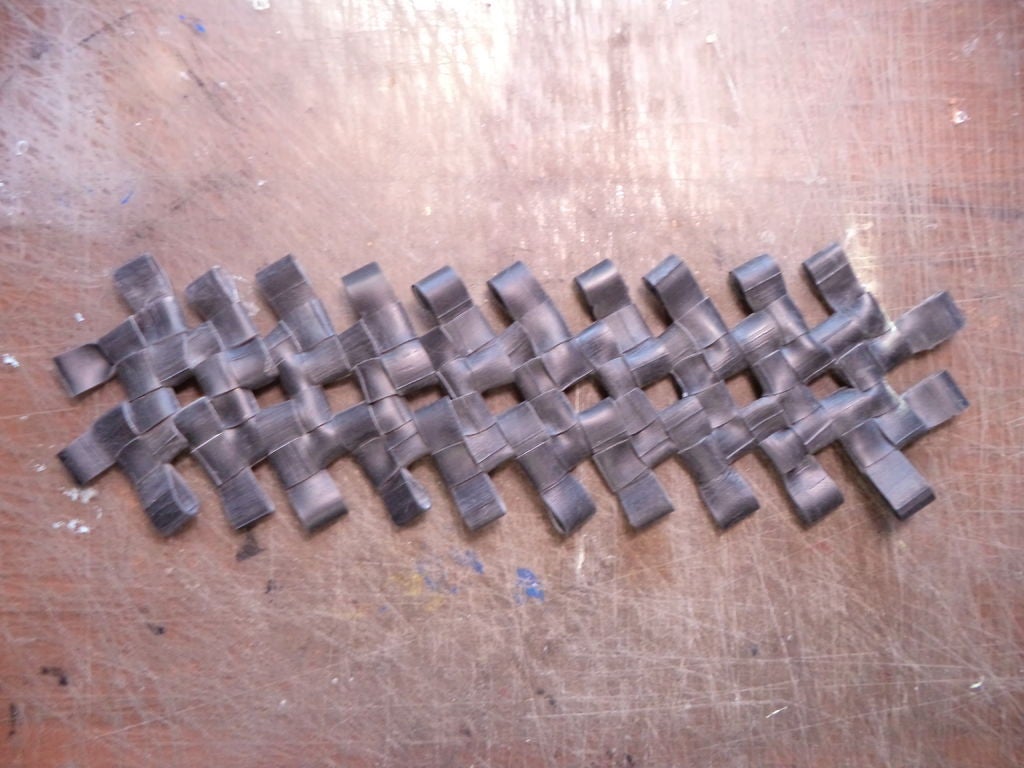
2. Start to make the net
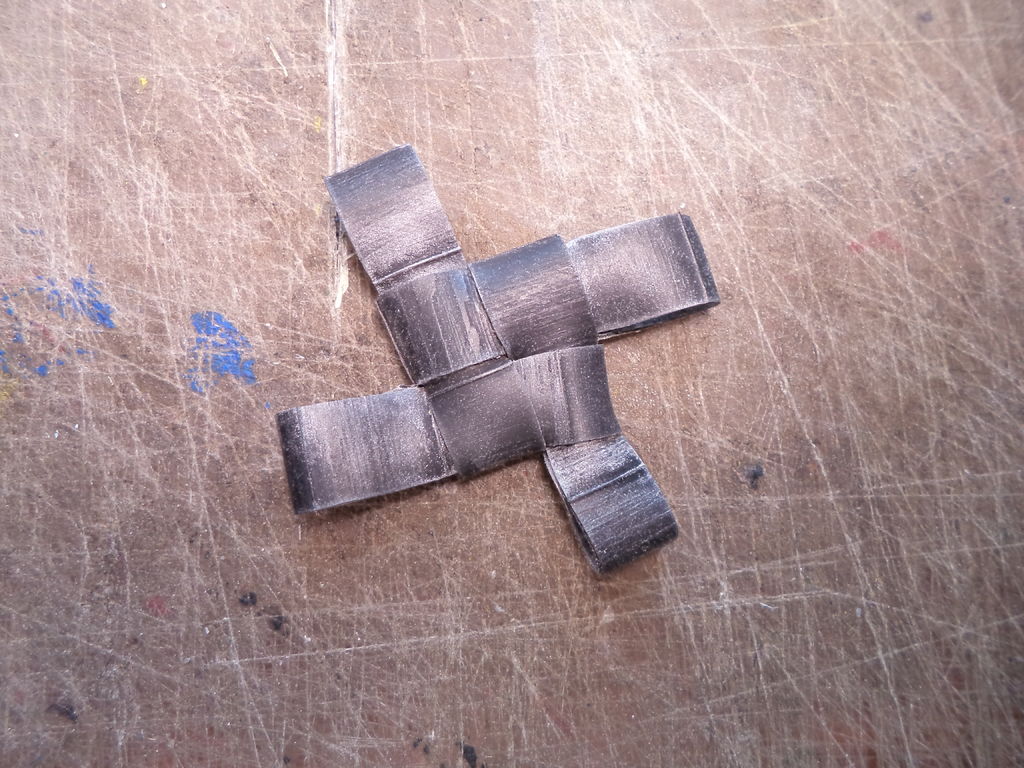
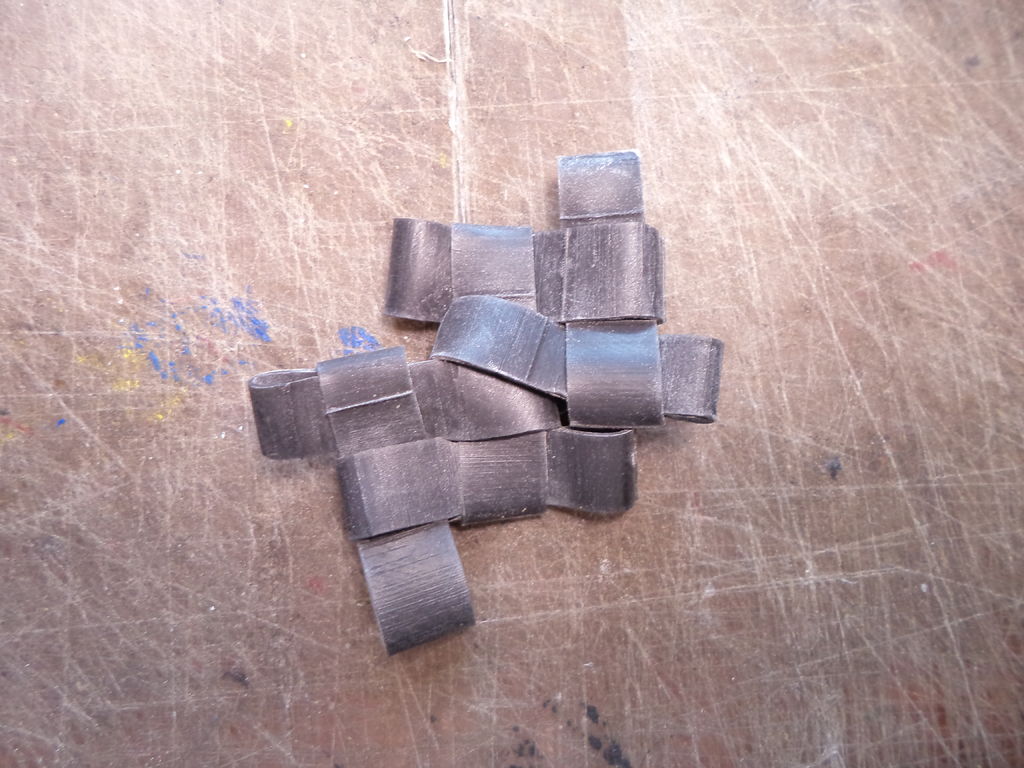
We can look at the whole piece as at a series of identical modules, and to make one, take four rings and combine them the way, shown on the photos. From one module you can now grow by adding new rings, and if at some point it starts to look confusing, just recreate in your mind that picture of identical pieces.
Also, as I mentioned, you can try different pattern, than the one I’m suggesting.

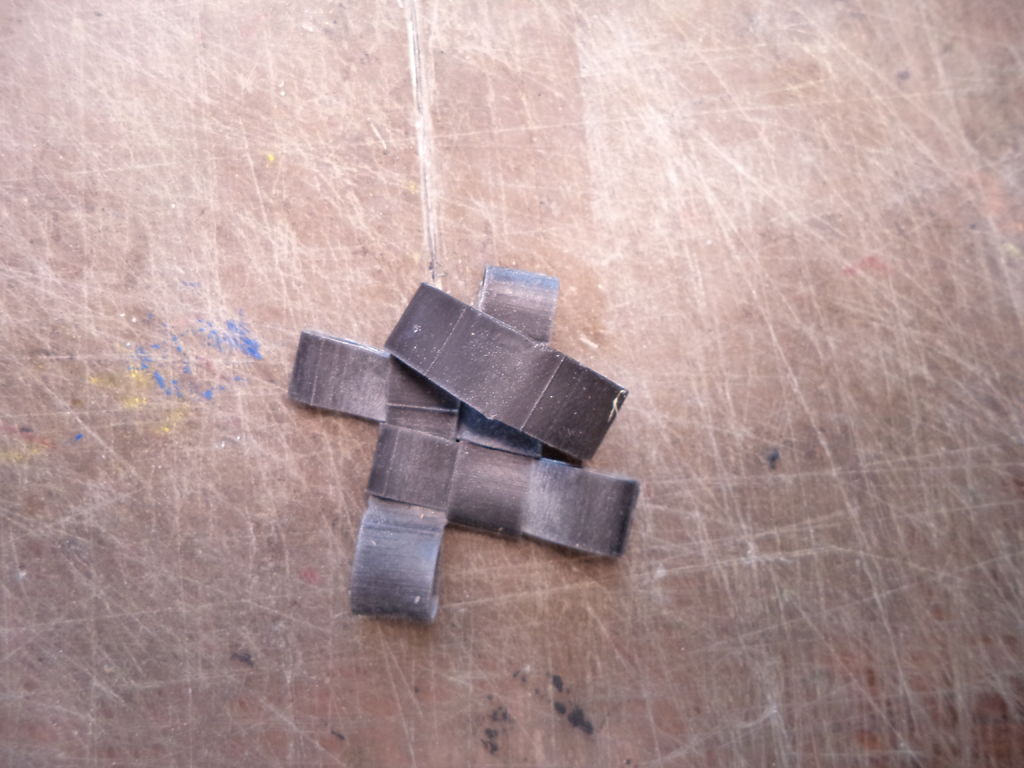
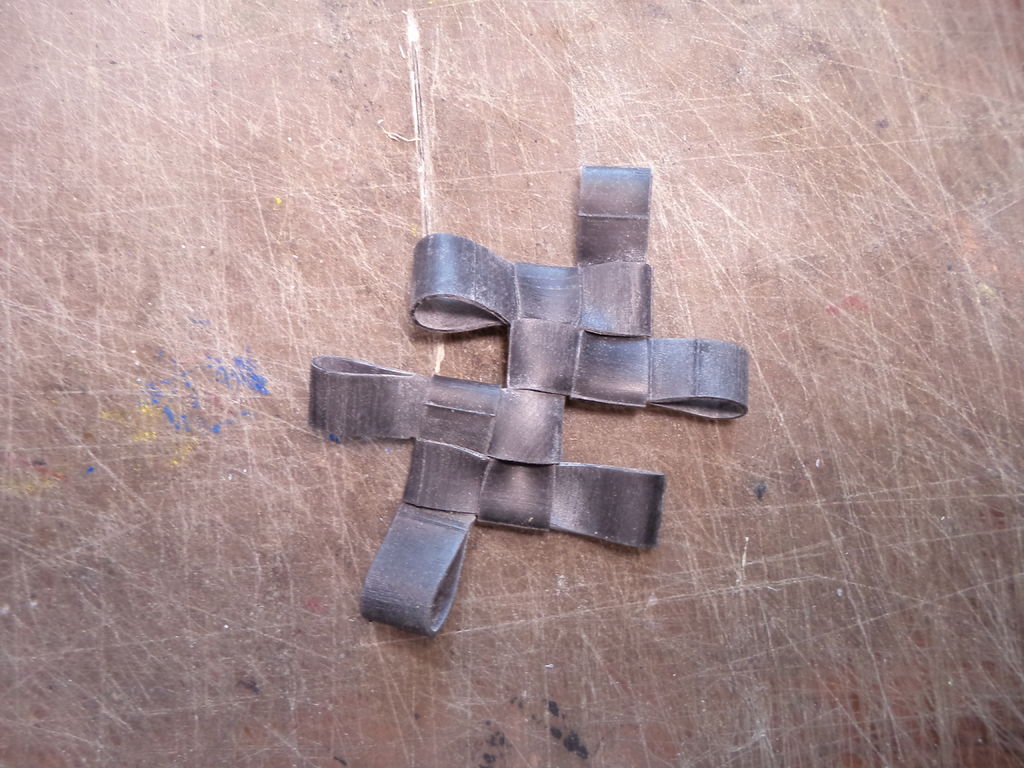
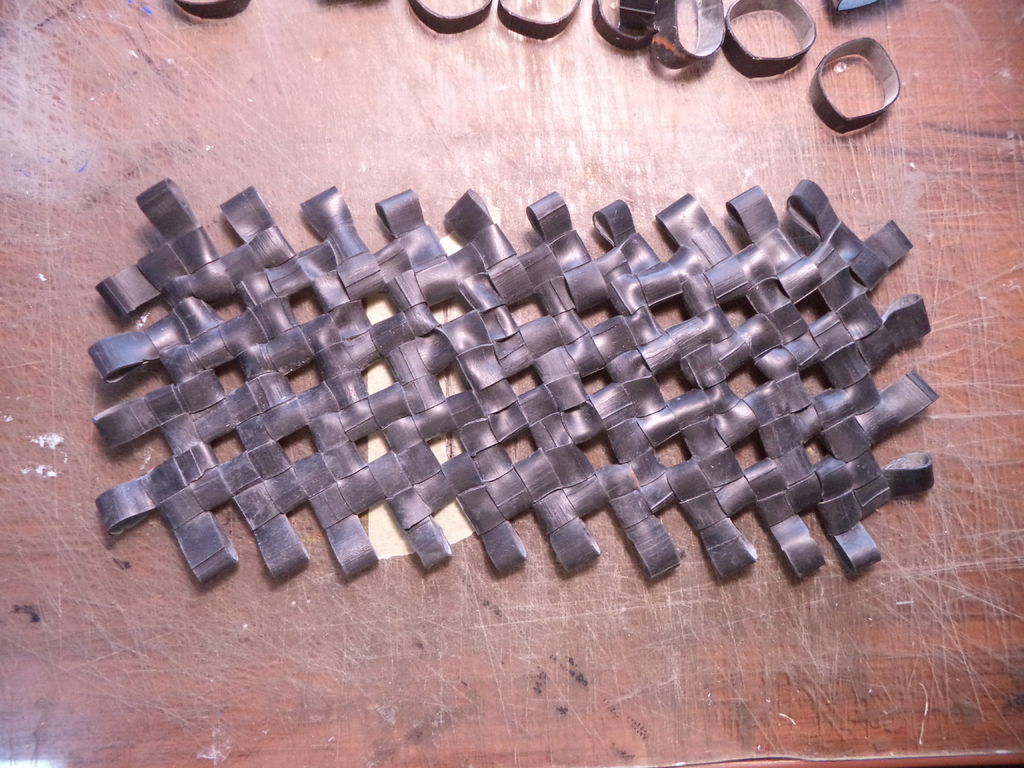
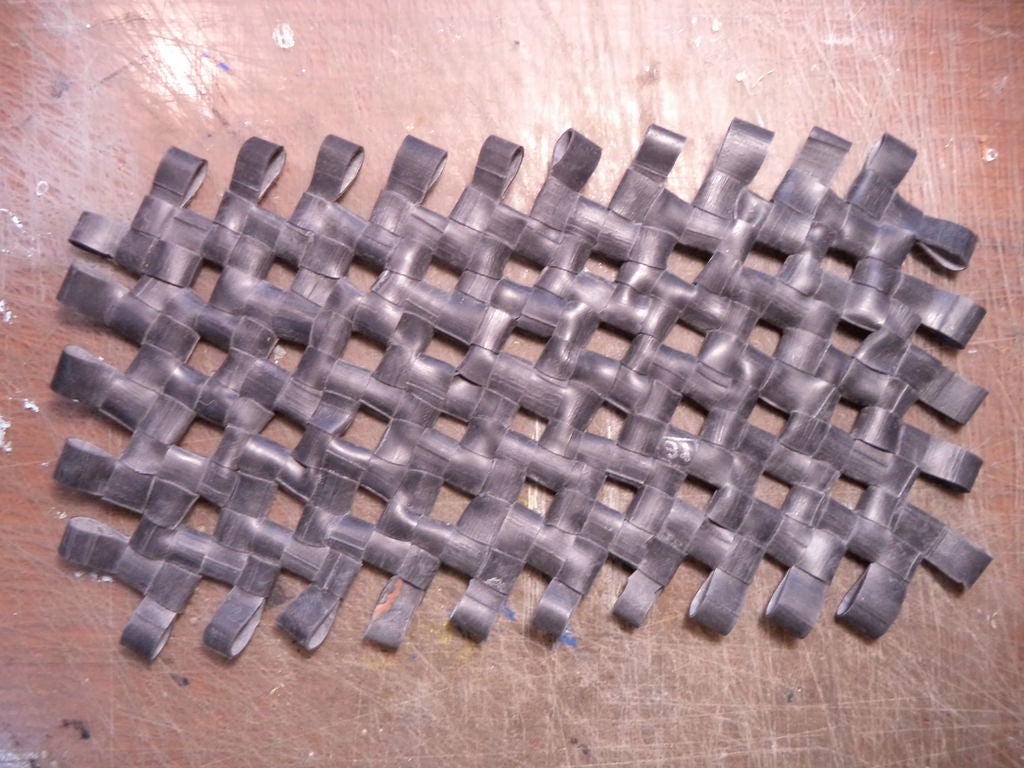
3. Add rows
Keep adding rows until you reach desirable size.
As I said, I added one more row later in the project, so take those measurements as aproximation.
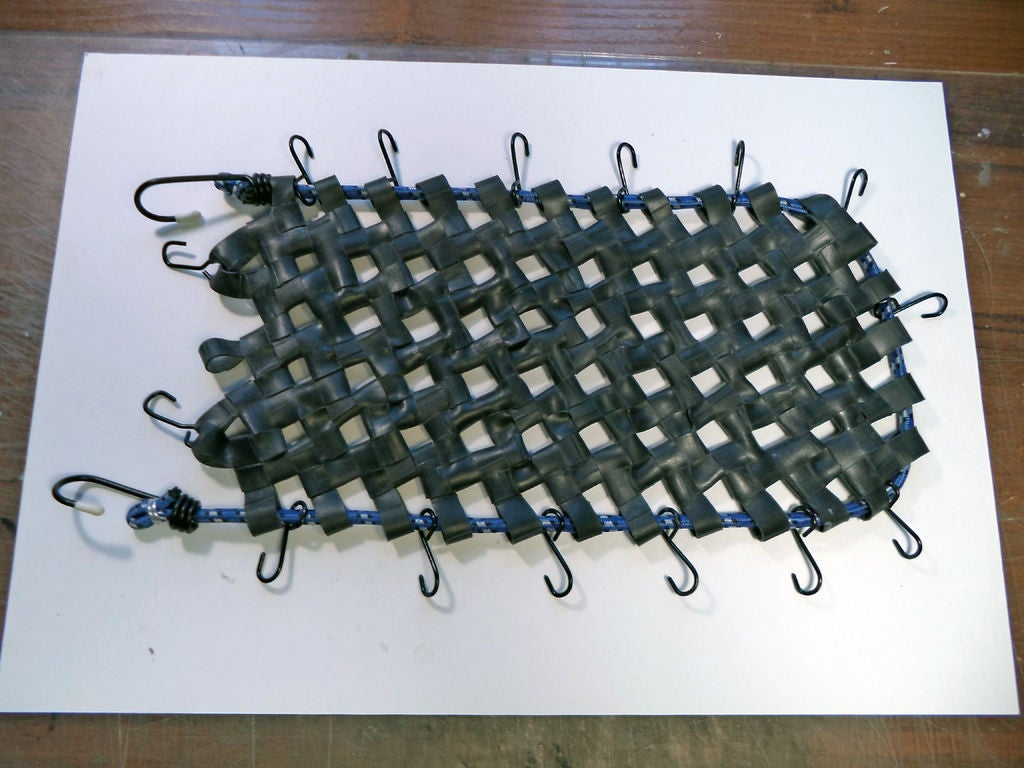
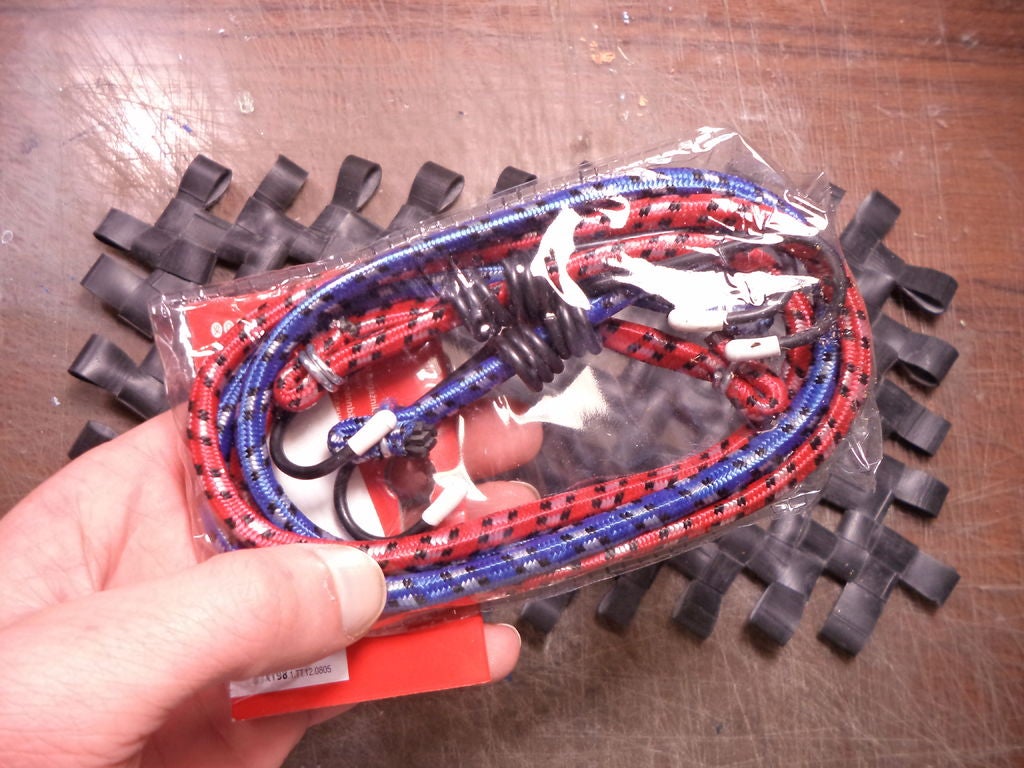
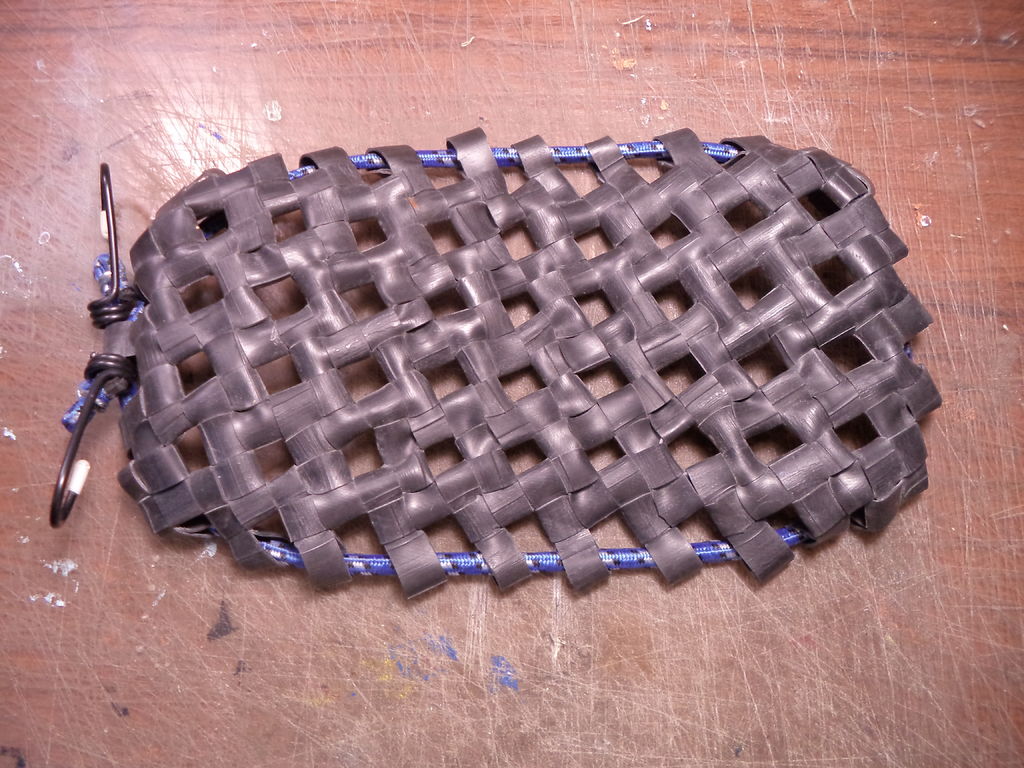
4. Attach bungee cord
We can use those loose loops on the edges to pull bungee cord through them. My cord was nearly of a perfect lenght (40cm), so I installed it right away. If your’s is too long, you can shorten it, but, in this case do not hurry to pull it through the loops and installing the hook back. I’ll make it clear later.
You can vary the positioning of the cord according to your needs. I altered mine later in the project.
This piece has few functions: it secures the loose loops of rings on the net piece; it’s used for attaching hooks, that hold the whole thing on the rack; it also helps to distribute the tension among those loops and gives the whole structure durability by protecting it from overstretching and tearing.

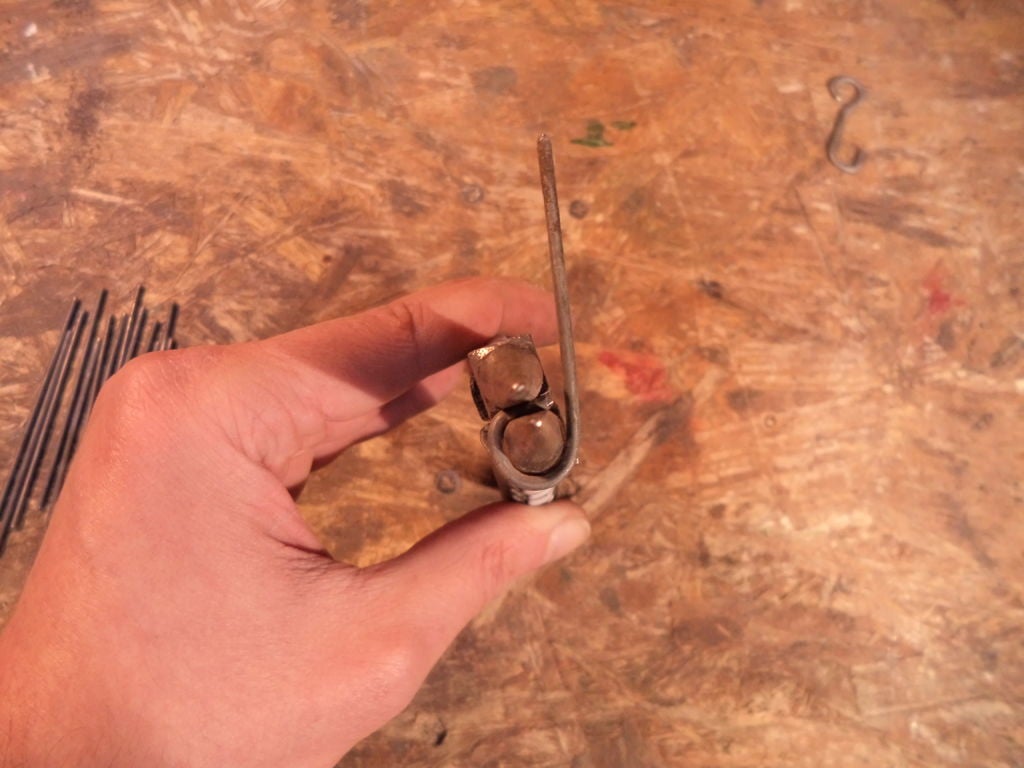
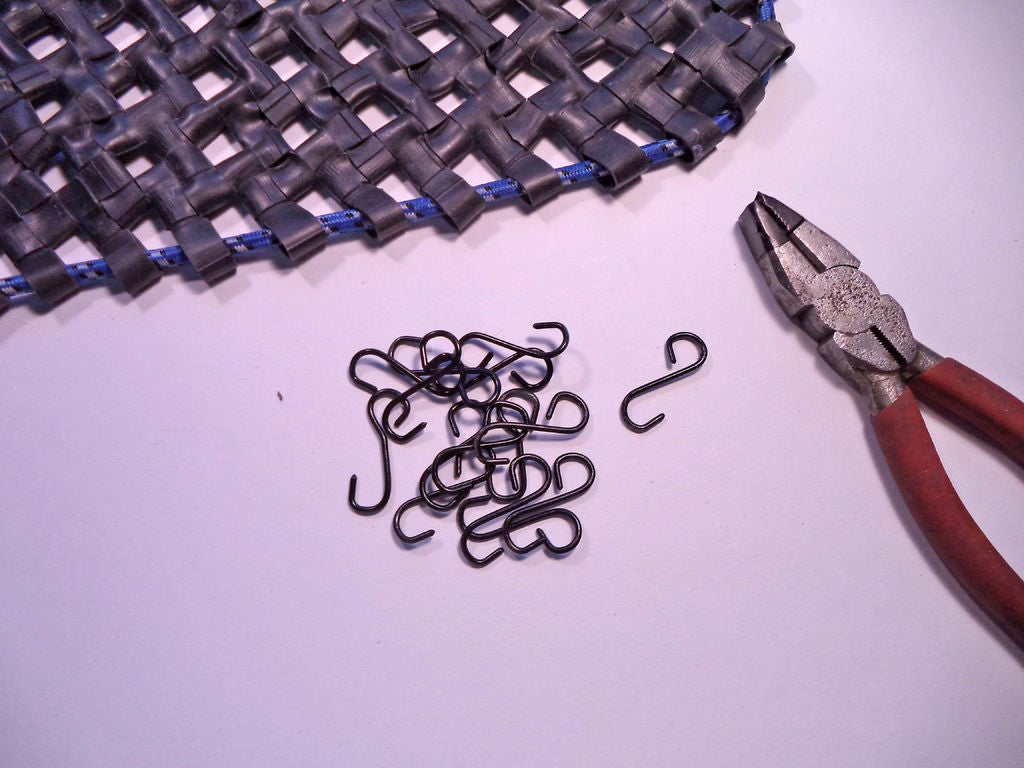
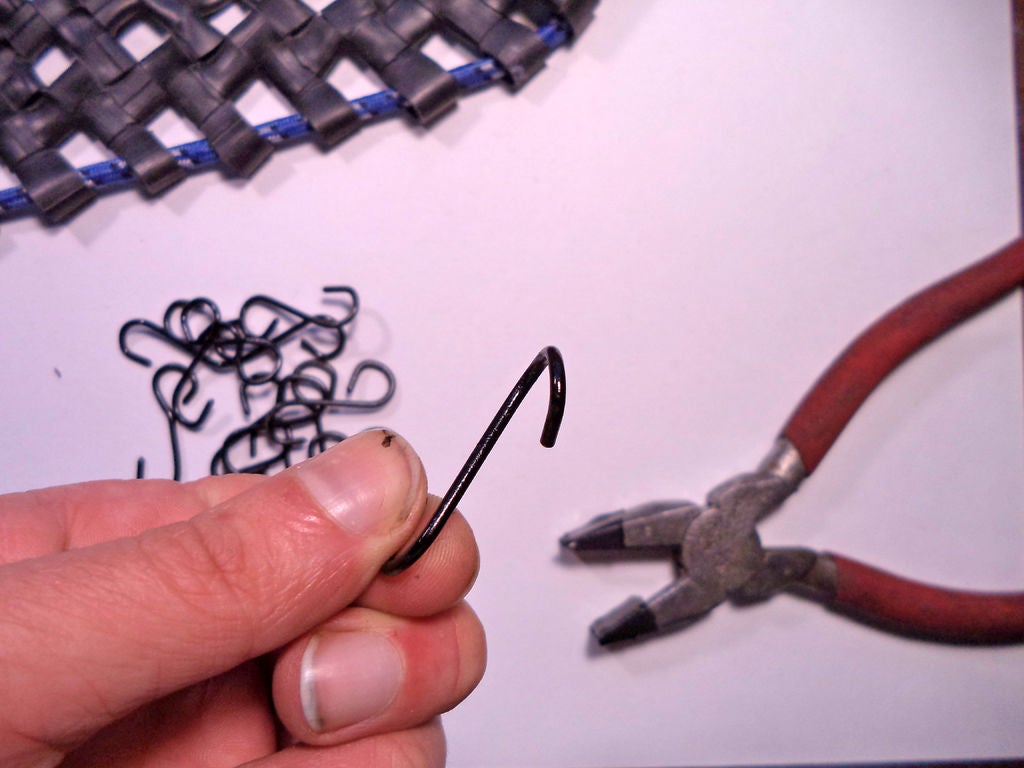
5. Make hooks
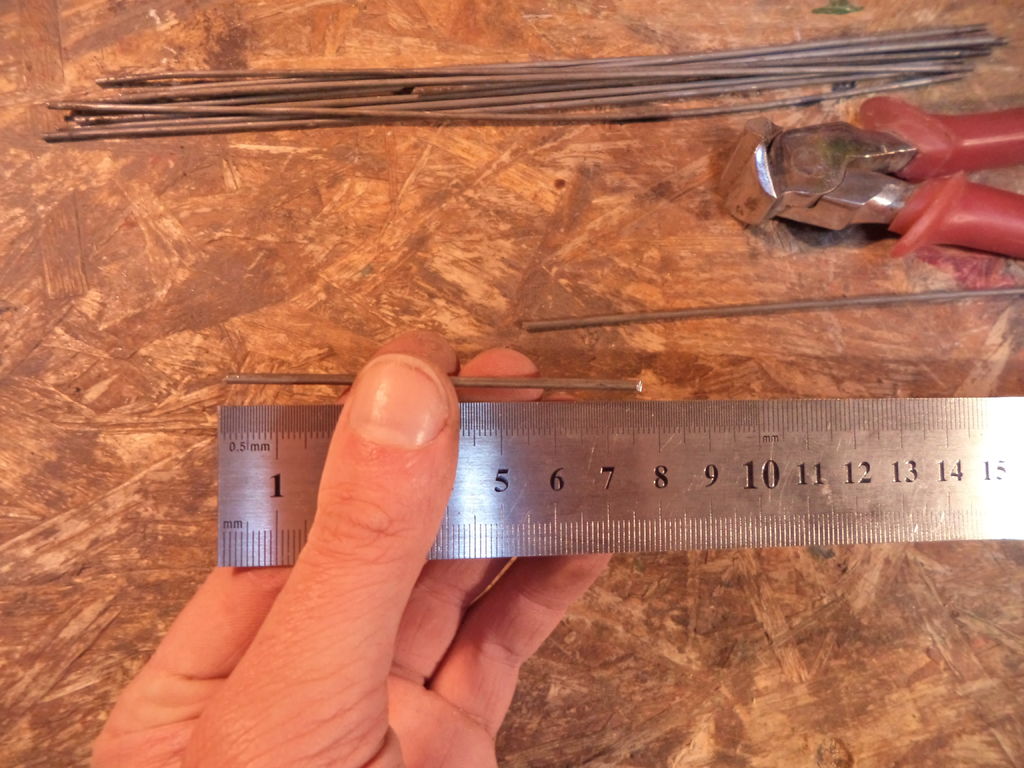
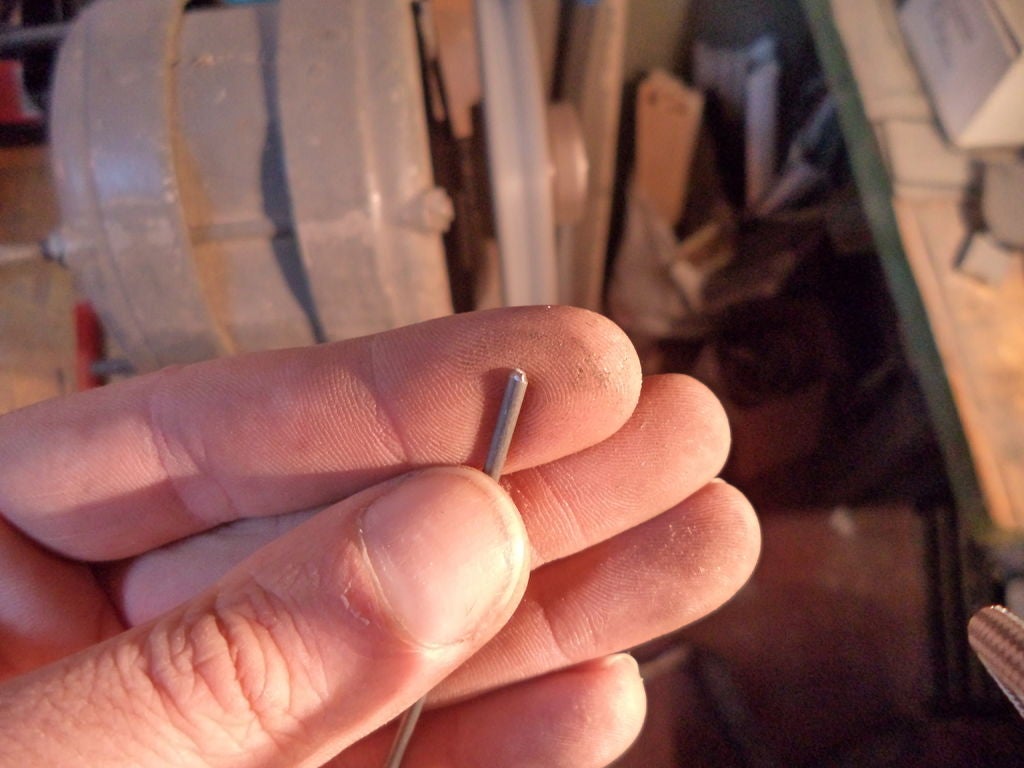
The last structural element is the hooks. To make them I used spokes from old bicycle wheel, since they provide perfect balance between plasticity and flexibility, which makes hooks stay in shape when under tension.


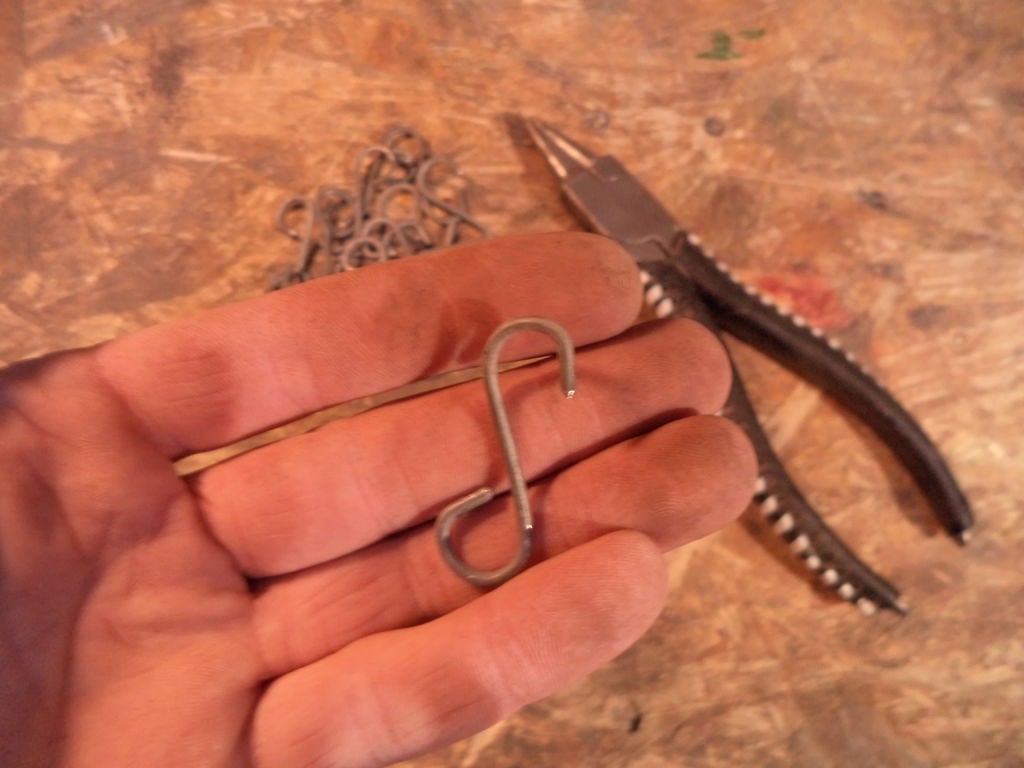
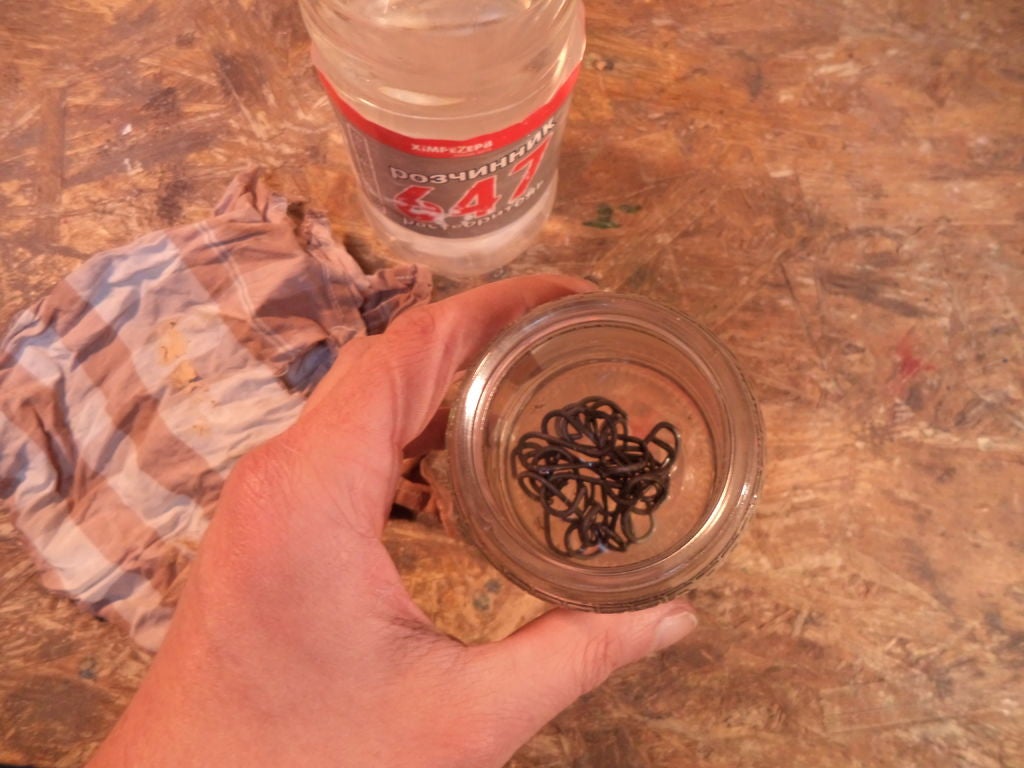
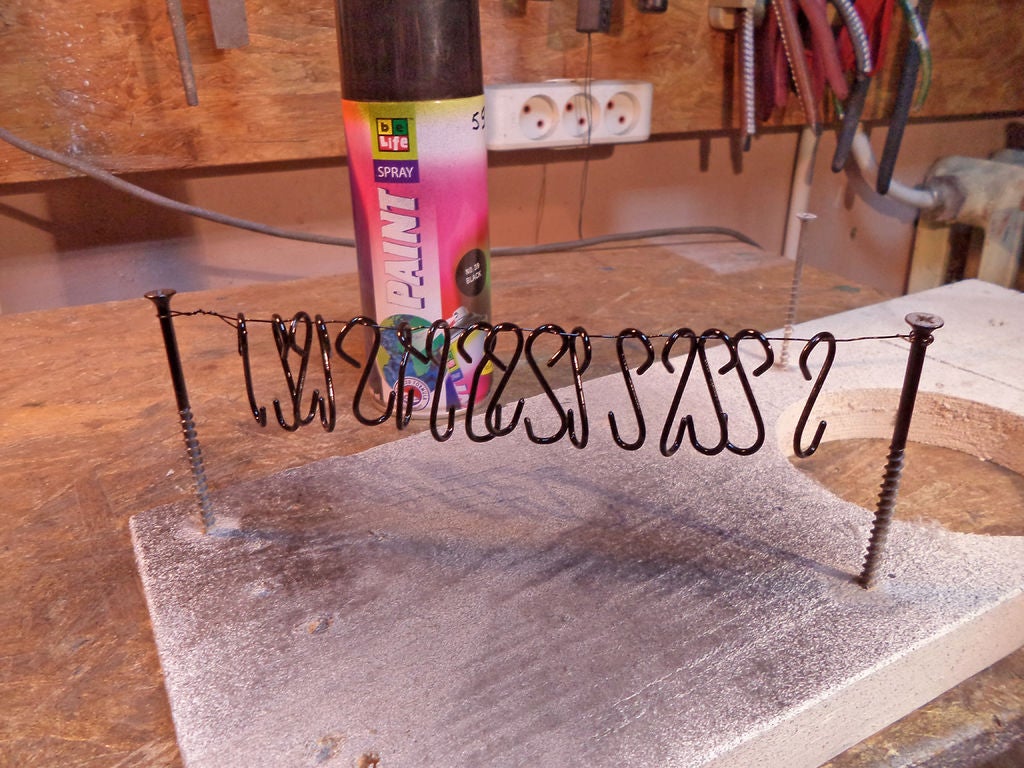
6. Paint the hooks
It’s a good practice to paint the hooks. Wash them in a solvent (like acetone, for example) to remove grease from the surface, and rub them then with a rug. I gave them two coats of black acrylic paint.

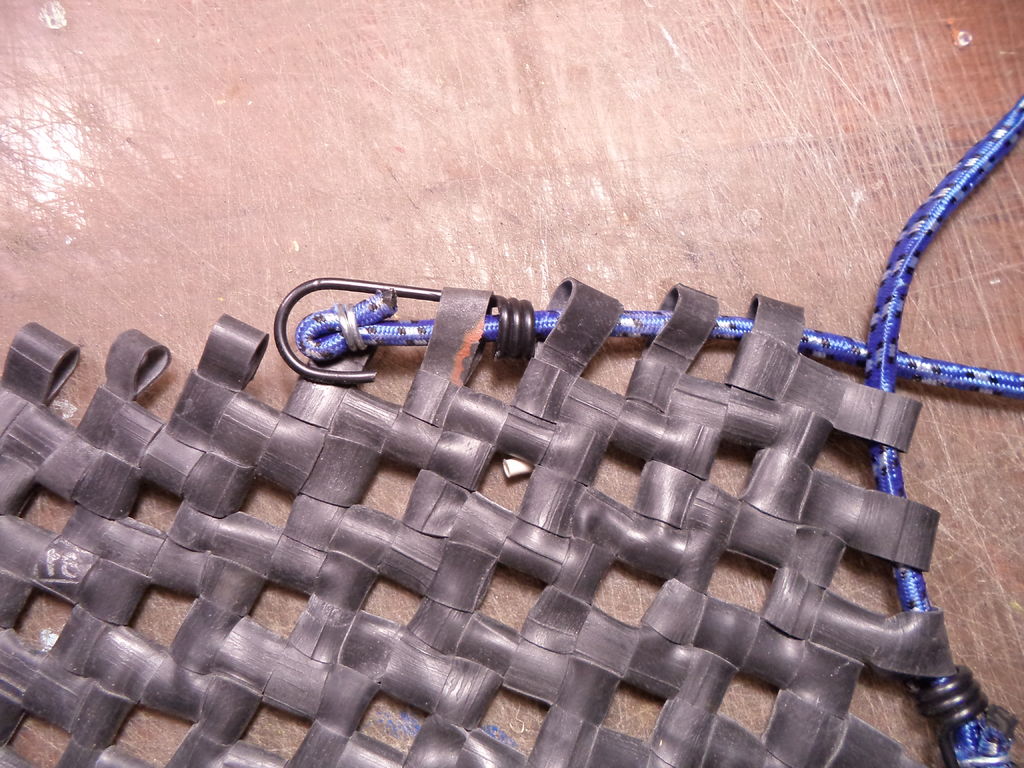
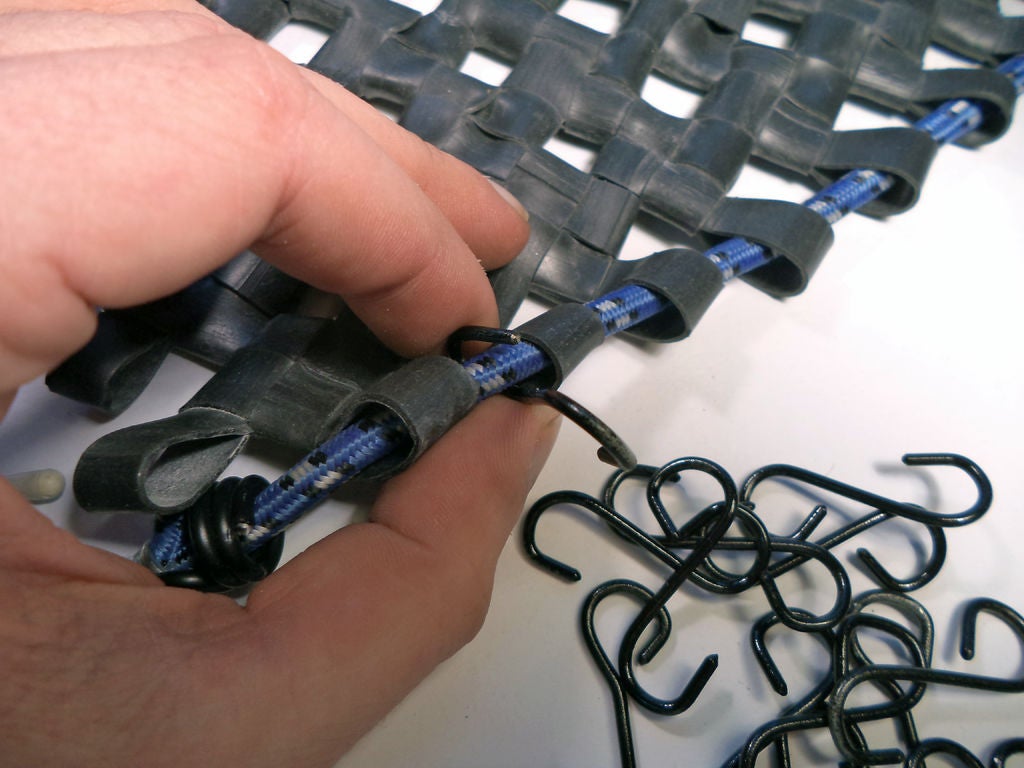
The final step is to attach hooks to the bungee cord. If you had to cut your’s into length, and did as I reccomended, you can pull the cord (the cut end) through the loops and install the hooks in one go.
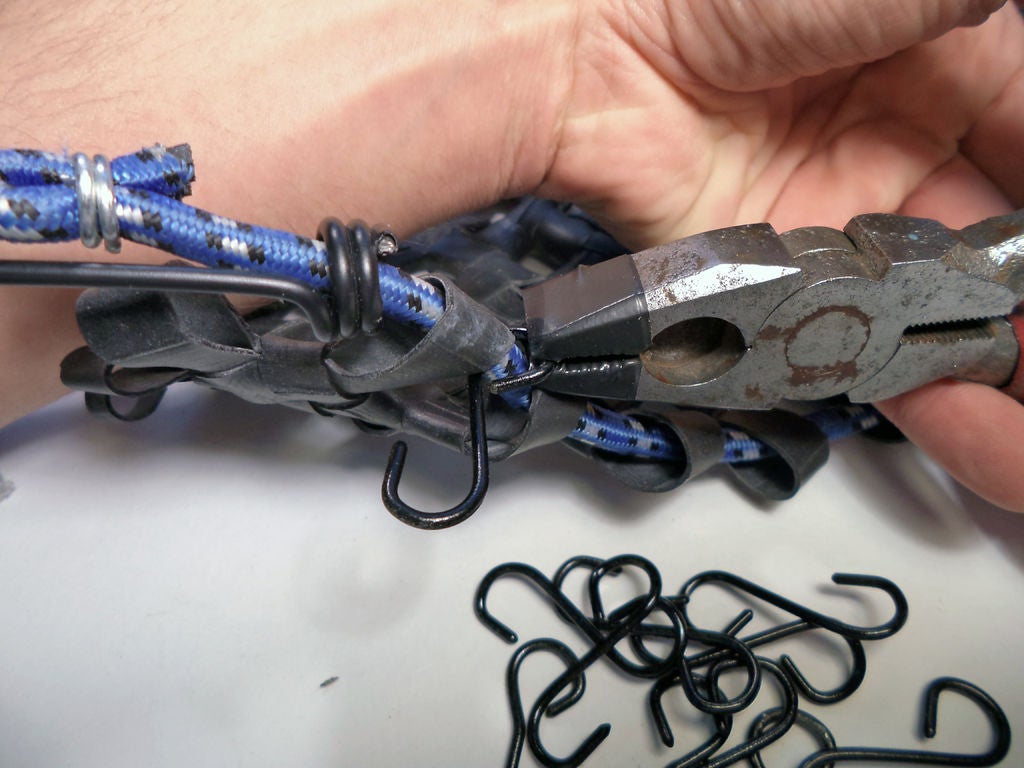
In other case deal with it by bending the closed loops of the hooks to the side (more like twisting motion) first. Use pliers, and I wrapped the working part of mine with some electrical tape to save the paint on hooks from scratching. Put the hook on the cord and twist the loop back to close the gap.
Install hooks in between the loops of the net. I did every 2nd gap (and I really should of made at least a couple more of them). You can also attach hooks to the rubber loops themselves if needed, as I did on the area on the left, where no bungee cord was threaded in.
And you’re done.

Instructables

PROFILE
Instructables is a a web-based documentation system allowing the community to document, and share creations.
Established in 2006, and has gone on to grow from a modest hundreds of projects to over one hundred thousand.
Main Research Source
- By Waldemar Sha(2017)