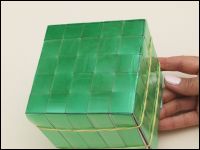
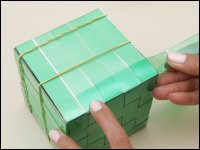
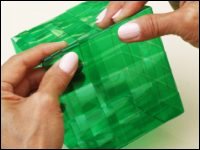
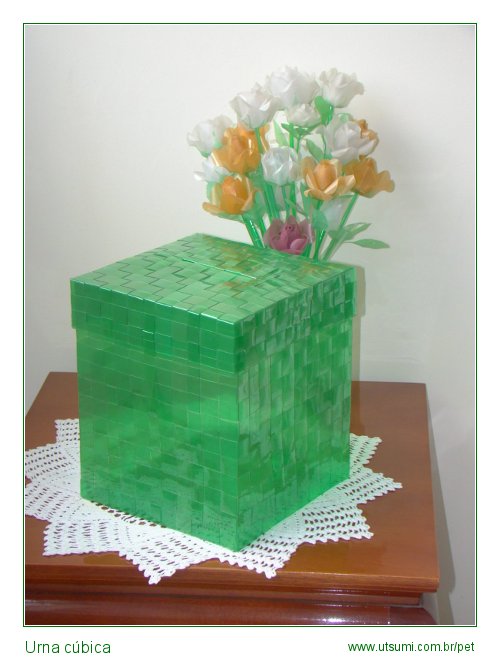
How to make a box with PET ribbons
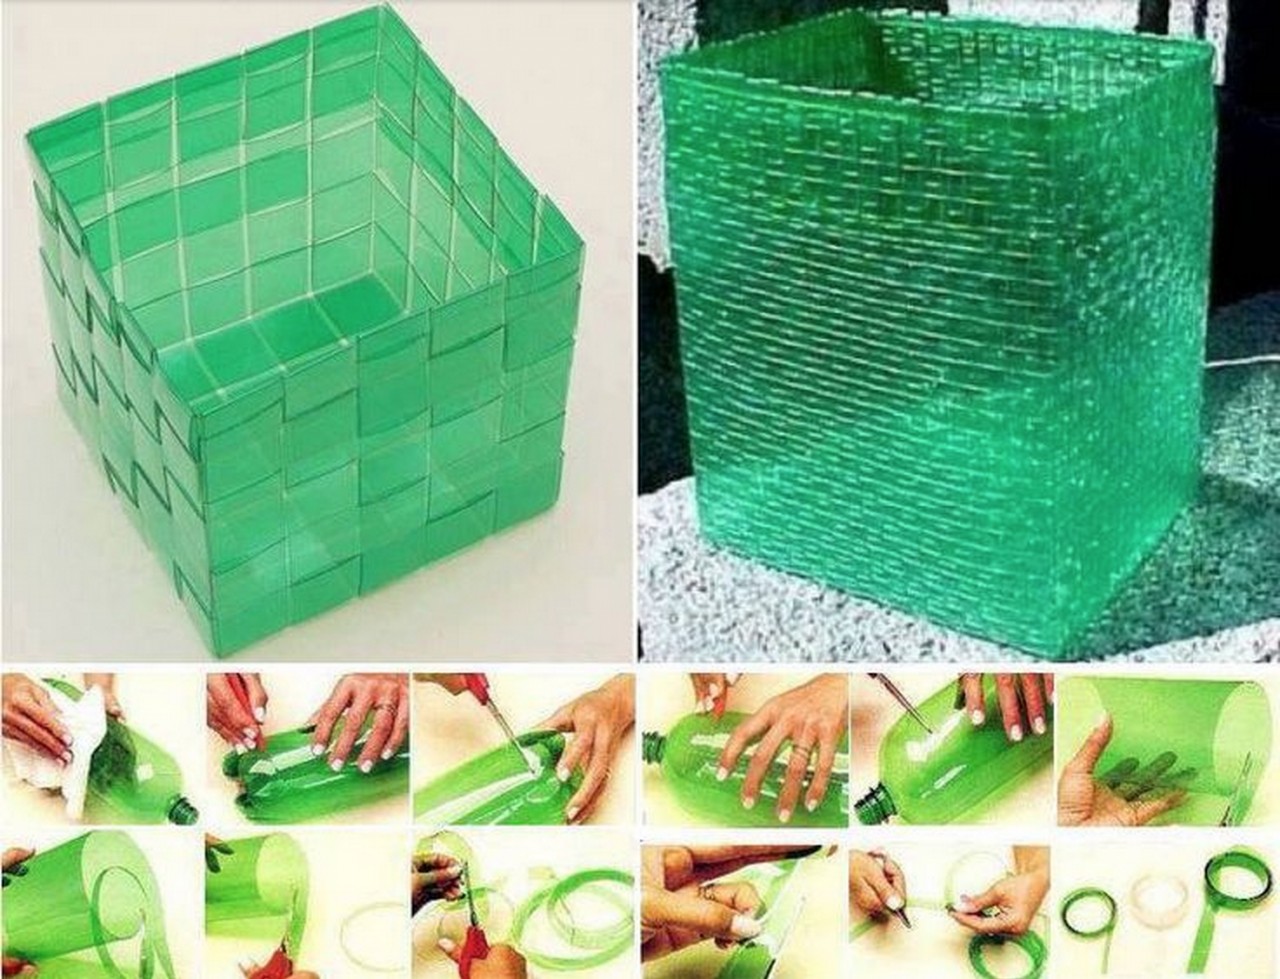
Box-making Tutorial
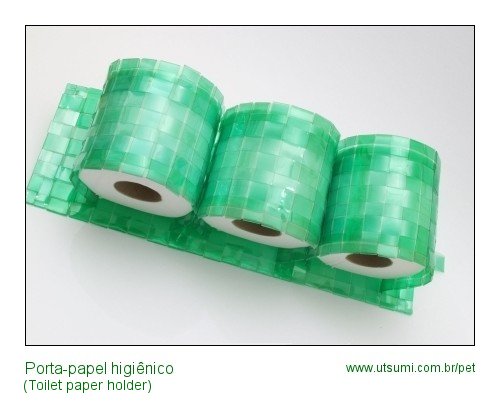
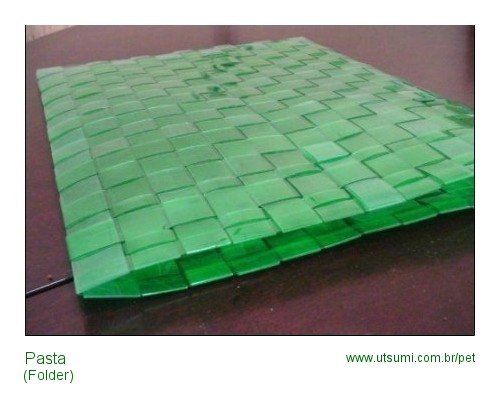
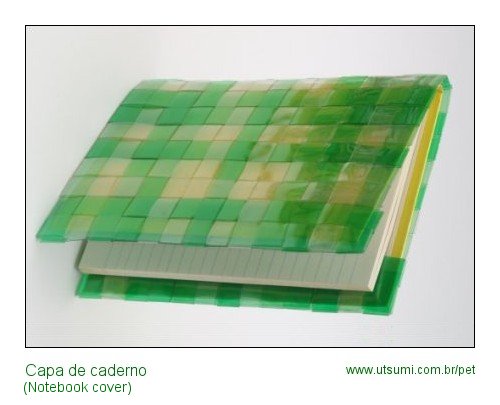
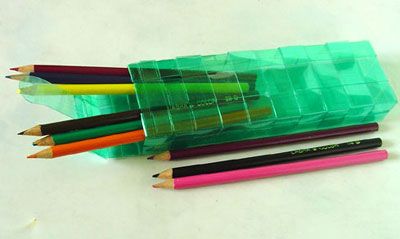
The technique used in it can be applied to many other types of PET products, such as folders, pencil cases and bags.
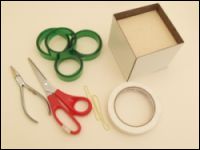
You will need:
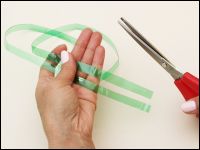
- scissors
- flat pliers
- adhesive tape
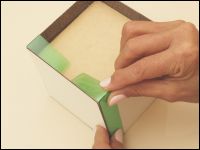
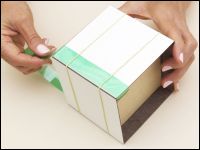
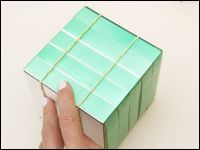
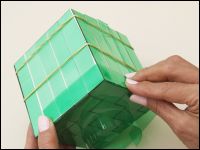
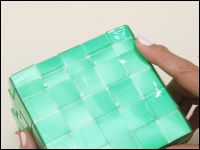
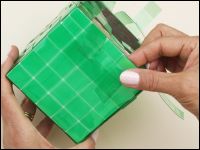
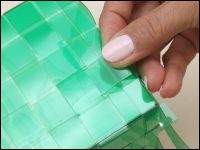
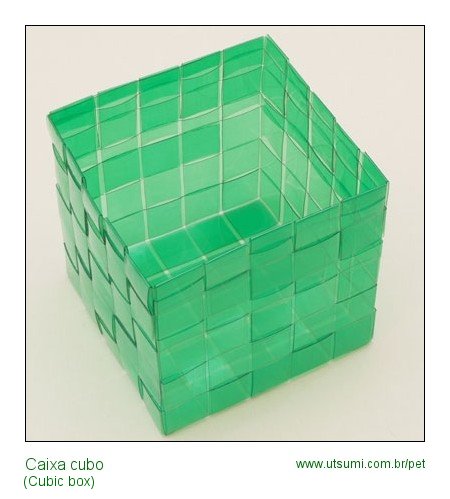
- a cubic mold (10 cm sides), with the top part open, which can be made out of wood or a synthetic similar material. It is ideal that the mold’s walls are thin, or at least that its top part has thin walls (which can be obtained by using wooden sheet to coat the mold).
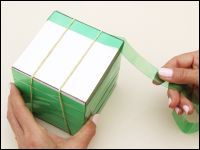
- 4 PET bottles, each entirely cut in a ribbon 2 cm wide.

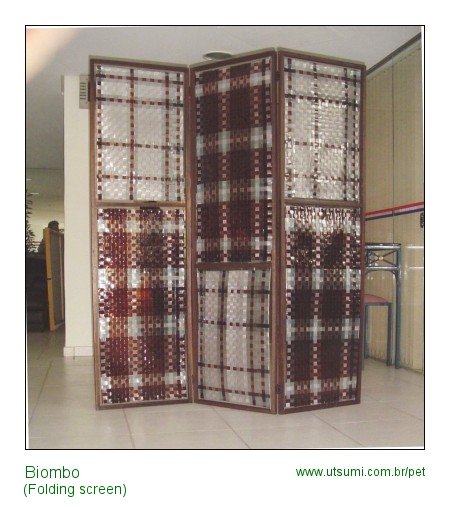
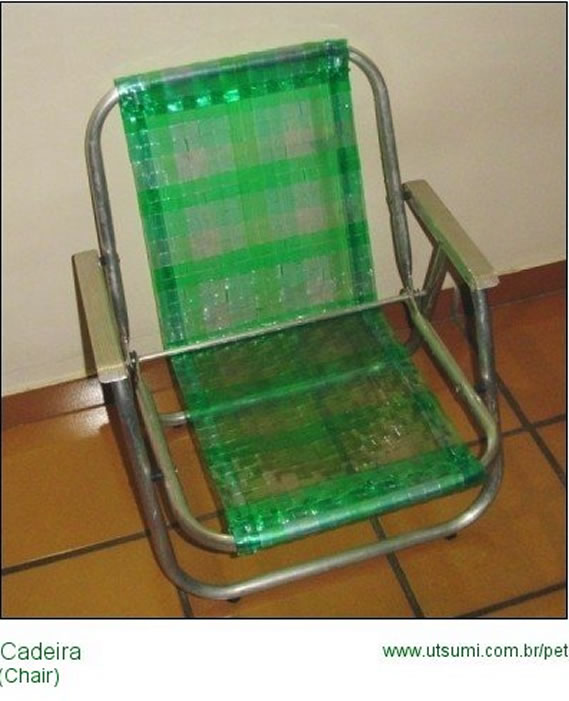
More designs by Miriam Mitsuko Utsumi
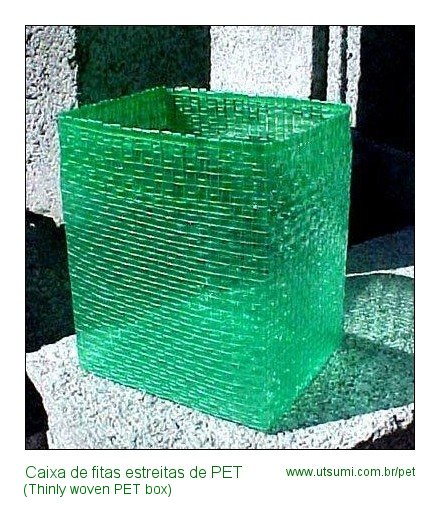
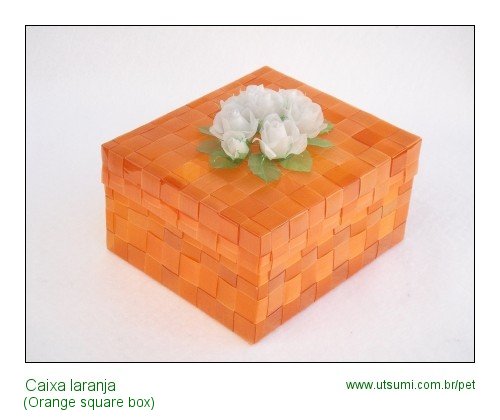
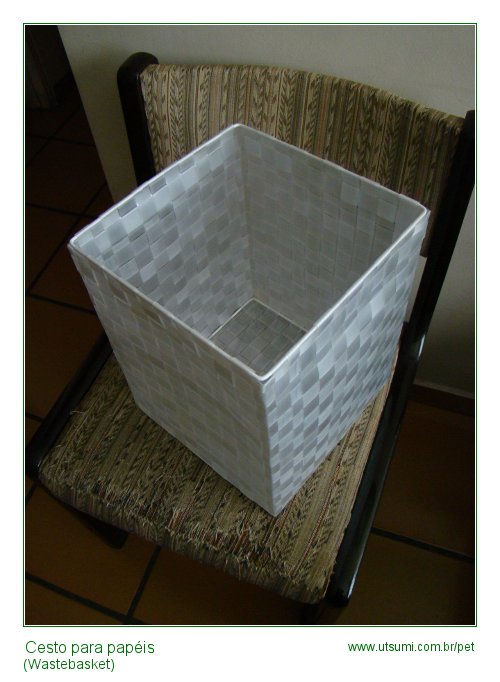
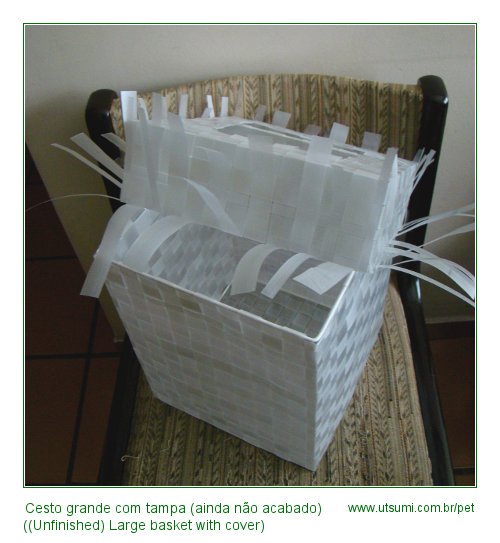
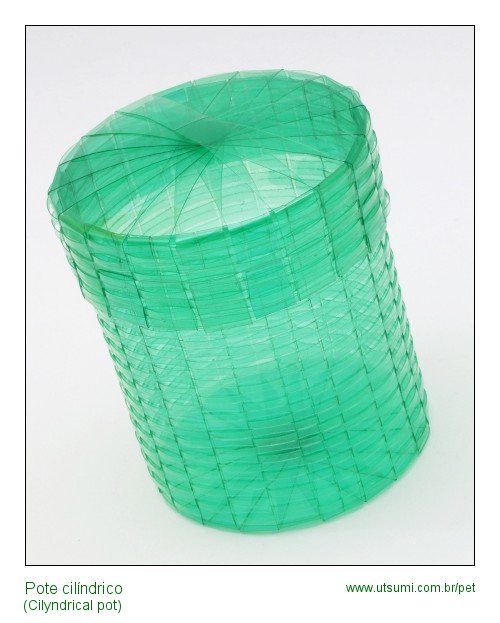
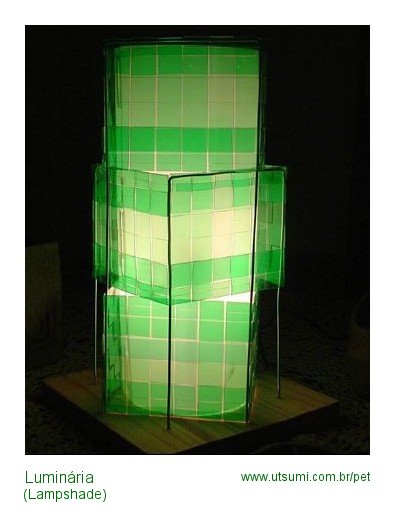
Other woven projects

Utsumi, Brazil
PROFILE
Brasil-based designer Takashi Utsumi designed the PET bottles shredder (filetadore), and Brazilian designer Miriam Mitsuko Utsumi reuses PET bottles in the making of many craft pieces, as bags, pencil cases and folders.