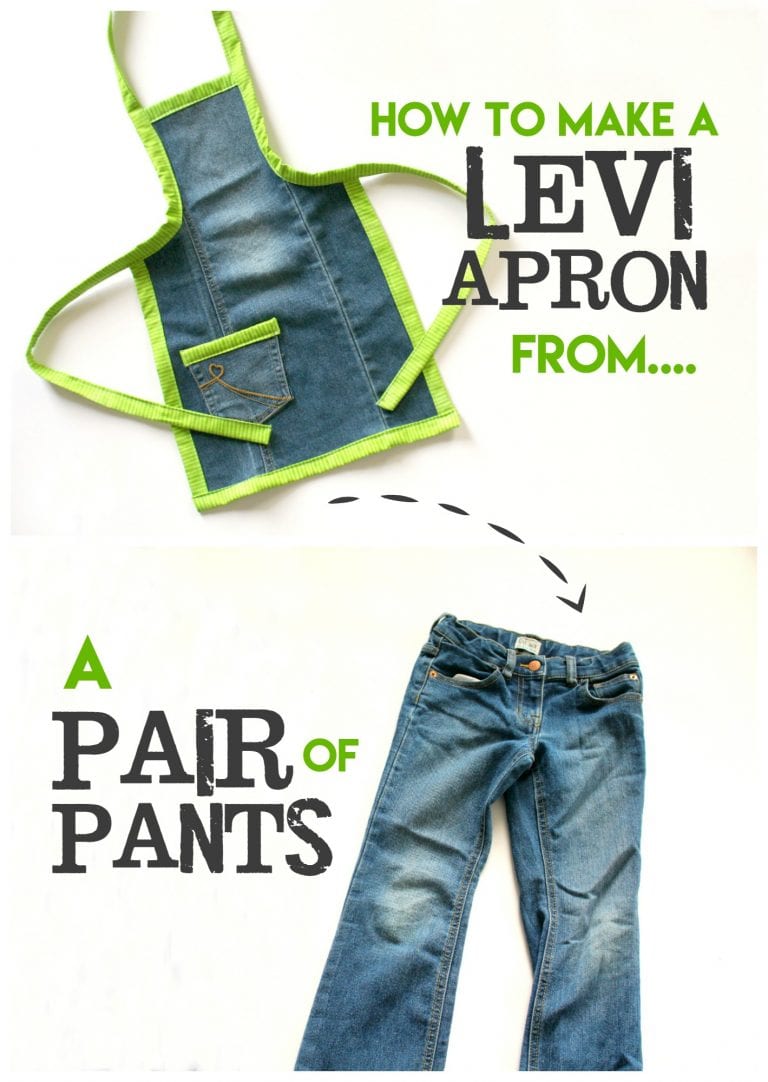
How to make an apron out of a pair of Levis
 These aprons are my FAVORITE. FAVORITE! They are heavy duty and let’s be real–I paint way more than I cook so I love them for paint aprons!
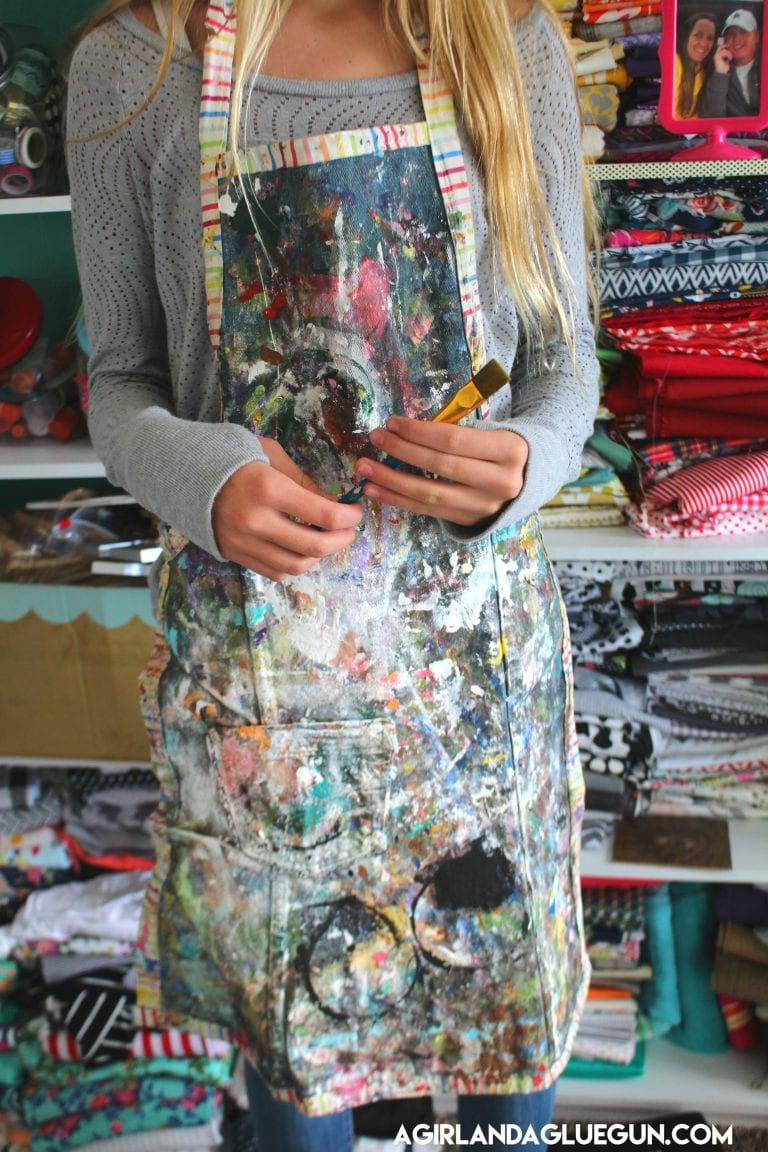
You can make them big or small and add whatever color you want for the binding!
You need a pair of levis
(If you are making them for your daughter who wears a size 8–you would use around a size 8 pair of pants.) If you are making it for your grandma who is a size 16–around a size 16 pair of pants. And one pair of pants will yield two aprons as long as there are no big holes in the knees!
and some fun fabric:
Kids apron-9 inches of fabric
Adult small to medium- 12 inches of fabric
Adult Large and up-15 inches of fabric
Open up your pair of levis and cut off one leg. Determine what side you want to be the main section of your apron and then cut straight up the back of the opposite side (seriously scroll up and watch the video!)
You will have a big rectangle of fabric. You will need to go about 2/3 from the bottom and snip these curved pieces off. This will be the part that sits across the chest. So if you are bigger in the chest area you can leave a bigger section of fabric.
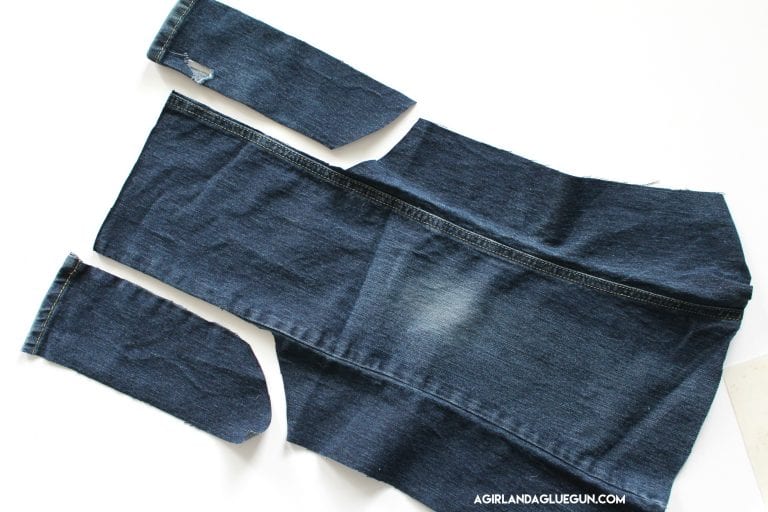
I trim off the bottom edge (I actually try to trim off most edges because all that bulk is hard to get through on your sewing machine.) You could leave this on and not add fabric since it’s already finished #shortcut

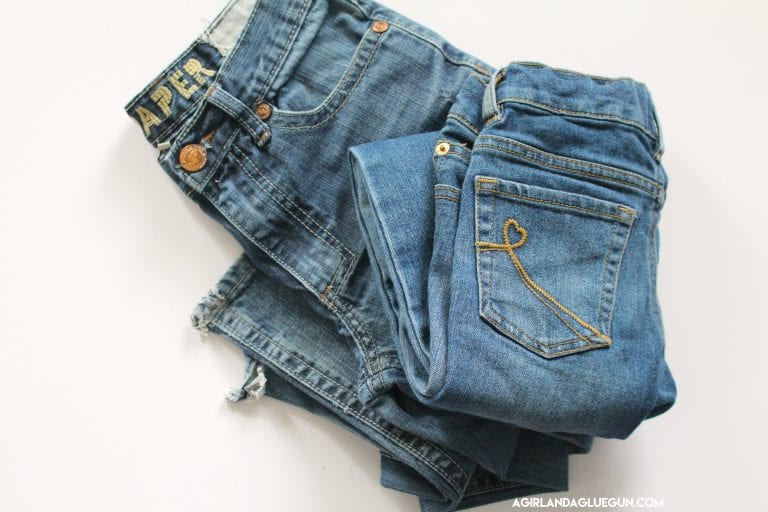
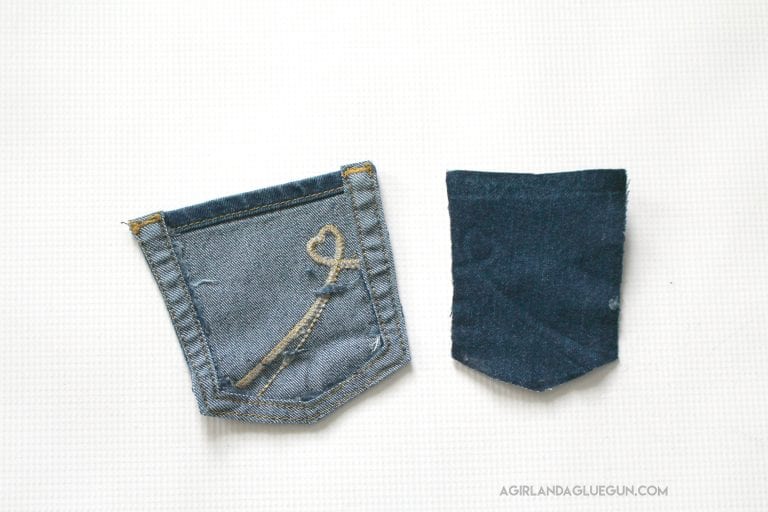
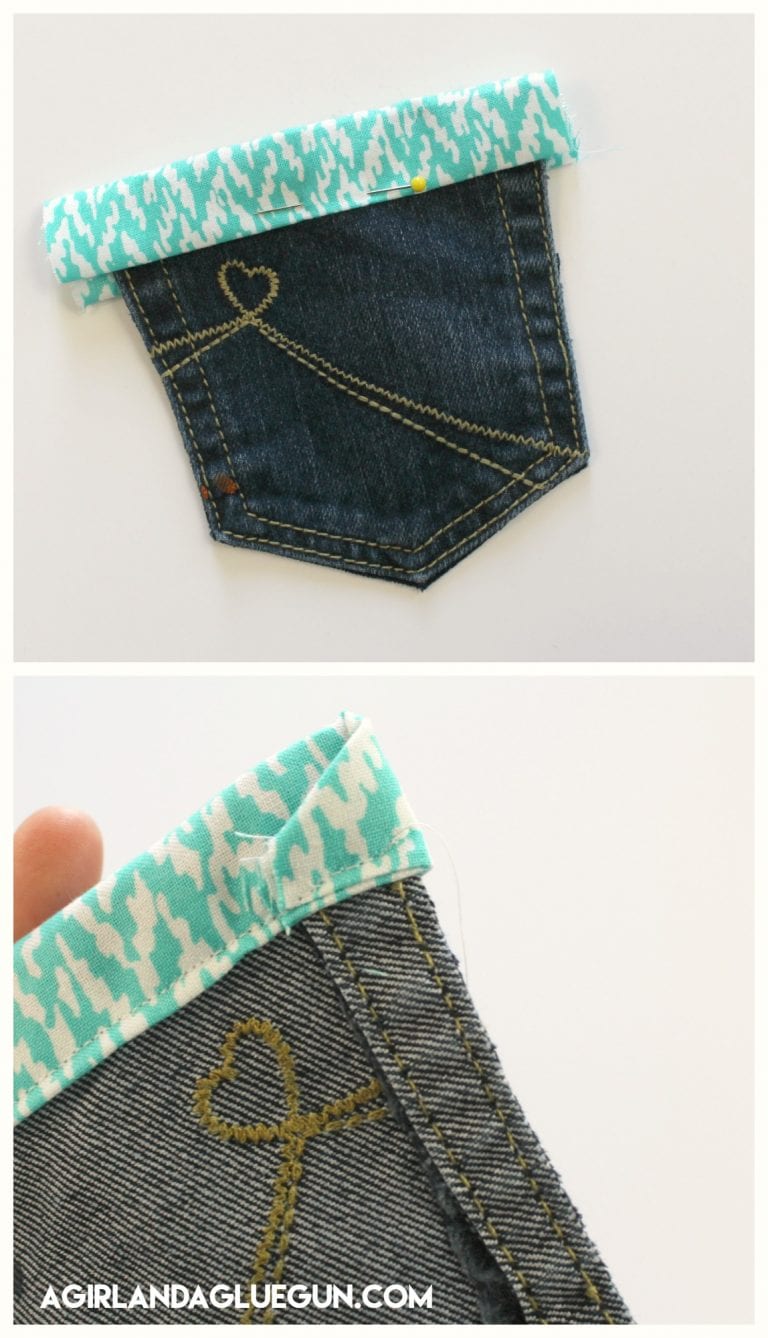
You will also need to cut of the pocket
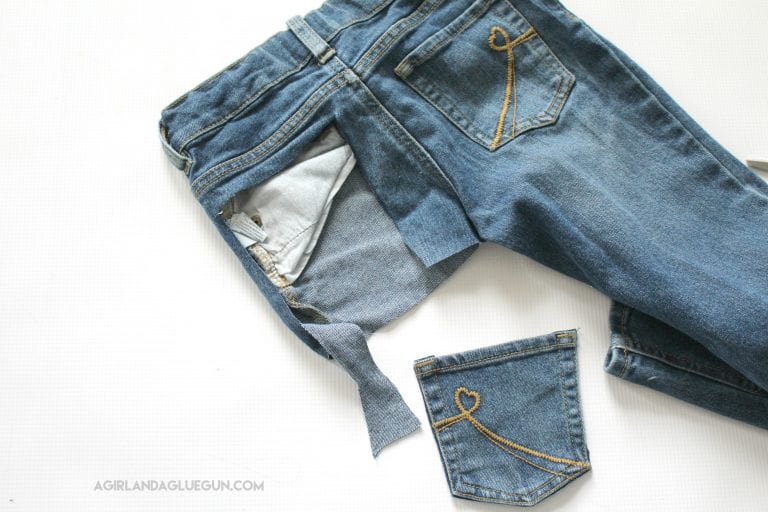
Flip it over and cut off the backing. If you cut it as close as you can to the edge it won’t fray!
Here are your main pattern pieces.

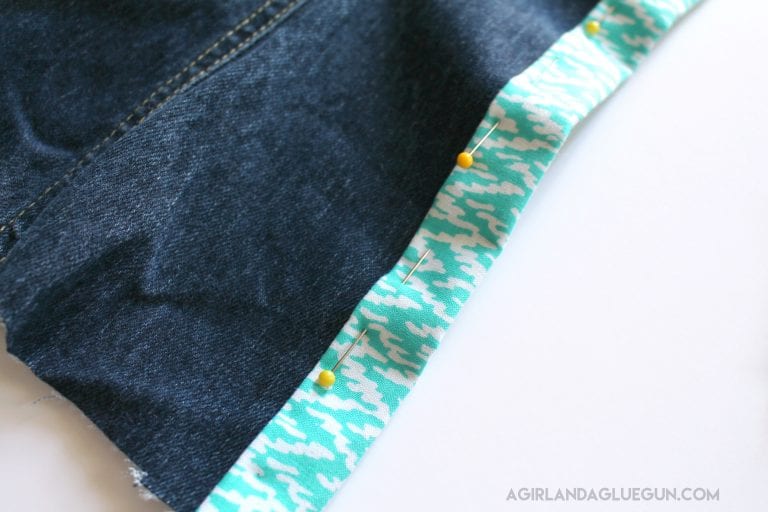
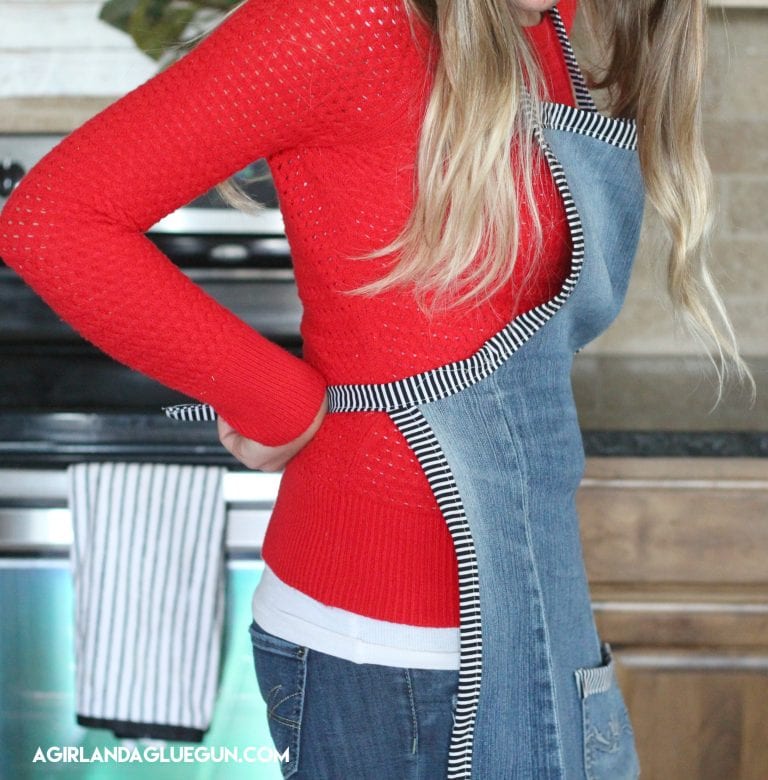
Now grab your fabric. I cut my fabric into 3 inch strips. I take it to my iron and iron in both sides and then fold in half creating the binding.
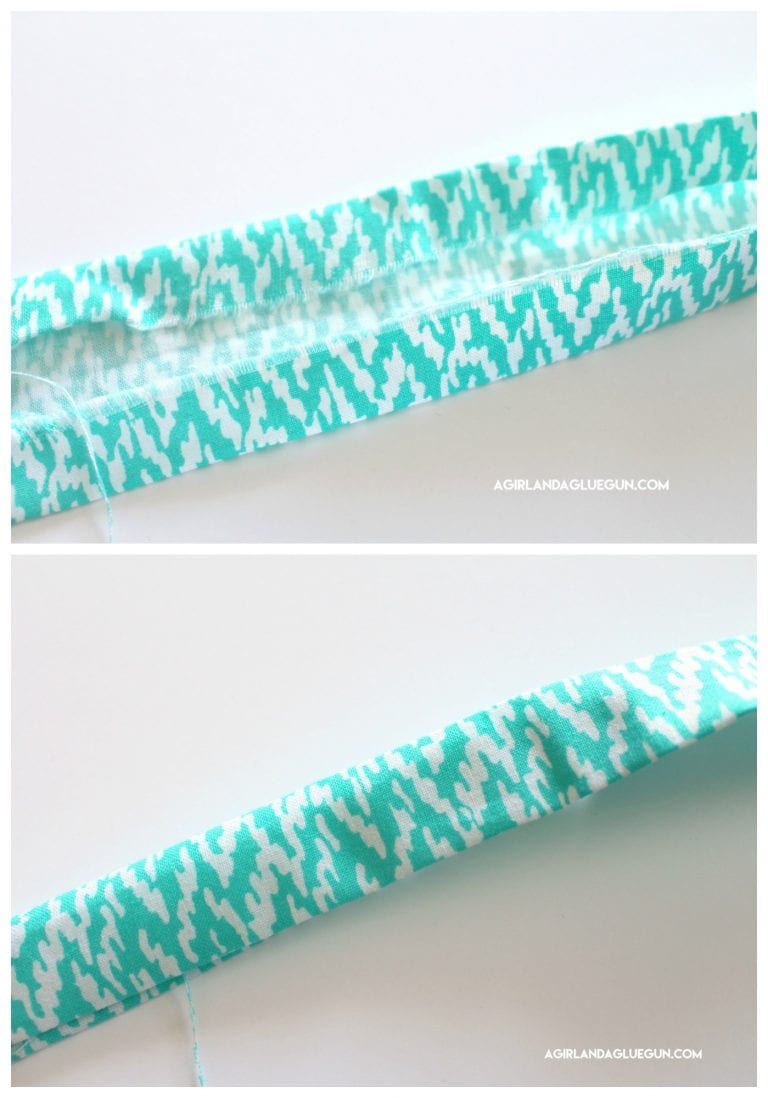
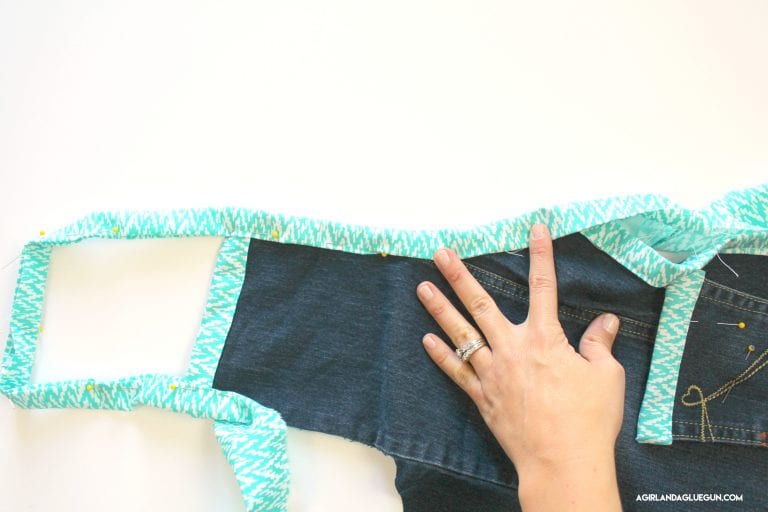
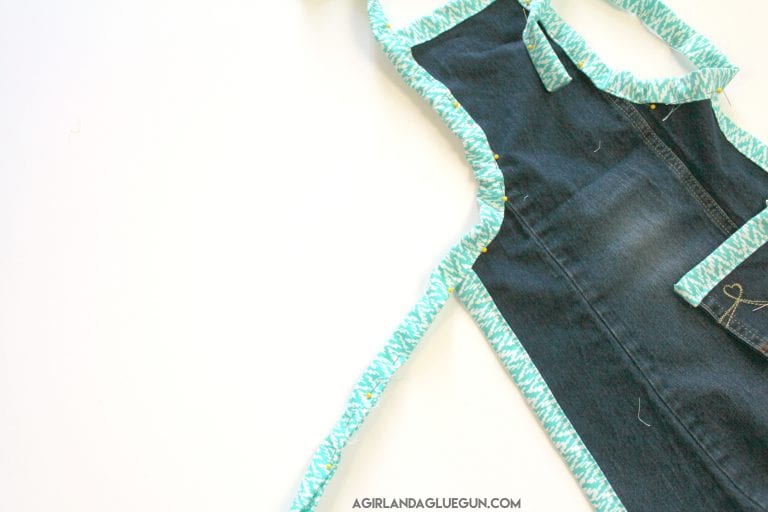
The edges of the apron will get sandwiched in between the binding you will pin and sew in place.
I do the sewing in 2 parts. The first part is top, two sides and pocket. (this takes about 1 and 1/2 strips)

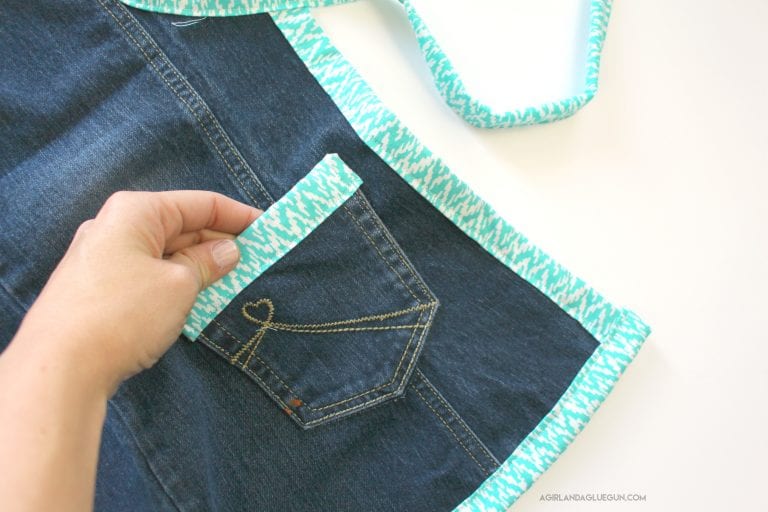
The only edge that needs to be finished is the pockets. When sewing the pockets–you will pin on with an inch of overhang on the sides and sew those flaps back to finish the edges.
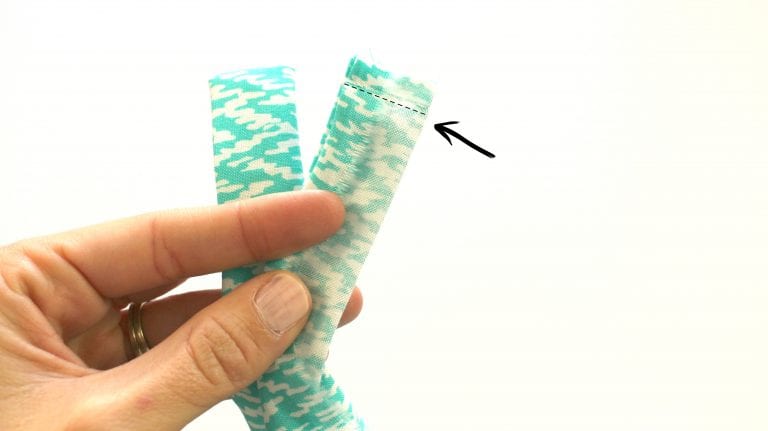
Once it’s all sewn on….You will pin on the bottom. You can finish the edges like the pocket…but I like to finish them like this (as well as the ties for the apron) I turn the binding inside out and sew across the end and then turn them right sides out for a nice finished edge!
Pin on where you want your pocket as well!

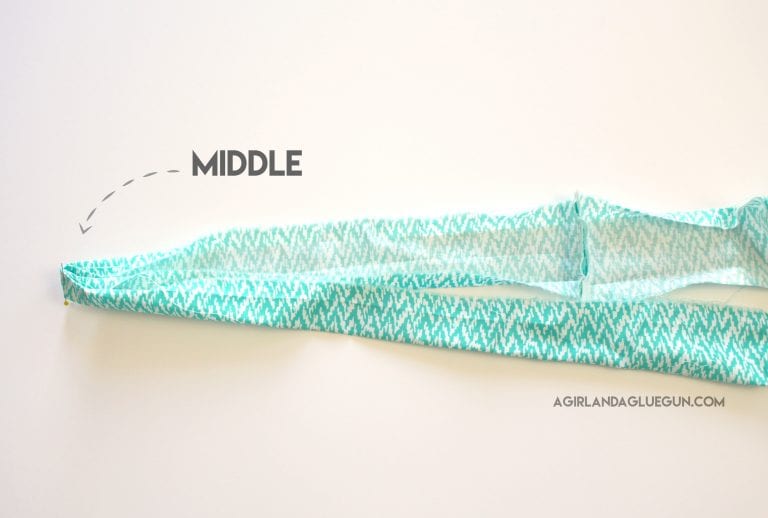
After this point I take any long strips and sew them together creating one big long strip.

Fold it in half and find the middle of that long strip. This is going to be the piece that sits on the back of your neck.
This part is hard because everyone has different sized heads… but around 18 inches is the amount of fabric that is around the top (not attached to the apron) I pin these and will sew the binding together.
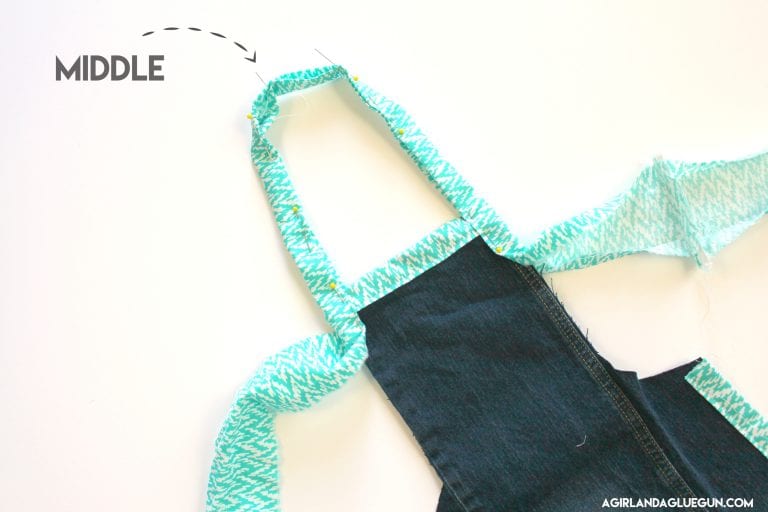
Then you just continue down the sides. It helps to straighten it out as you pin.
Then it’s sewing part 2! Start at one end of the tie you can sew one continuous strip–down the tie up the side over the head piece down the other side and back down the tie!
and make sure you sew on the pocket leaving the top open so you can actually USE the pocket!
Snip your strings and you have just made a cute levi apron!
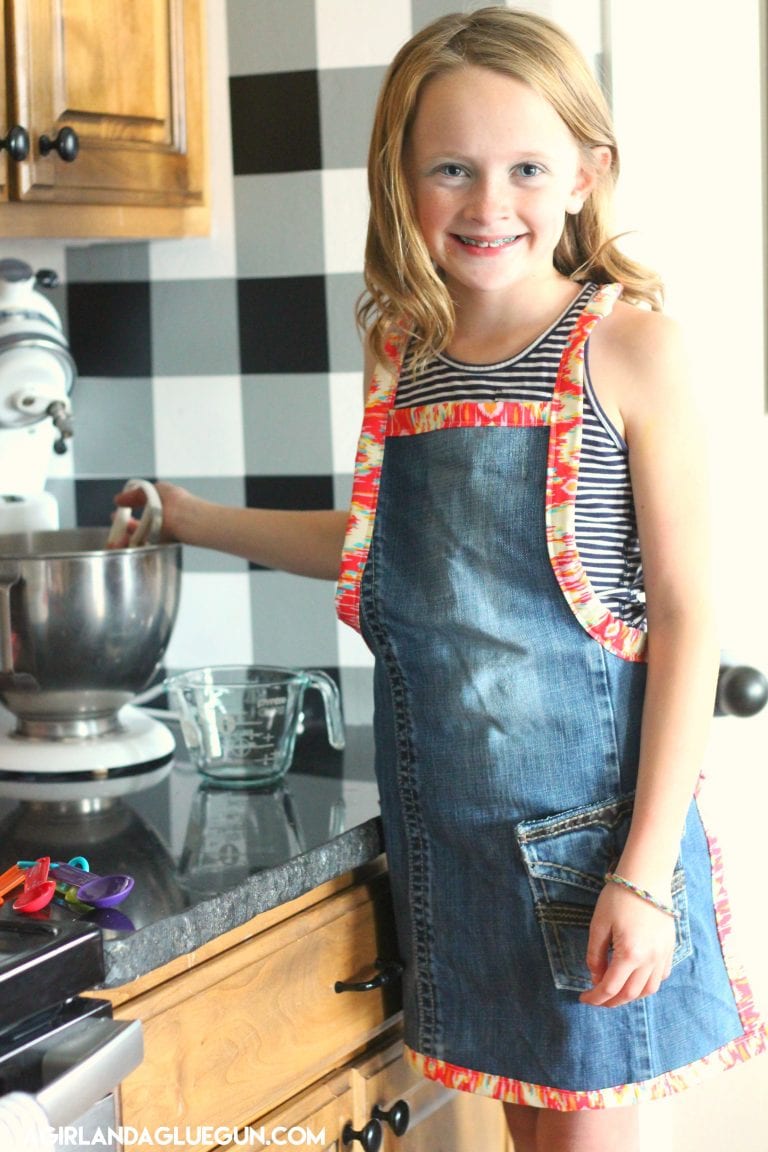
Perfect to tie around your waist and cook!
A Girl and a Glue Gun, USA

PROFILE
Kimbo is a craft hoarder.She has an unnatural attachment to her glue gun. She likes crafts that are fast, easy and cute. She does more than just glue –but the glue gun represents her as a mom AND a crafter.