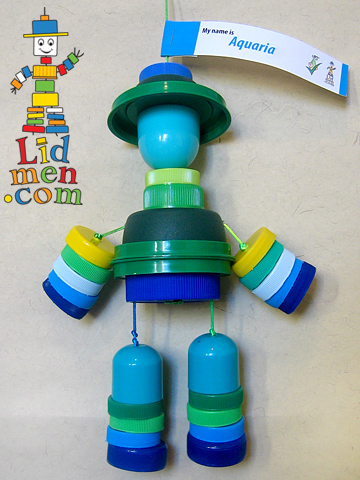
How to make your own Lidman
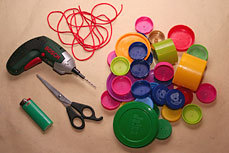
You will need:
- At least 30 plastic lids – this Lidman uses 33 lids
- About 2 metres of strong string or ribbon
- A drill with a 2mm drill bit
- Scissors
- Matches or lighter (optional)
Children will definitely need adult help and supervision for this!
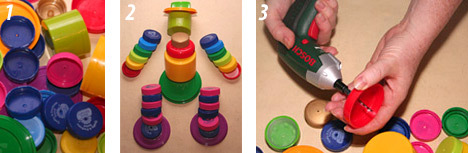
1. Start collecting lids!! On average you’ll need at least 30 of various sizes. Make sure the lids are nice and clean (wash the lids in a mild detergent and then soak for half an hour in a bleach solution to kill any nasties).
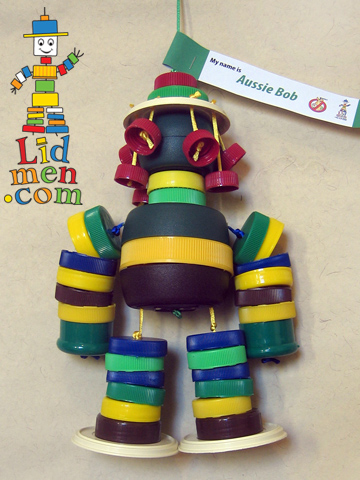
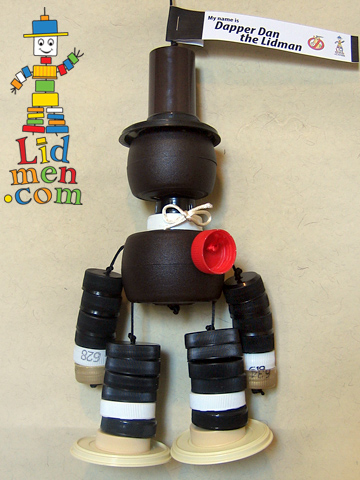
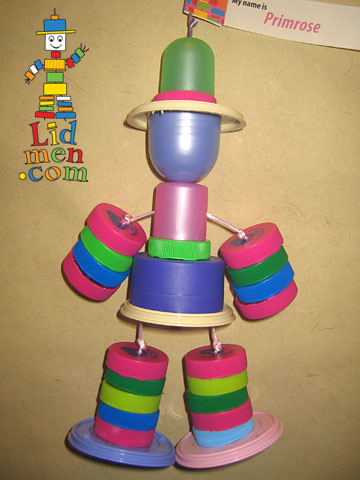
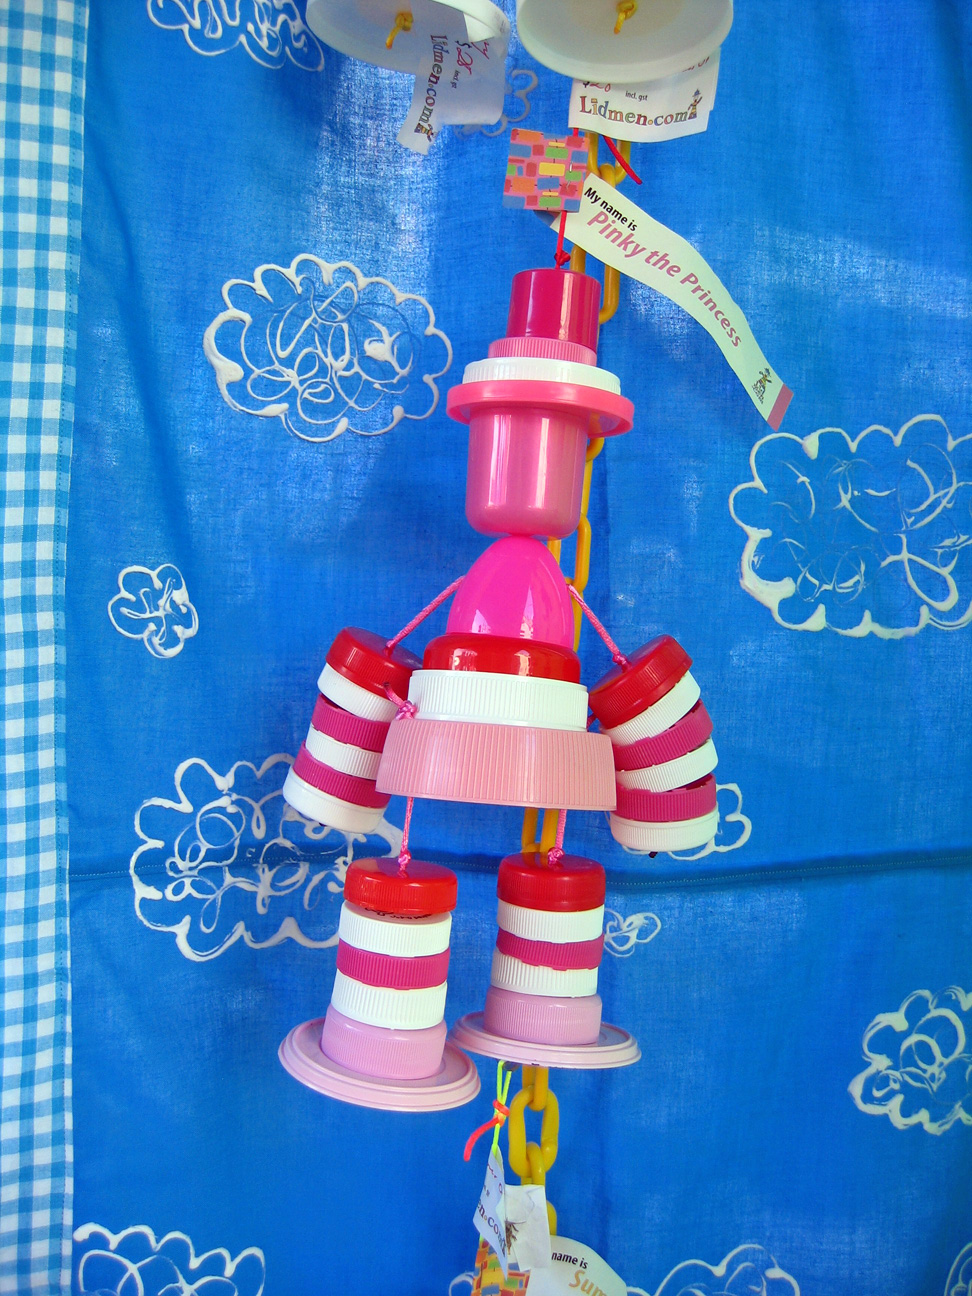
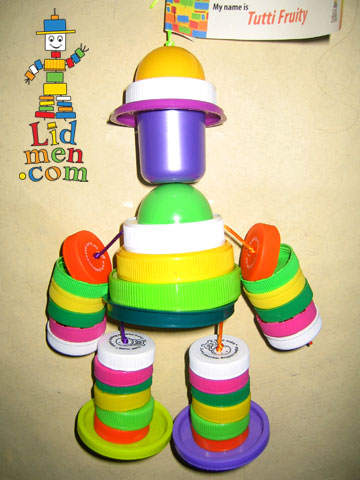
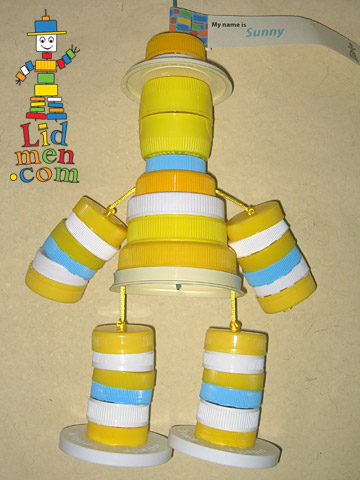
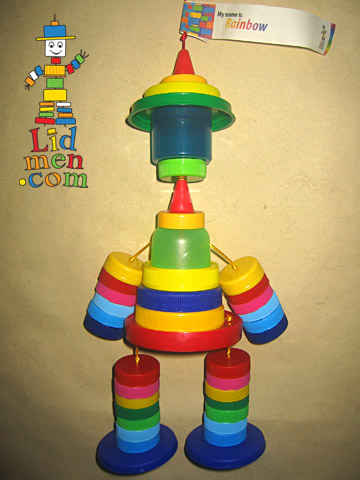
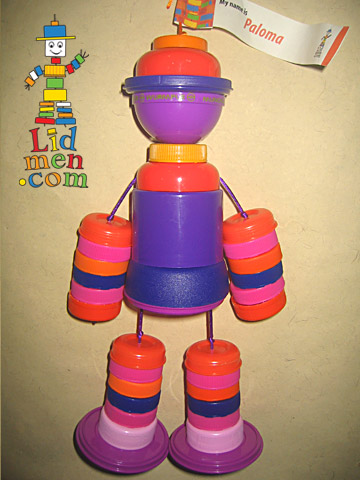
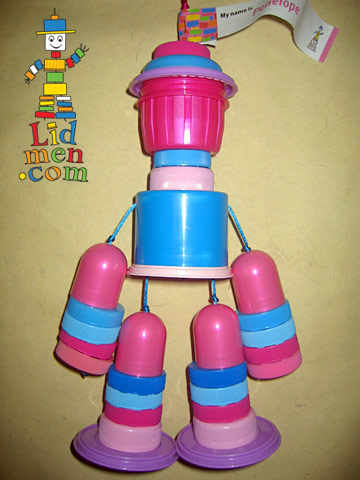
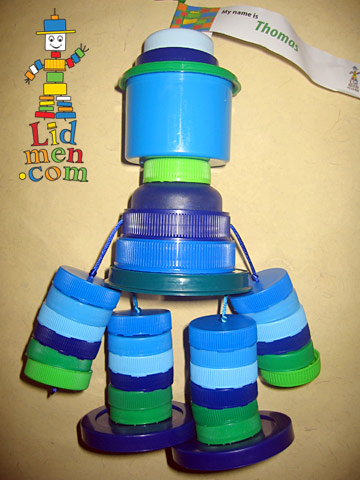
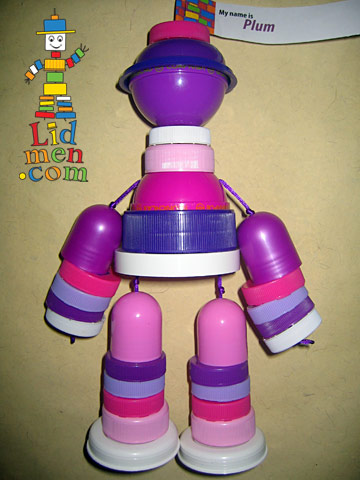
TIP: Milk bottle lids are great for legs and arms (especially for the under 3’s as lids small enough to fit inside a 35mm film canister are a choking hazard). Shaving cream or deodorant lids make great heads and bodies. Yoghurt lids make great feet.
2. Design and layout your Lidman. Give him arms, legs, a body, a neck and a head. You could also try a hat and shoes.
3. Make holes in the centre of your lids. Use a drill with a 2mm drill bit.
TIP: Smaller holes are harder to lace, but there’s less chance of the knots slipping through.
4. Start lacing him together – make the legs and arms first. Using a piece of string about 25cm long, tie a knot to create a stopper at one end and then thread the lids on. When making the arms place the first lid so the open side is facing away from the stopper knot then place following lids in opposite direction, this gives a neater appearance and keeps any rough edges “inside”. Tie a stopper knot to secure lids, leaving at least 7cm of string spare, so you can attach the arm or leg to the shoulder or bottom lids easily.
TIP: Try using a polyester string as they can be easily threaded, are very strong and the ends of the string can be melted (heat sealed) using a match or lighter to stop them fraying – be careful! – the melted tips are very hot.
5. Now drill 2 holes on opposite sides of the shoulder lid and 2 holes on the outside top edge of the bottom lid. Attach arms to shoulder lid by threading the 7cm of spare string through each shoulder hole from outside in so that the stopper knots are on the inside the shoulder lid. Thread each leg string up through the holes in the bottom lid, tying a stopper knot to secure the legs on the top. Once arms and legs are secured, cut off any excess string. This string end can now be heat sealed to stop it fraying.
TIP: Do this step before you lace up the body as it is almost impossible to attach the arms and legs to the body once it is assembled.
6. Starting from the Lidman’s bottom lid (now with legs attached) thread it on a string that is at about 50cm long with a stopper knot at the end. Thread the belly lid, followed by the shoulder lid with arms attached. Now move on up to the neck, head and hat before tying a stopper knot as close as possible to the topmost lid to stop the Lidman from coming apart.
7. For safety, the free string above the Lidman should be no longer than 22cm so the little ones under 3 can’t get tangled up, so trim any excess accordingly. Tie a loop at the top to hang the Lidman or leave it loose to use him as a puppet.
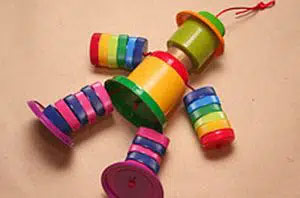
Give him/her a name and ENJOY!
Cheryl's lidmen and lidladies

Lidmen, Australia

PROFILE
Lidmen.com was owned and operated by No Rest For The Wicked, a Sydney-based design studio run by Cheryl and her husband.
Cheryl, made and sold Lidmen both to delight children and to make use of small plastic lids which are not recyclable in most communities.
She designs and makes each Lidman that she sells and notes that small children love the rattling sound they make when shaken.