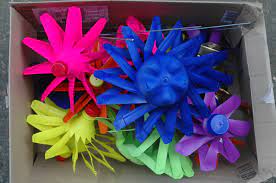
Plastic bottle windmills
Darcy’s son Ewan made a film about how to make a plastic bottle windmill
There is also a video showing an example of adding LED’s and copper wire and magnets to your plastic bottle windmill.
Darcy Turner, England

PROFILE
Based in London Darcy is an artist/ designer and inventor who designs, sculpts, invents and manufactures.
Darcy’s passion is finding great ways to make particularly with and for children in engaging 3D workshops in schools.
Main Research Source
 What have we learnt?
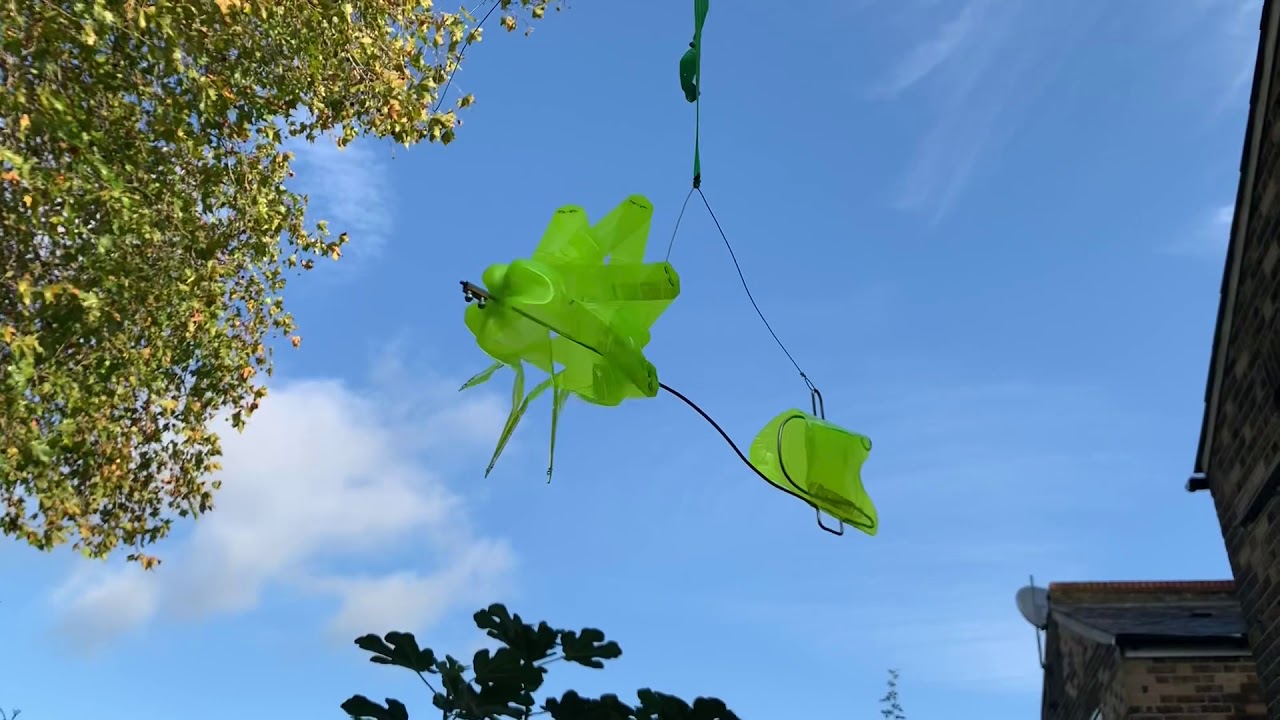
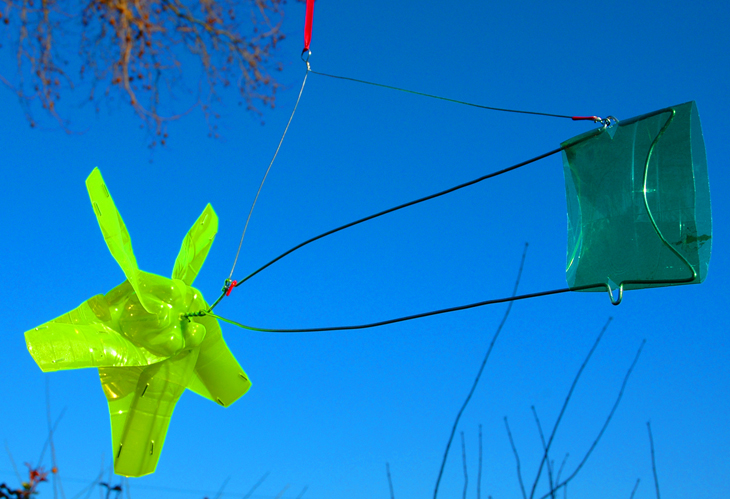
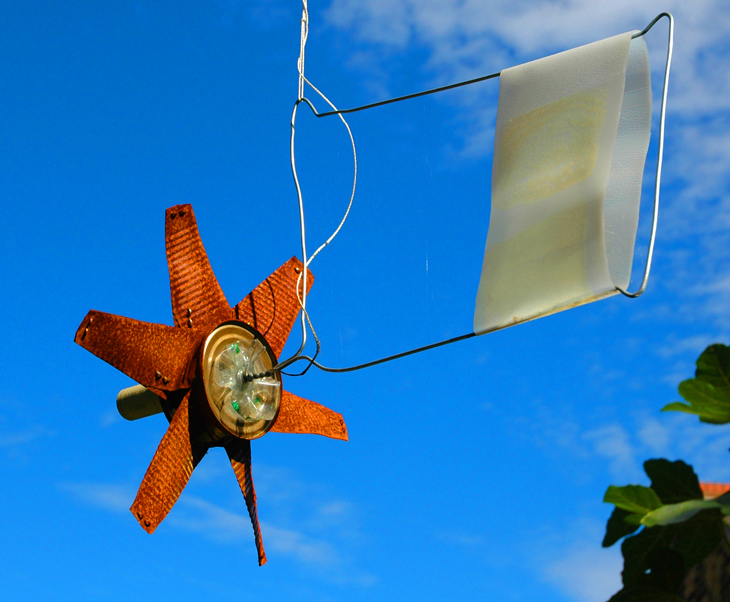
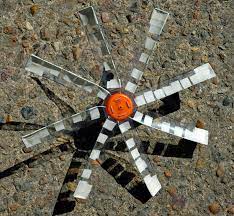
- The tail funnels the wind, helping the windmill turn
- It uses screw terminals as spacers on either side
Materials – wire coat hanger, 2 plastic bottles, ribbon, terminal blocks (electrical connectors)
Tools – drill with 2.8mm bit, various books, clothes pegs, scissors, marker pen, stapler, screwdriver
Short form notes:
- Drill holes in the base of easch bottle
- Use a pile of books to hold the pen at the right height to draw a circle around the top of the bottle
- Then repeat with one book to draw a circle around the bottom of the bottle
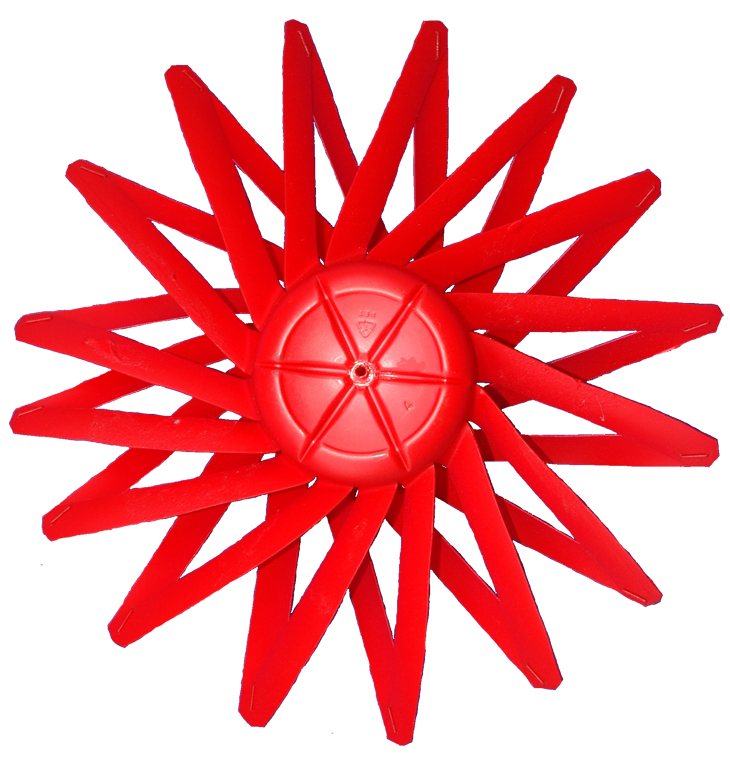
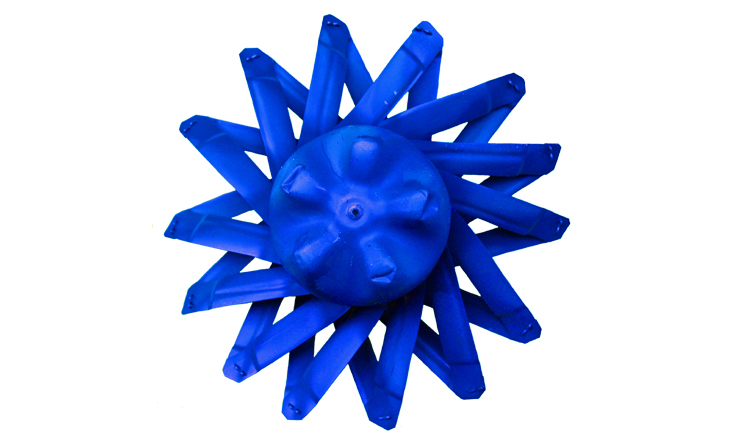
- Cut off the top of the bottle
- Cut slits down to the bottom circle you drew to form equal sized blades
- Fold each blade 45 degrees out at the base
- Repeat for the other bottle, but fold the blades facing the other way
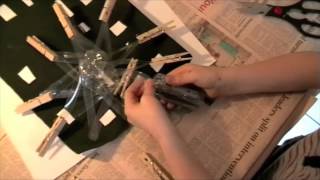
- Peg the tips of the blade together
- Remove each peg and staple together at the end
- Trim the tips
- Untwist the coat hanger, trim off the twisted part with pliers
- Slide on a terminal block to the second shoulder and screw down
- Add the windmill and another terminal block
- Punc holes in a tube shaped bottle section as the tail and slide wire through, bending the end over to fix
- Bend the hook part of the coat hanger to reach back over the windmill, Hang with a ribbon.