Turn a Discarded Box Spring Into a Shelf - Totally Reclaimed!!!

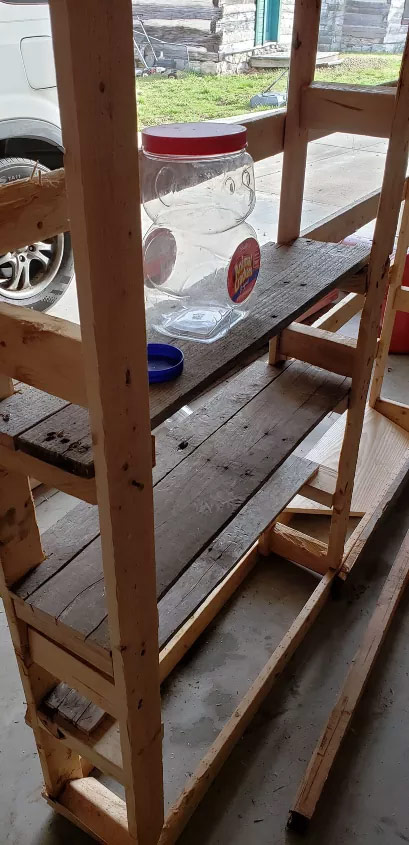
Up cycle a discarded box spring into a storage shelf with little or no money using reclaimed materials.

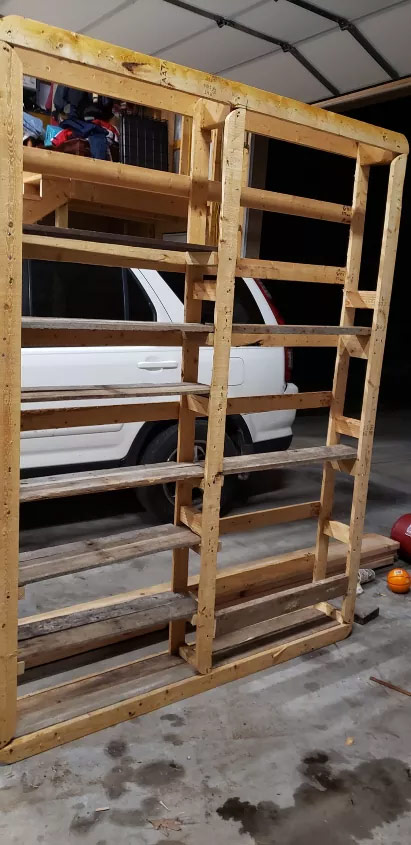
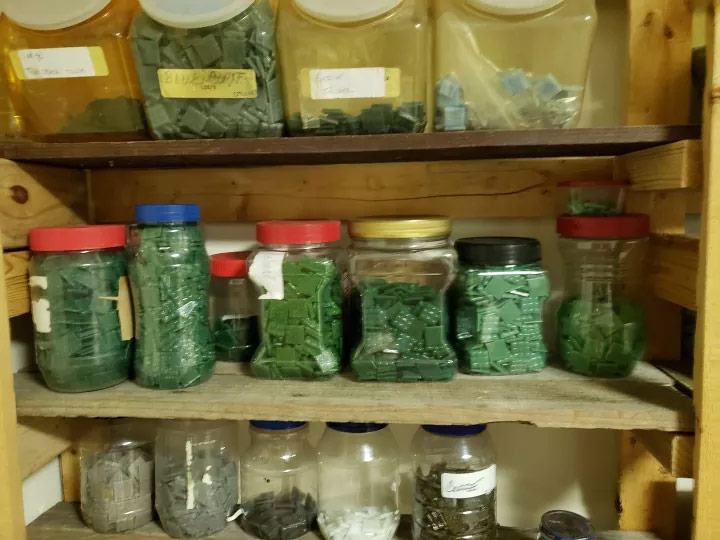
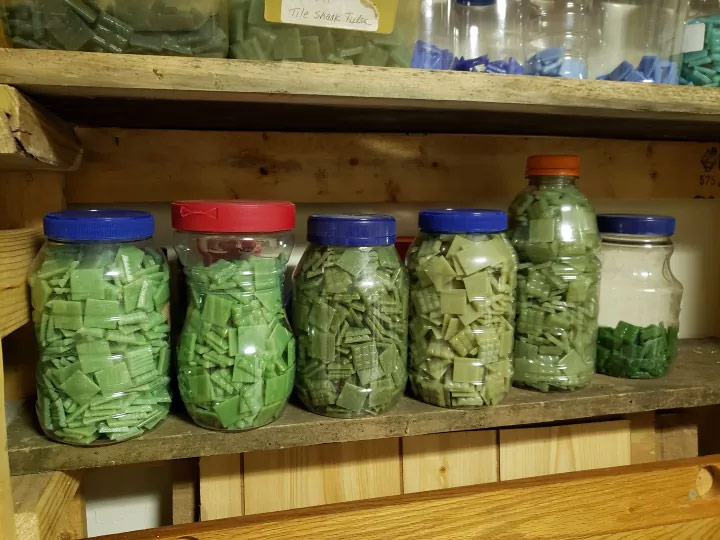
Increase your storage space in the garage, pantry, or craft room using a discarded box spring.

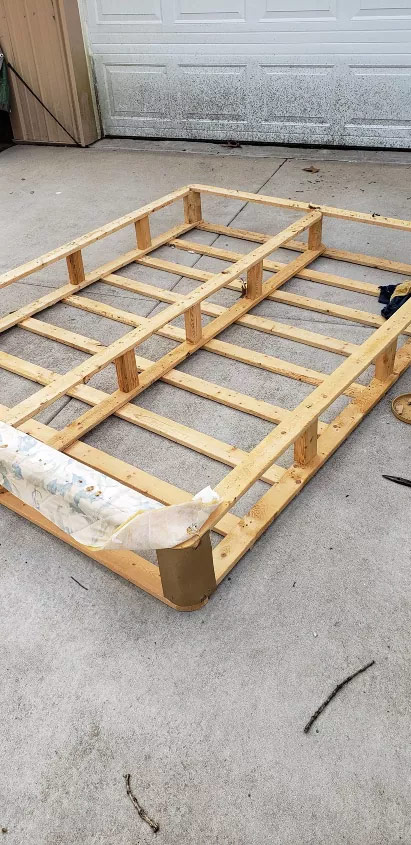
A tenant bought a new mattress set and needed to dispose of the old set. Not able to haul it off, she decided to breakdown all the parts to put in the dumpster. I hadn’t notice her doing it until I saw the box spring frame laying out by the dumpster already stripped of material and the springs. I am not sure what difficulty she had in removing all of it but she is about 90 pounds soak and wet so maybe it wasn’t too difficult This process had to be the most difficult! I digress!

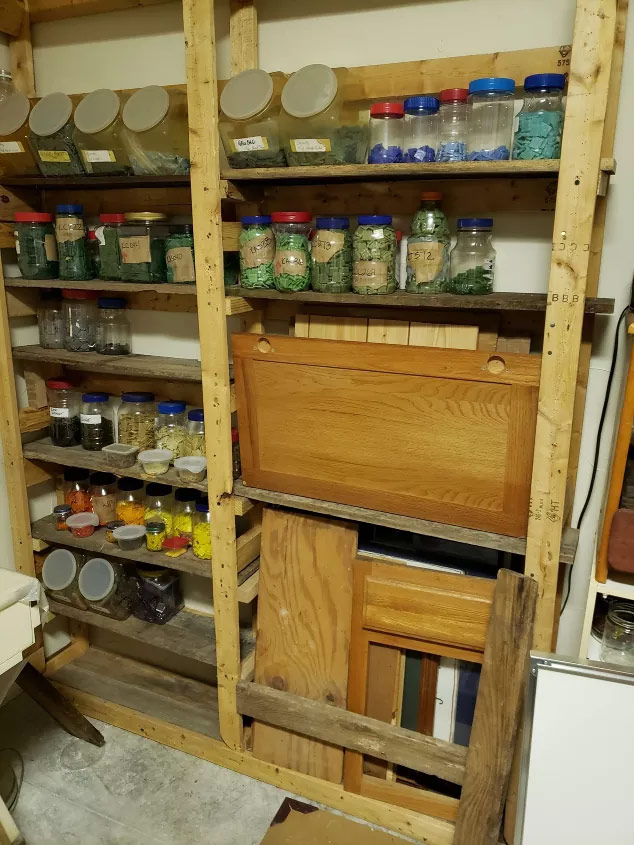
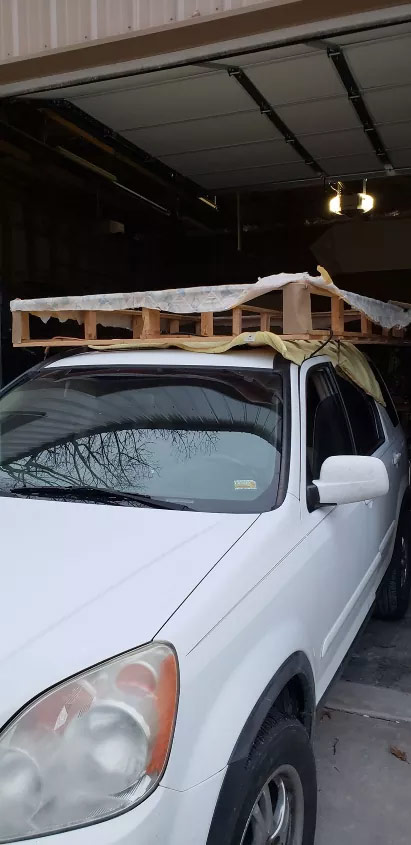
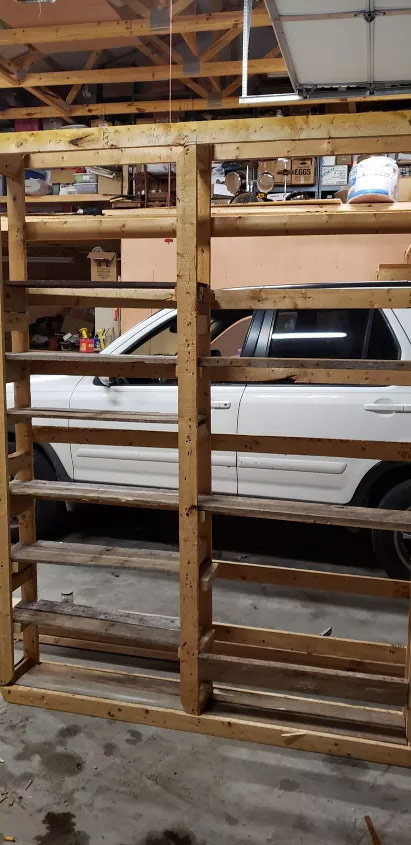
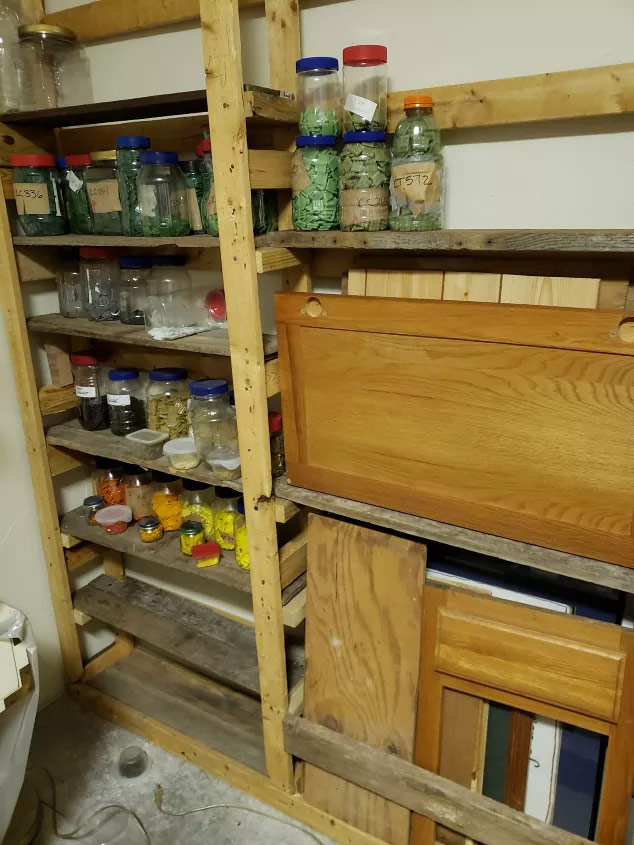
I do mosaic and am in constant need of storage space that allows visibility of my materials. I have tried book shelves of all shapes and sizes and nothing worked. When I saw the frame laying on the ground, the thought hit me!! THERE IS MY SHELF! Perfect depth, perfect price. So, I loaded it on the car! Not the prettiest, most efficient way to haul it but when you are on a limited budget and limited resources, you can come up with some pretty creative ways to accomplish tasks!

My apologies for the amateur job and pictures! I wasn’t sure this was going to work and I am definitely not a master carpenter.

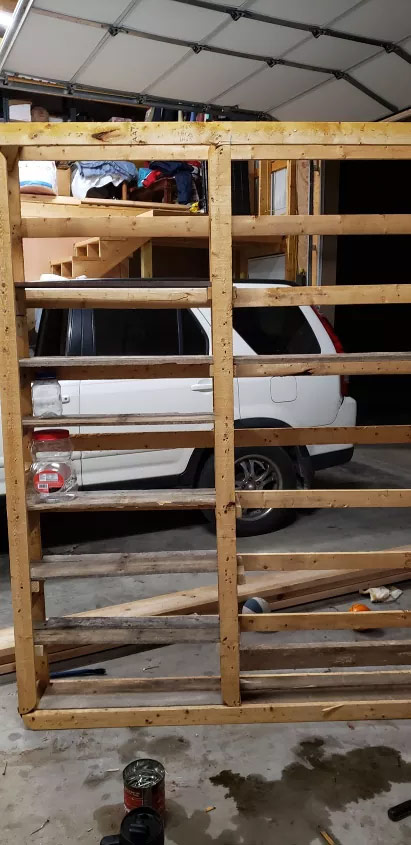
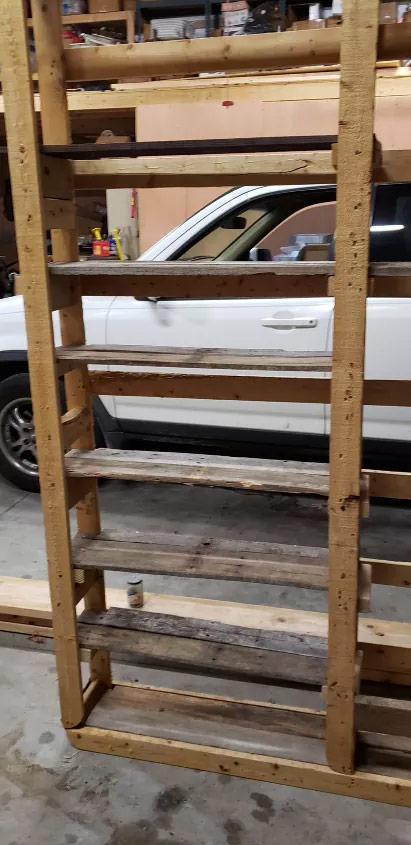
Use slats from a disassembled pallet for each shelf. The board for the back will need to be notched if you want the shelf to extend that far. Attach each shelf to the 2 x 4 support using nails or screws.

The haul home
The material is stapled all around the frame so all of those have to be removed. Again, the difficulty of removing the springs is unknown! Also, the time alloted to complete this project will depend on the removal of the material on the frame
Use a flat head screwdriver and pliers to remove all the staples and material. (Have a container available to put all the discarded staples in for disposal! There are a lot of them!) (The bracing on this frame is not lined up to be able to just add shelves. I would imagine all of them will be that way to help with the support of the mattress).
Measure the depth between the front and back where you will need to attach a support. This is important to do with each rung because not every place is exactly the same. Using scrap pieces of 2x4's, place a support on each rung where you want a shelf. Most were cut to about 5" lengths using a table saw. 2x4 supports can be used horizontally or vertically but in the middle, it is best to use horizontally. Attach each support by the means of your choice - i..e. screw or nails. I glued the ends of the 2 x 4 before attaching.
Another view
More Supports.
You can see the horizontal 2 x 4 of the bottom shelf. This gives a support for the shelf on the other side.
The finished product! Now all supplies are visible and easily accessible. This will also work very well for canned goods in a pantry space or in the garage for paint, car washing supplies or?????! I love this idea so much I am scouting now for another box spring! I need the shelving and it was a super fun project!
You get to determine the height of the shelf. If you have taller items to store, leave out a shelf!
Everything in view!
PS.... Even the jars are recycled - mayonnaise, peanut butter, instant coffee, trail mix. You name it!

Hometalk, USA

PROFILE

Hometalk is an online platform that enables people to improve their living spaces through DIY. Founded in 2011 and based in New York City,

Main Research Source
Top