Windmill Knot weave: Maori project
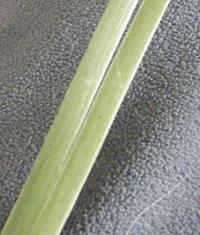
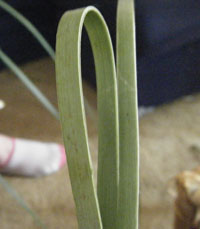
Small projects learned right at the beginning of a Maori Visual Arts course for familiarisation with raranga or weaving. The Windmill a basis for some of these projects.
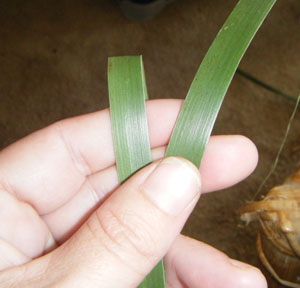
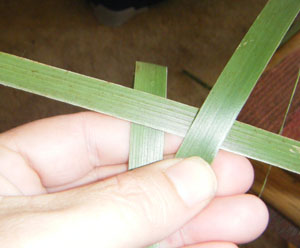
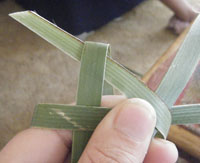
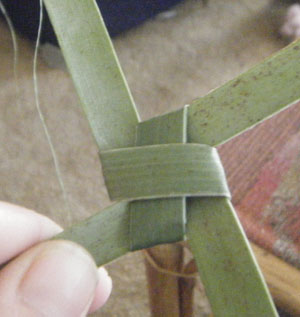
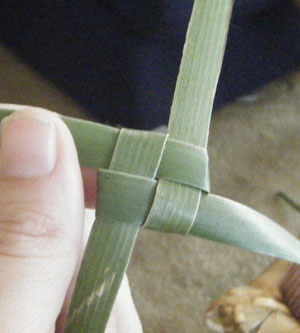
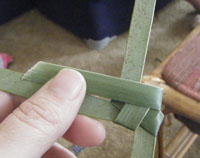
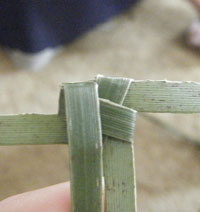
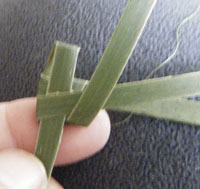
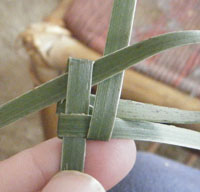
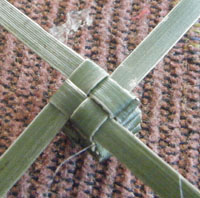
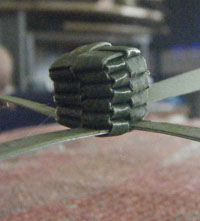
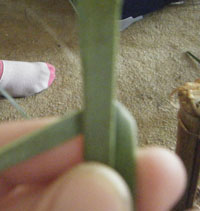
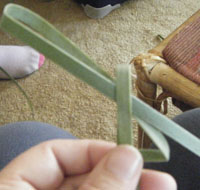
Windmill
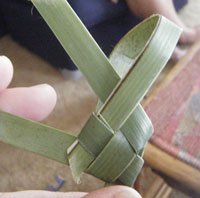
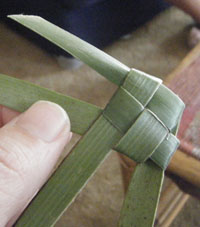
Ika (fish)
The Ika is a continuation on from the windmill. Make the windmill as shown. Turn over so the back is facing you and continue as follows.
Wasp nest
The wasp nest is a neat little design that can be used as buttons for kete etc. My kids compared it to scooby weaving.
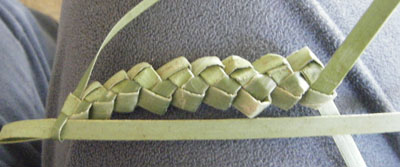
Caterpillar
A flat structure. The caterpillar is actually incredibly simple to do!

Mandy’s Work Journal, Maori Visual Arts

PROFILE
Mandy’s work journal of her journey towards gaining a Diploma in Maori Visual Arts.