DIY project: paper frames

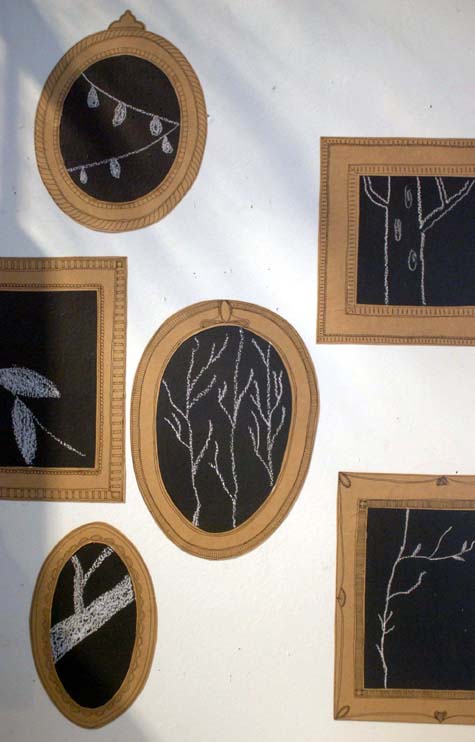
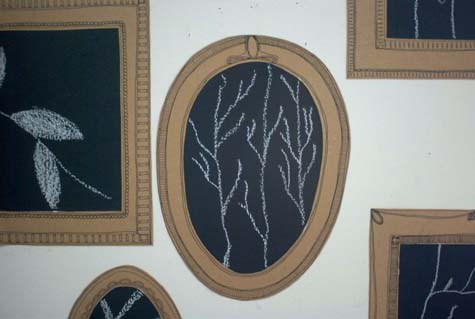
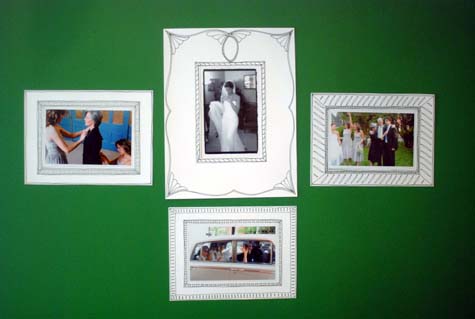
We love old frames. We love new frames. We love framing things — old maps, family photos, menus from an important dinner and really anything we can get our hands on. But here is the problem: framing is not cheap. We wanted to create some less-expensive wall décor and came up with these very easy-to-make paper frames, made from things around the house.


Materials

  • scrap paper from old faxes, print-outs
  • various decorative papers, scrap paper, wrapping paper, wallpaper, or cardboard (paper bags from the grocery, old boxes)
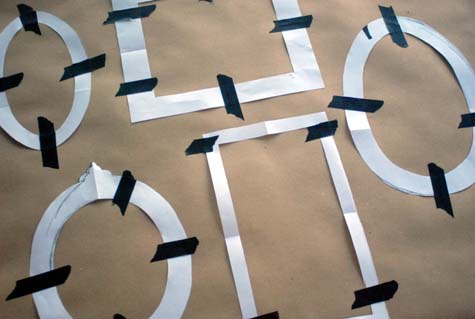
  • scissors
  • masking tape
  • a favorite black pen (we used a Uni-ball Roller Ball)
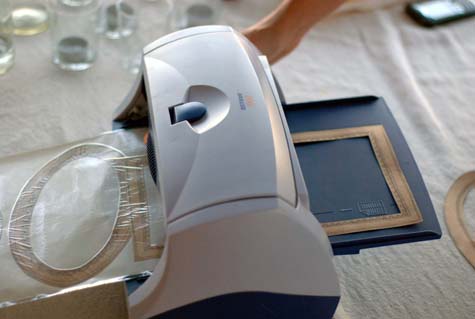
  • sticker maker or double-stick tape
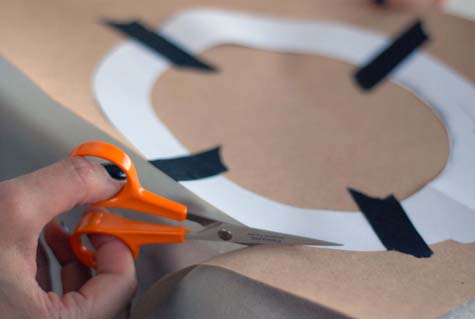
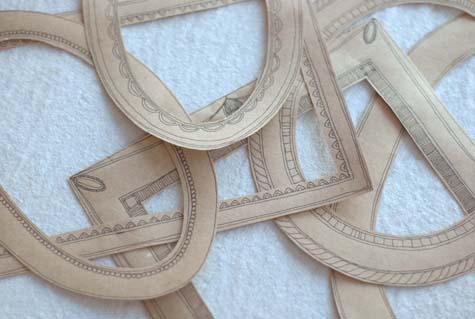
Instructions

1. Make the frame templates. Fold a scrap piece of 8 ½” x 11″ paper twice so that it is ¼ of its original size. Create your frame pattern by drawing just around the corner of the frame so that when you cut it out, you will have a whole frame (like when making paper snow flakes). Keeping the paper folded, cut along your lines. Using a ruler is a good way to get your lines straight and ensure a nice frame width. This is your template.
2 - 3. Tape the template to your brown paper or cardboard (or ANY decorative paper, wallpaper or wrapping paper scraps you might have) with masking tape. Carefully cut out your paper frame.
4. Use your favorite pen to draw designs on the frame. Don’t worry about the patterns being perfect; they will look great with imperfections! The more time you spend on an intricate pattern, the better. These frames took about 10 minutes each.
5. Use double-stick tape on the backs of the frames (or run it through a sticker maker).

Design Sponge, USA

PROFILE

A daily blog run founded by writer, Grace Bonney. Launched in August of 2004

Main Research Source
Top