Dodeca Rubber Fidget Ball From Inner Tubes
This project represents combination of two ideas. Firstly it’s rubber band balls, and Flying Squirrel’s instructable (INNER TUBE RUBBER BAND BALLS) was a part of my inspiration. And secondly, dodecahedron, made of inner tube rings/loops derives from Idea63’s instructable INNERTUBE LOOP CREATIONS.
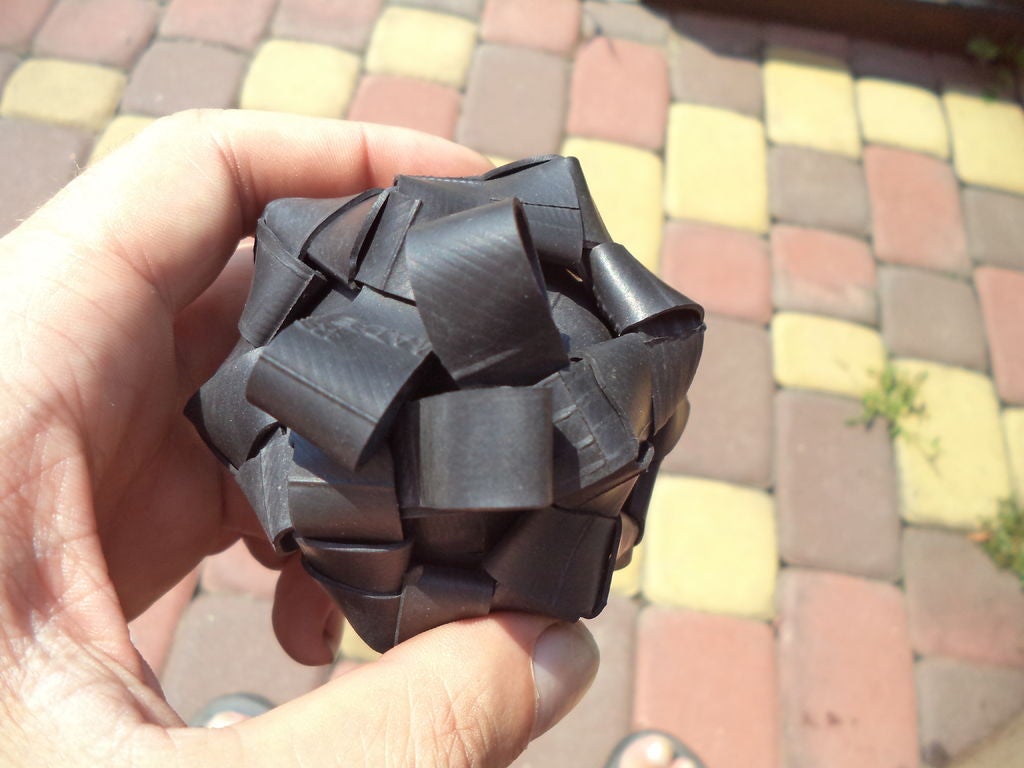
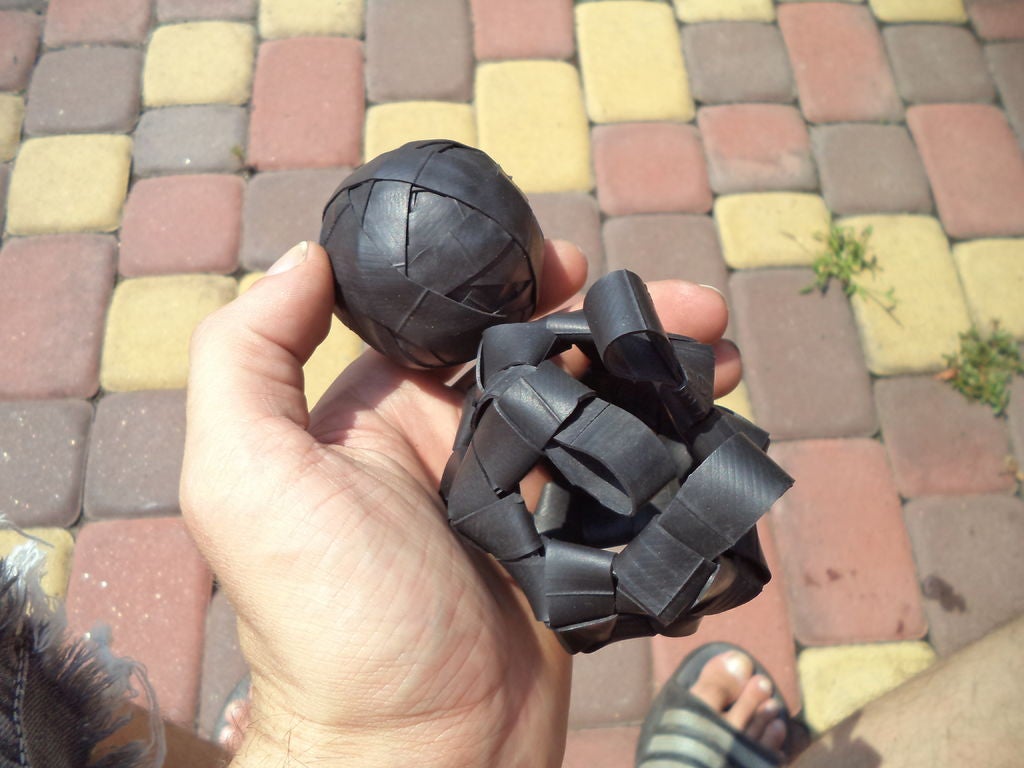
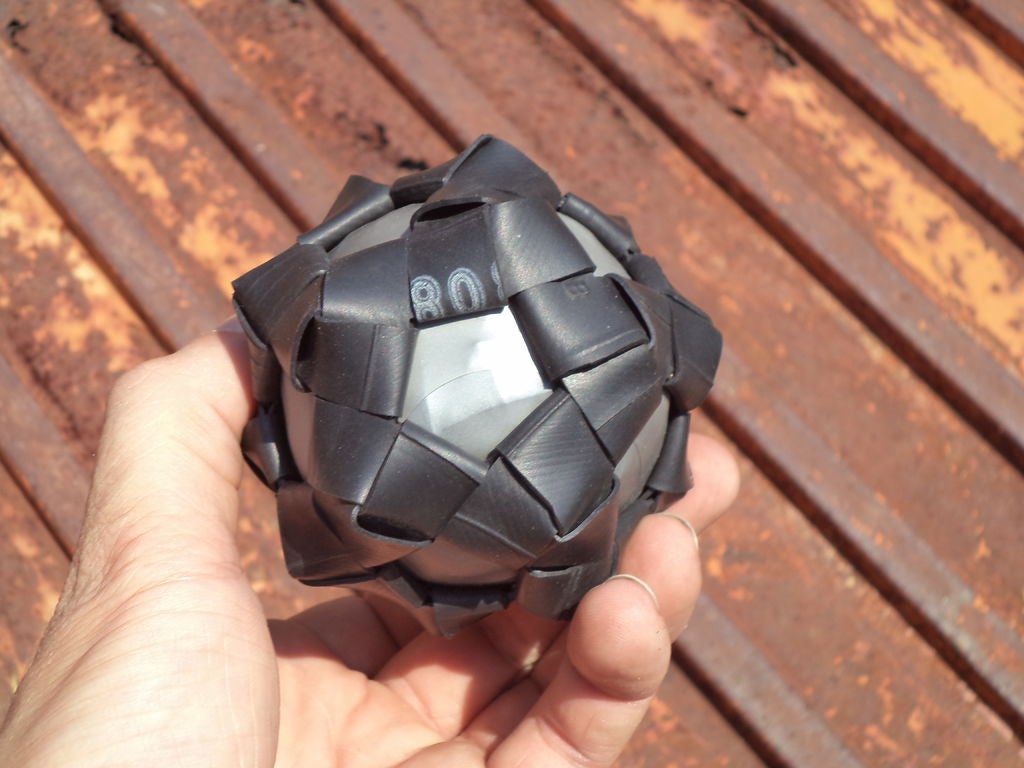 What I did is just put one inside another with adding some my own tips and tweaks. The resulting thing looks really cool, feels nice in the hand, has a bit of heft in it so it’s satisfying to throw and catch.
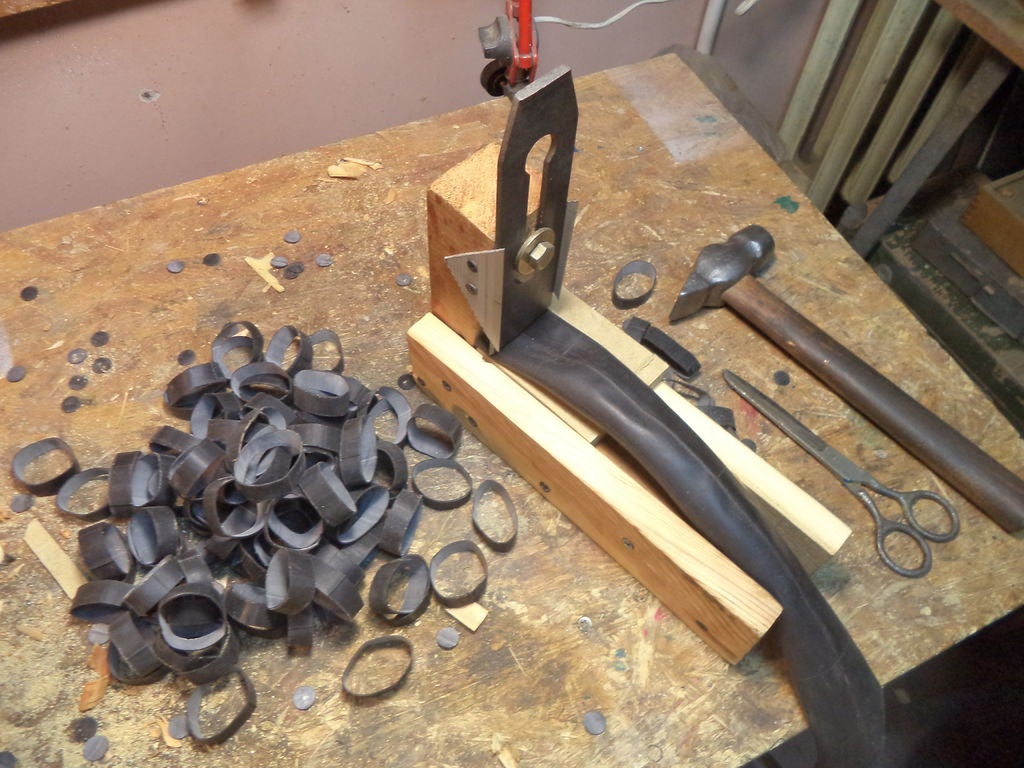
For making the ball you’ll need to cut a bunch of rings out of bicycle inner tube. You can do it with scissors, or with a knife, or you can build my TUBE CHOPPER!
Most of the rings will go for making the ball. Their width doesn’t matter.
Something like 2-3 dozens of rings will be used for making dodecahedron casing. They should be ~1/4 of the width of the inner tube. 10-12mm should be fine (for regular mountain bike wheel inner tube)
One 28 inch wheel inner tube should provide all the material you’ll need.
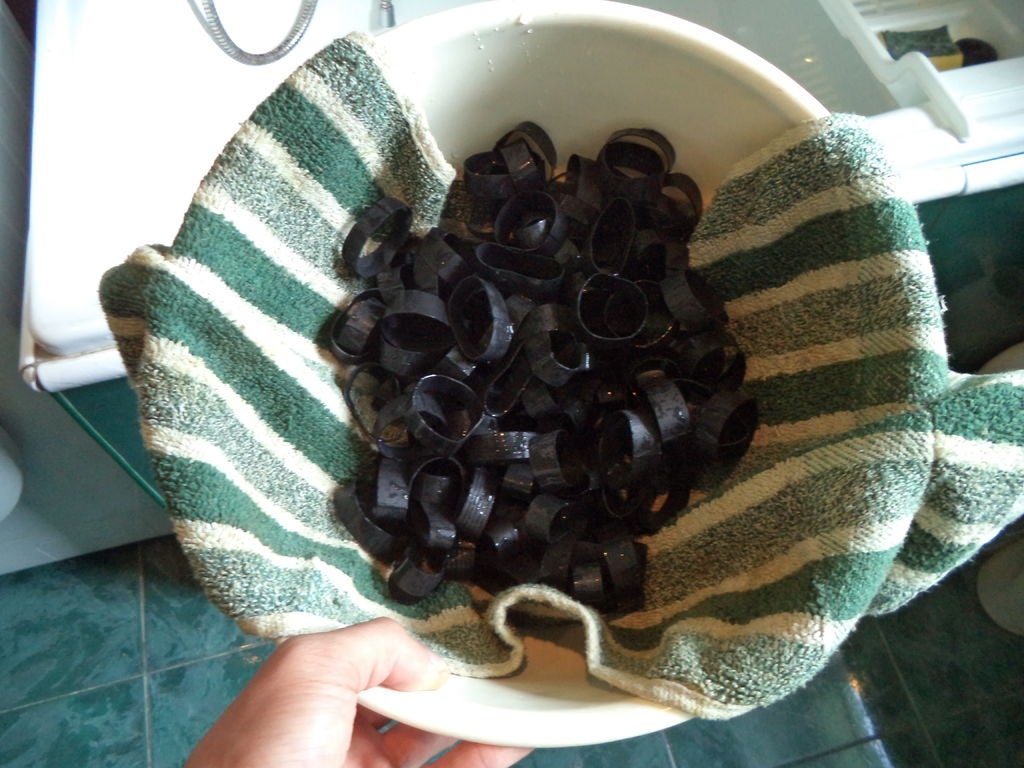
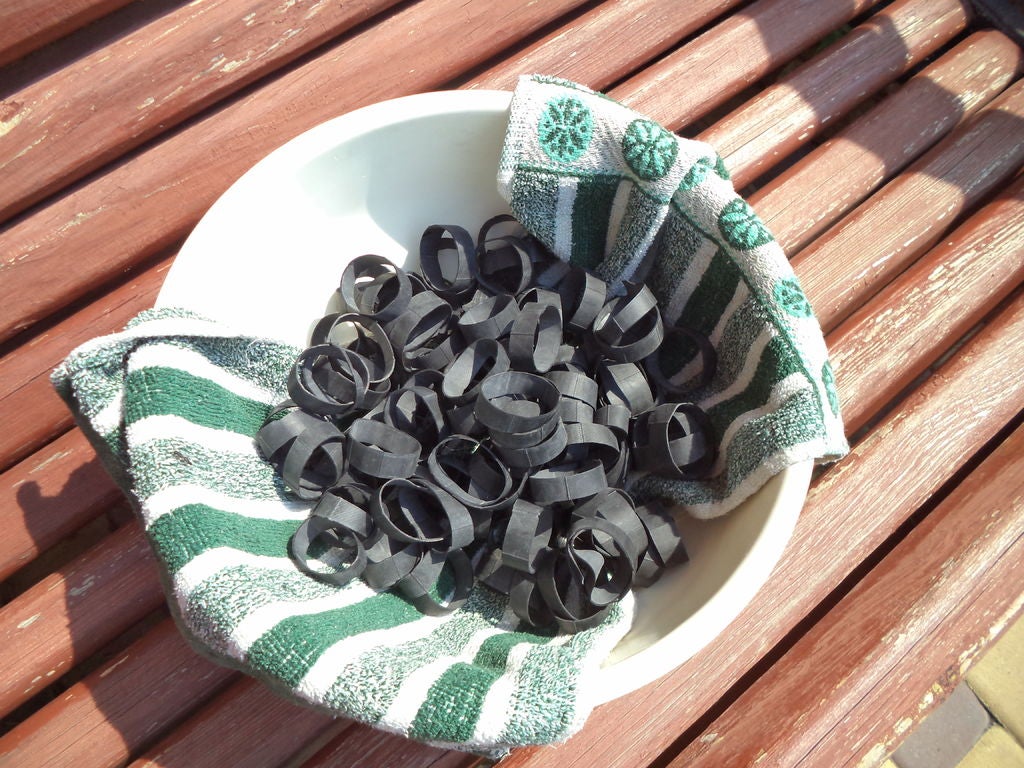
Wash the rings in soapy water and dry with a towel.
1. Cut and wash loops

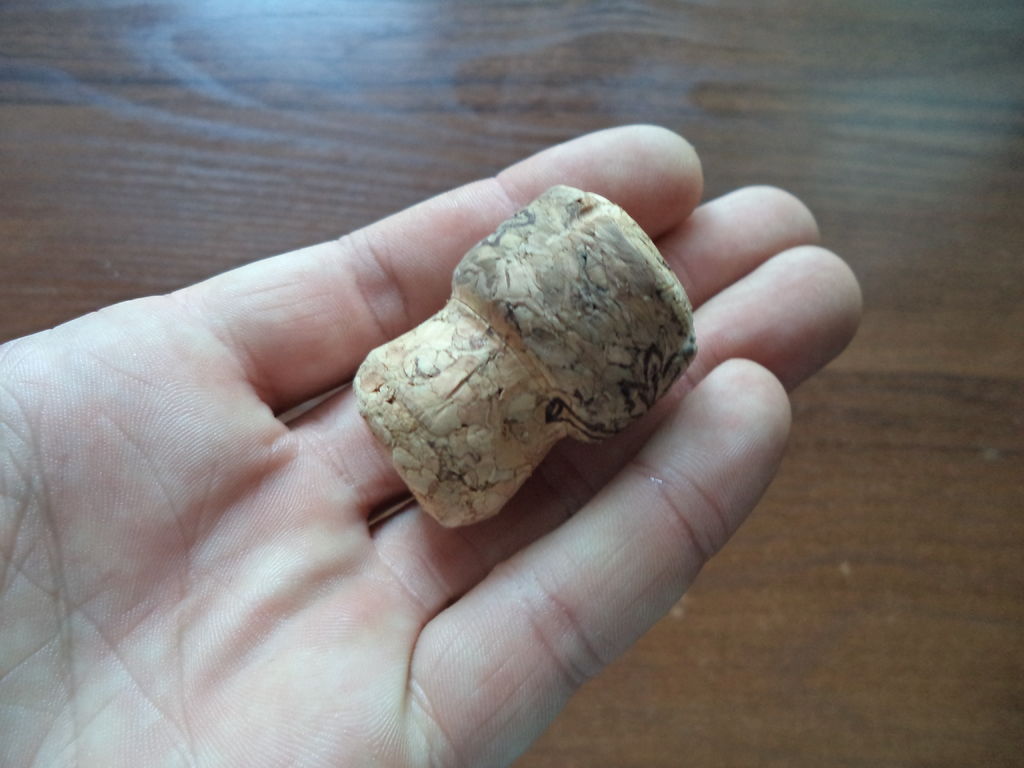
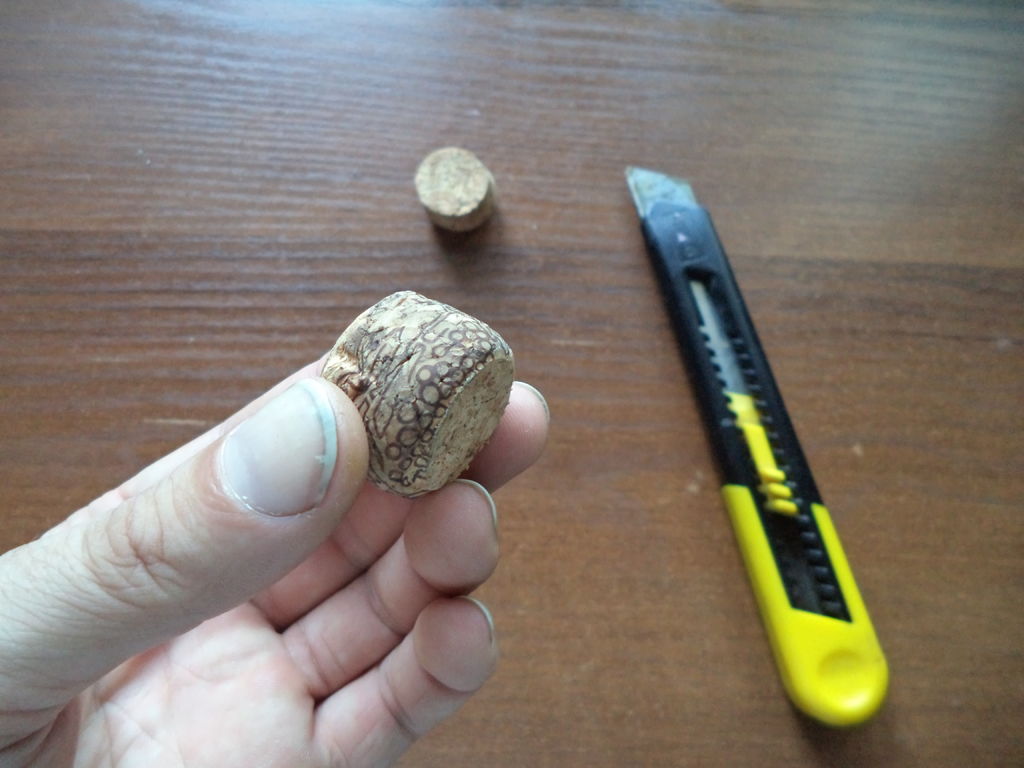
2. Cut cork for the core
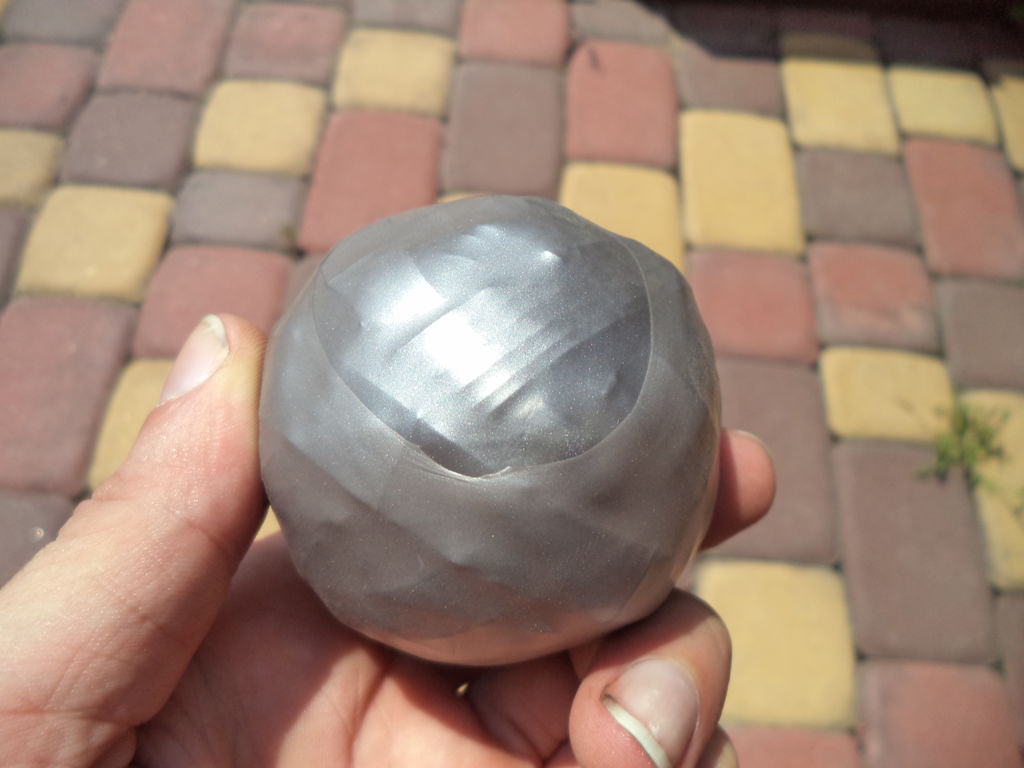
And we’ll start with making a rubber band ball. You can make it all-rubber, but I’m cheating a bit and using a piece of cork as a core.
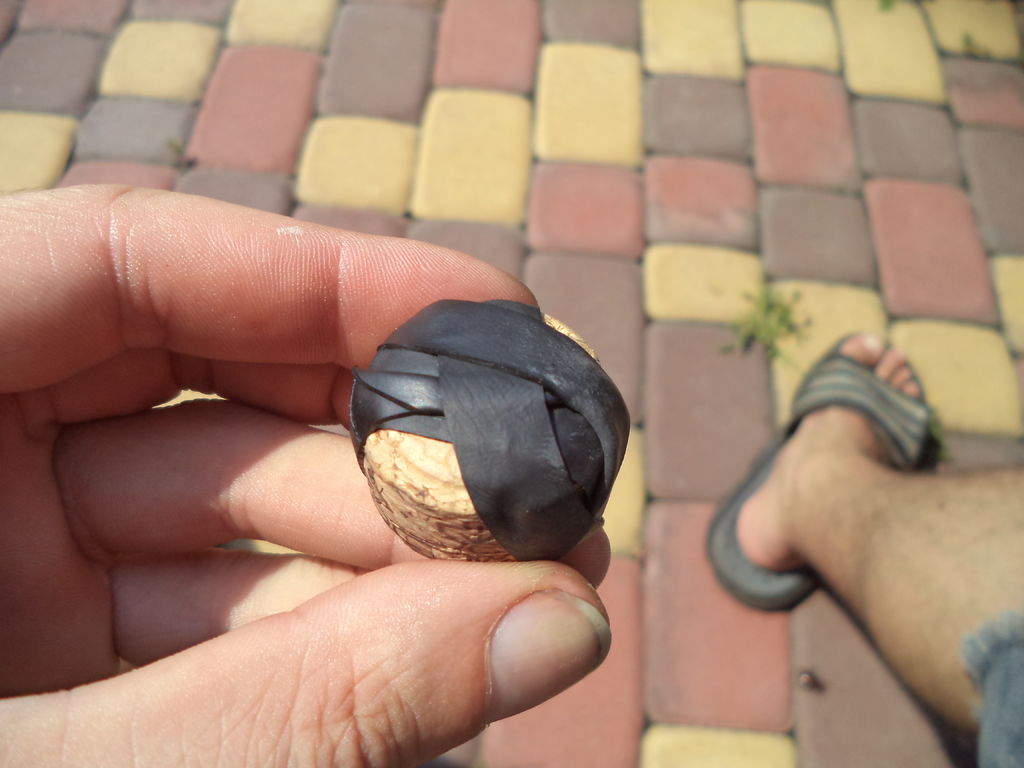
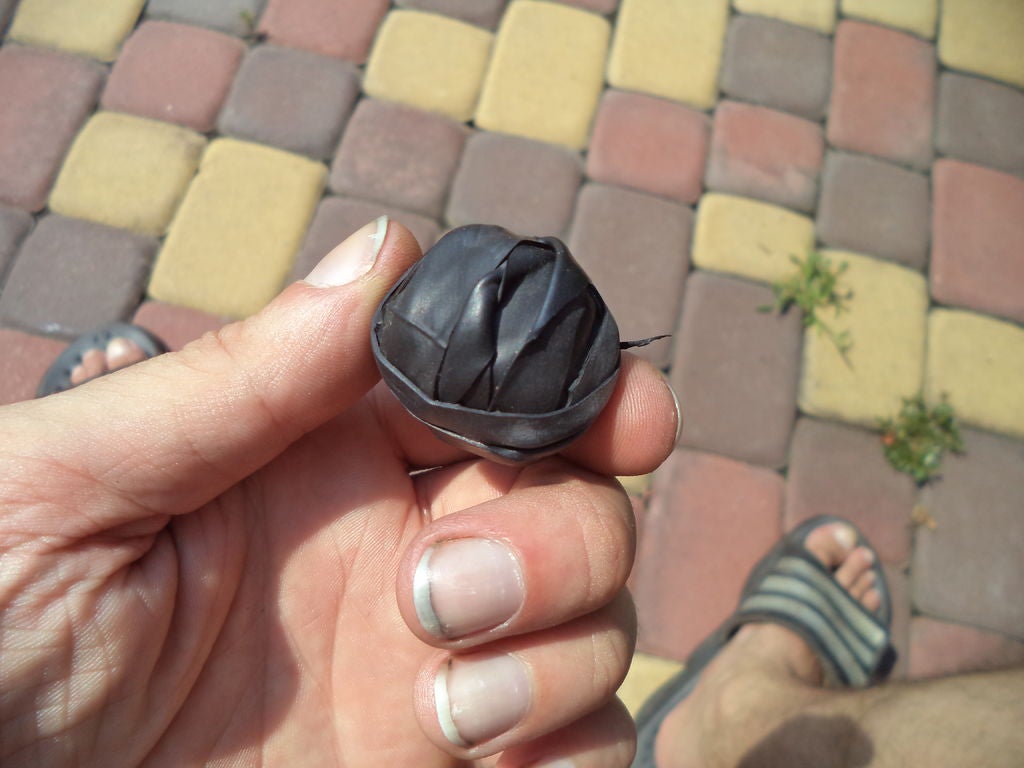
3. Make the rubber band ball

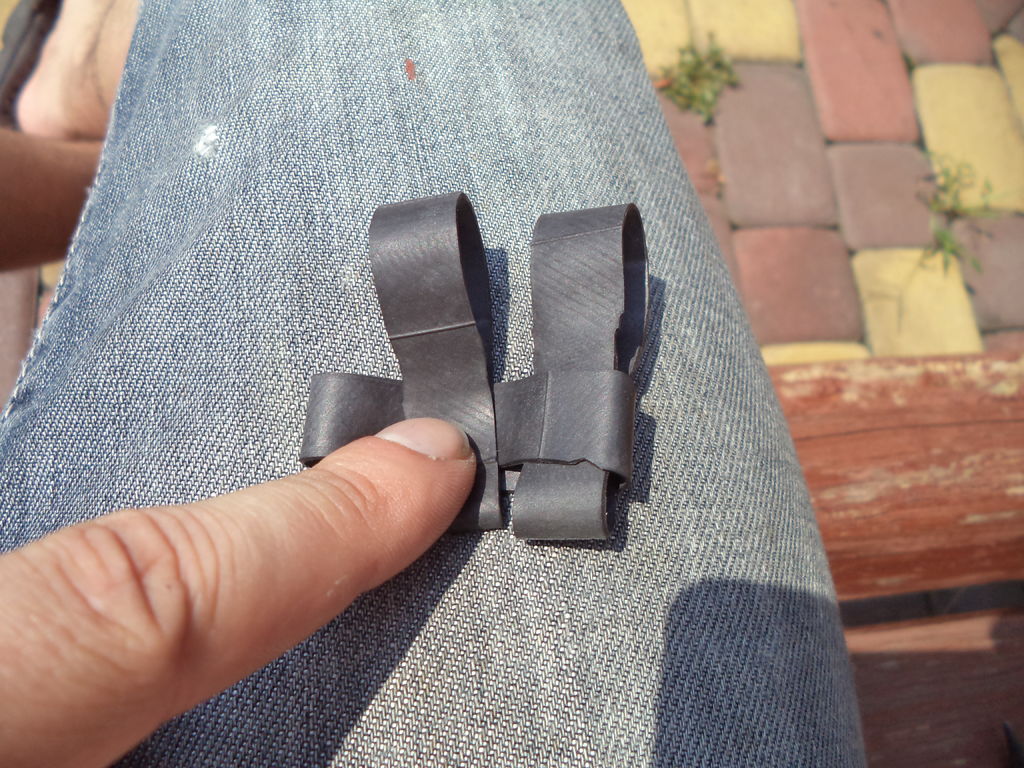
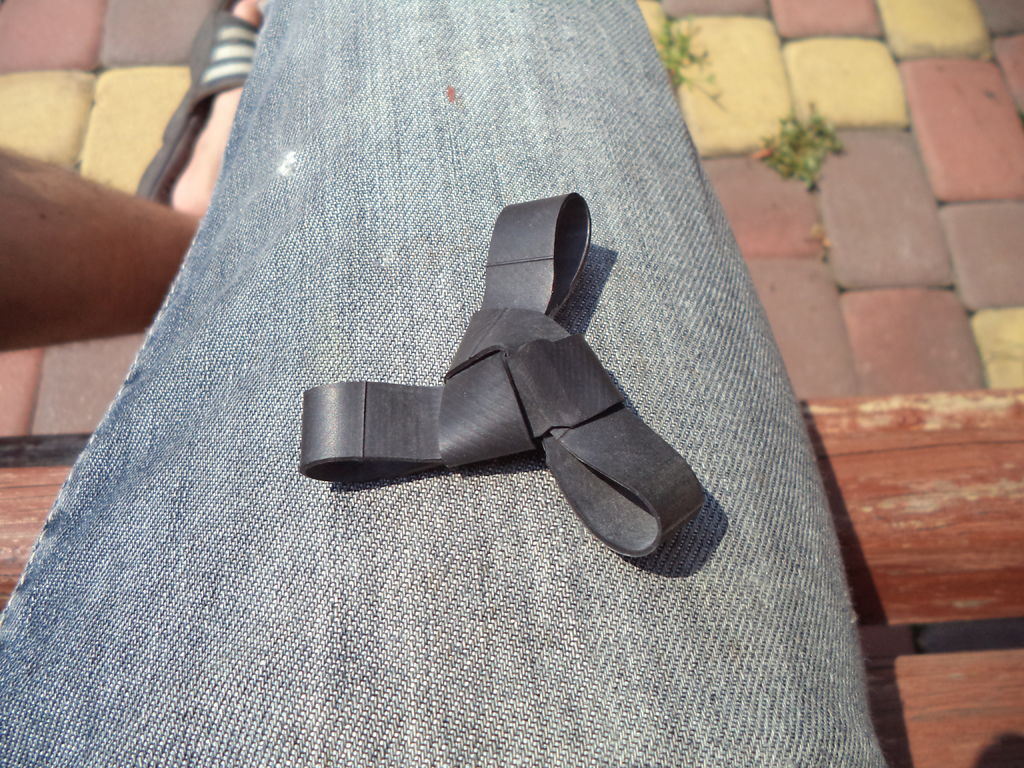
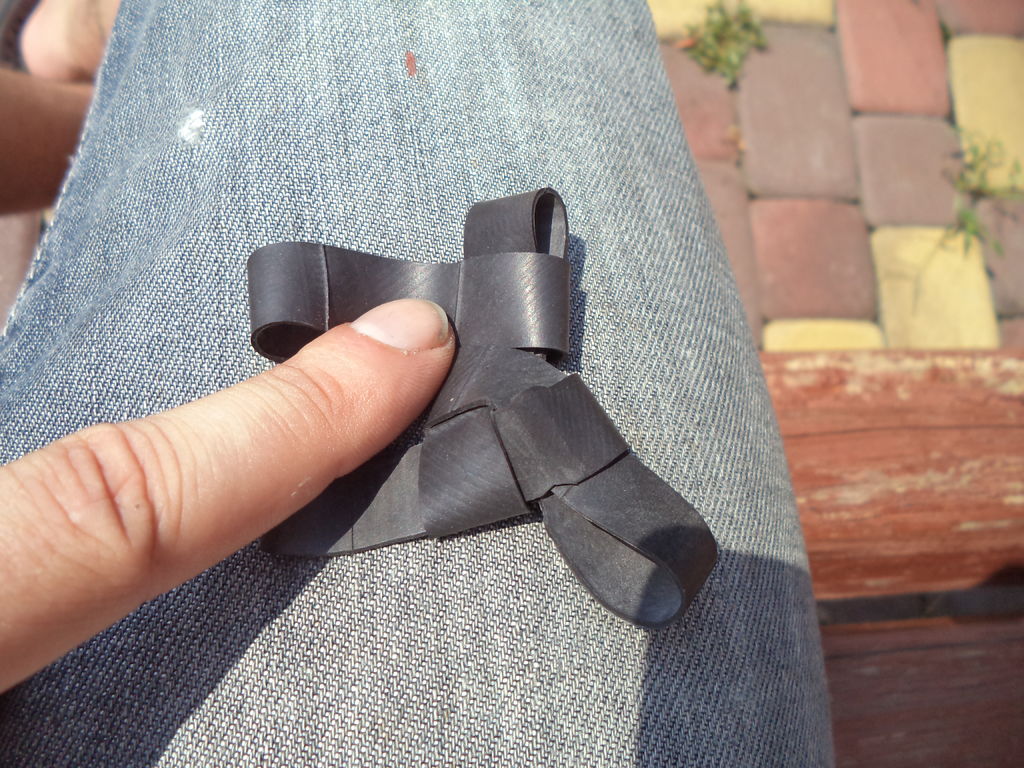
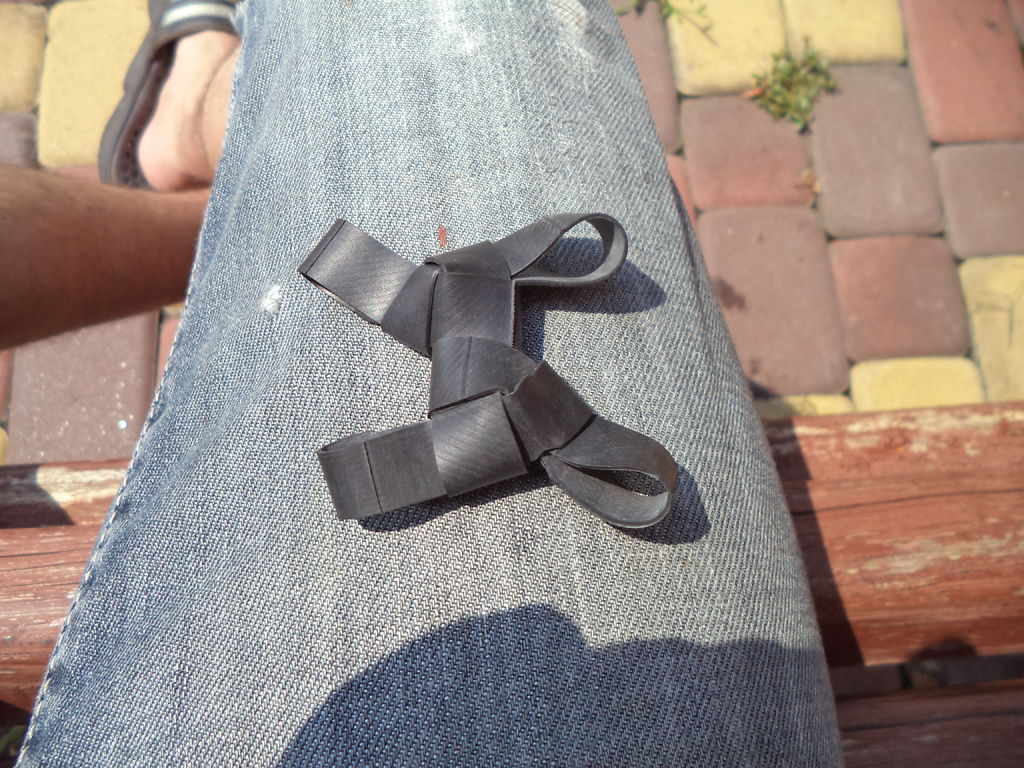
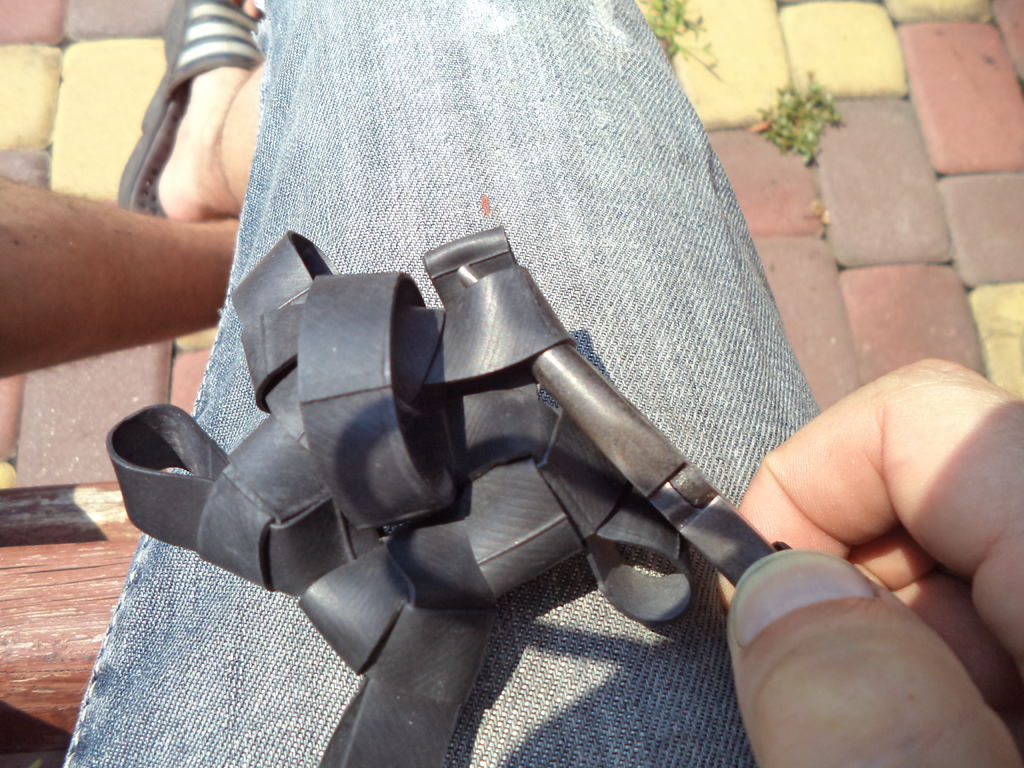
4. Weave 3-way
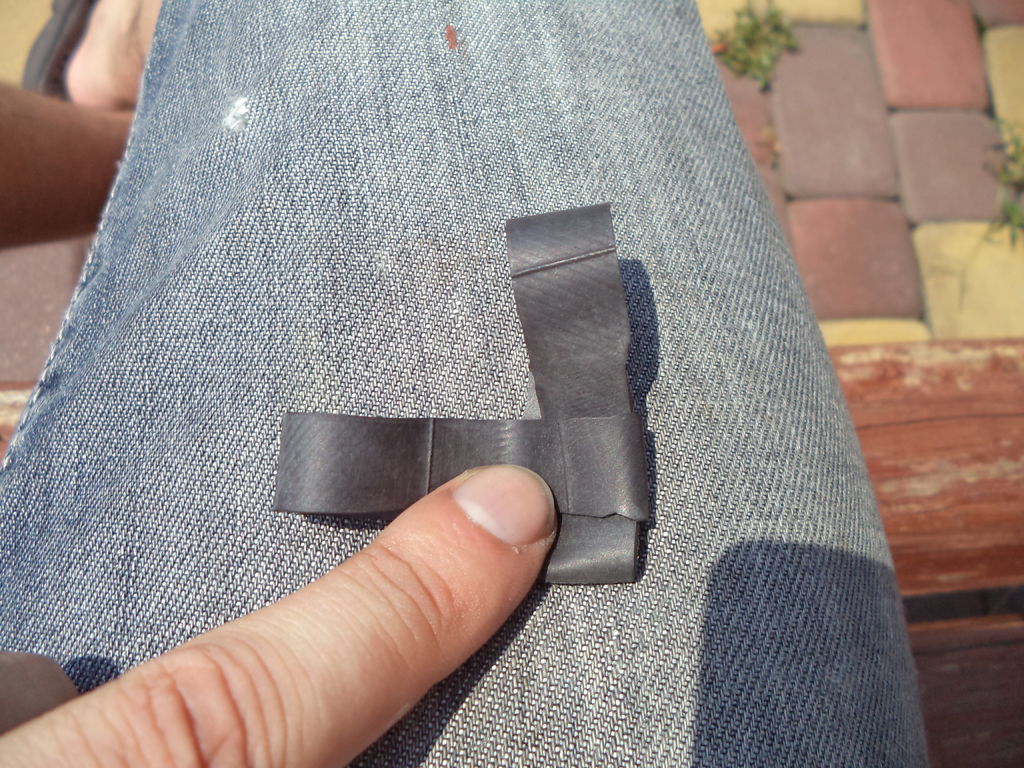
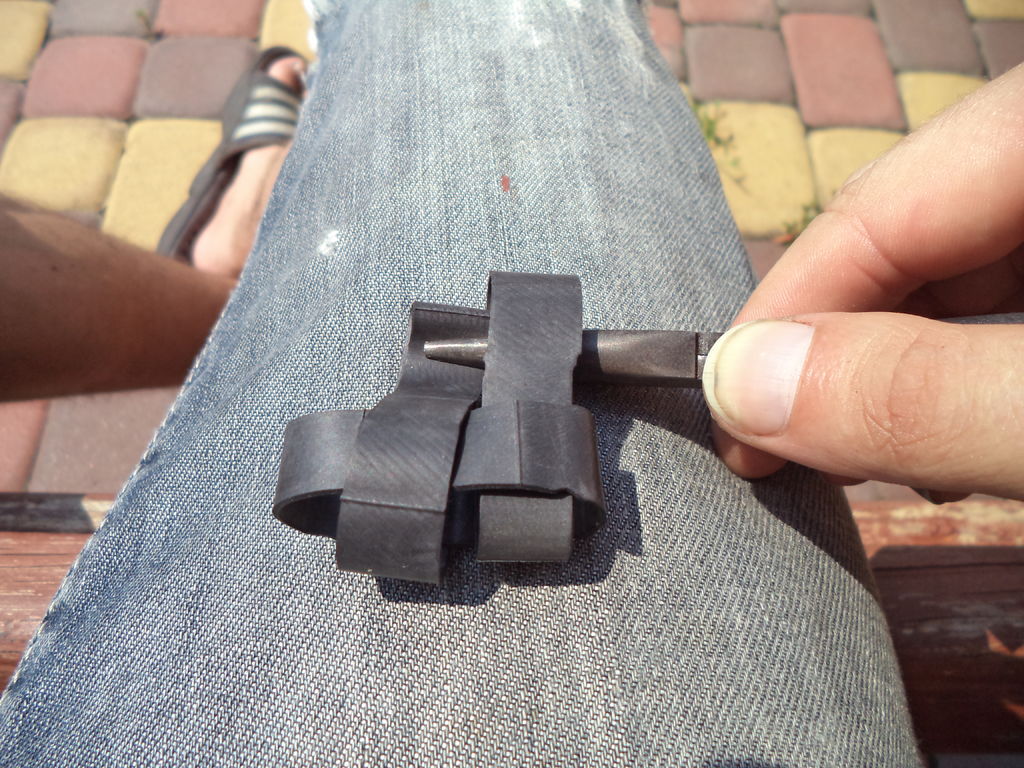
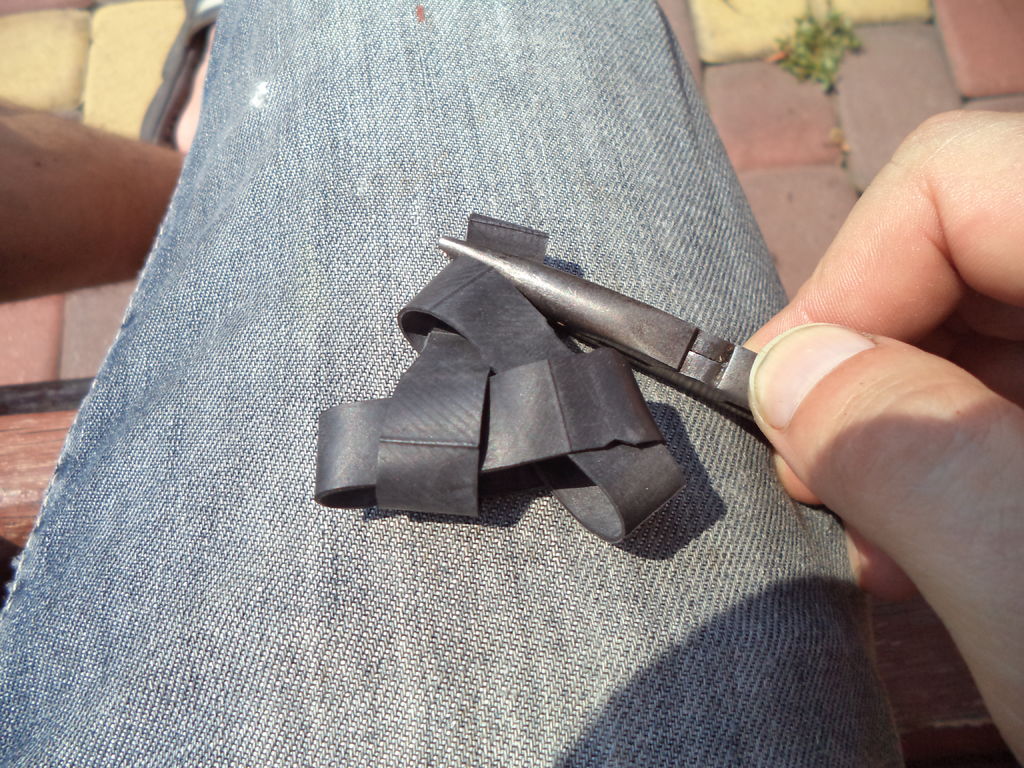
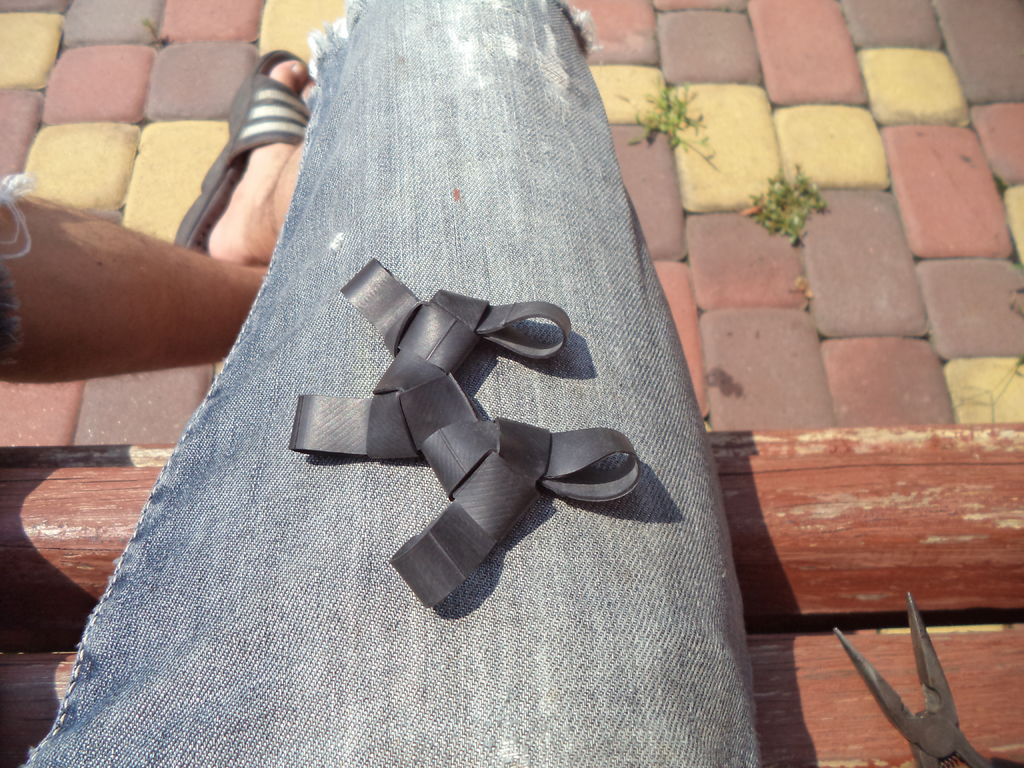
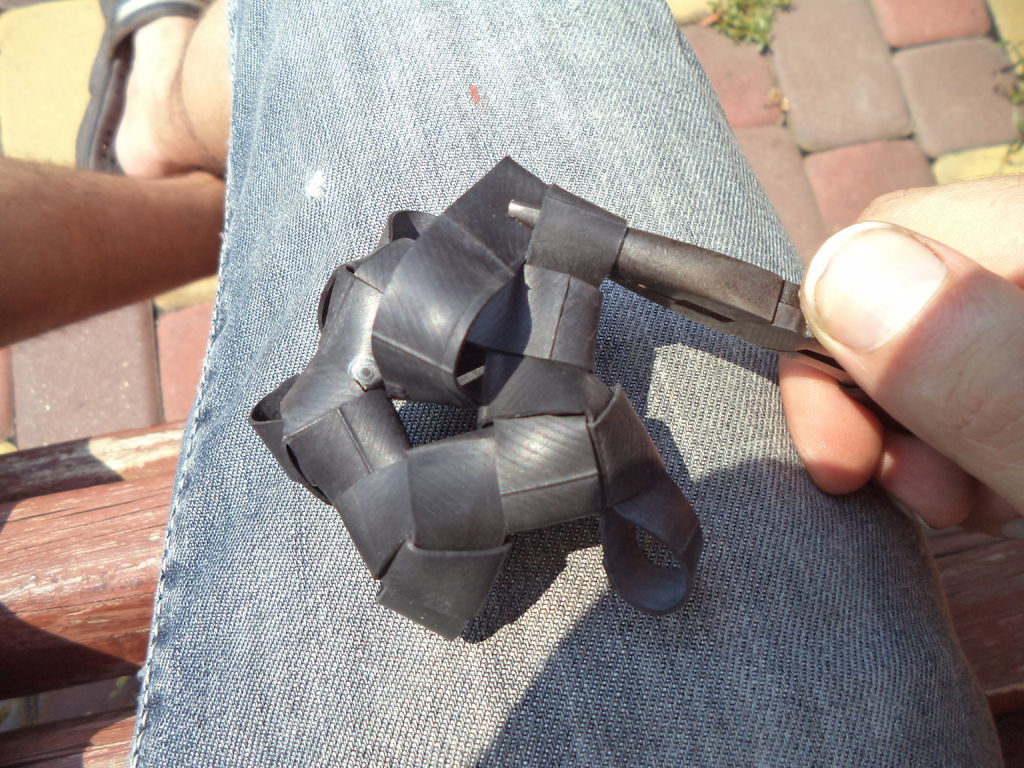
5. Add another 2 loops
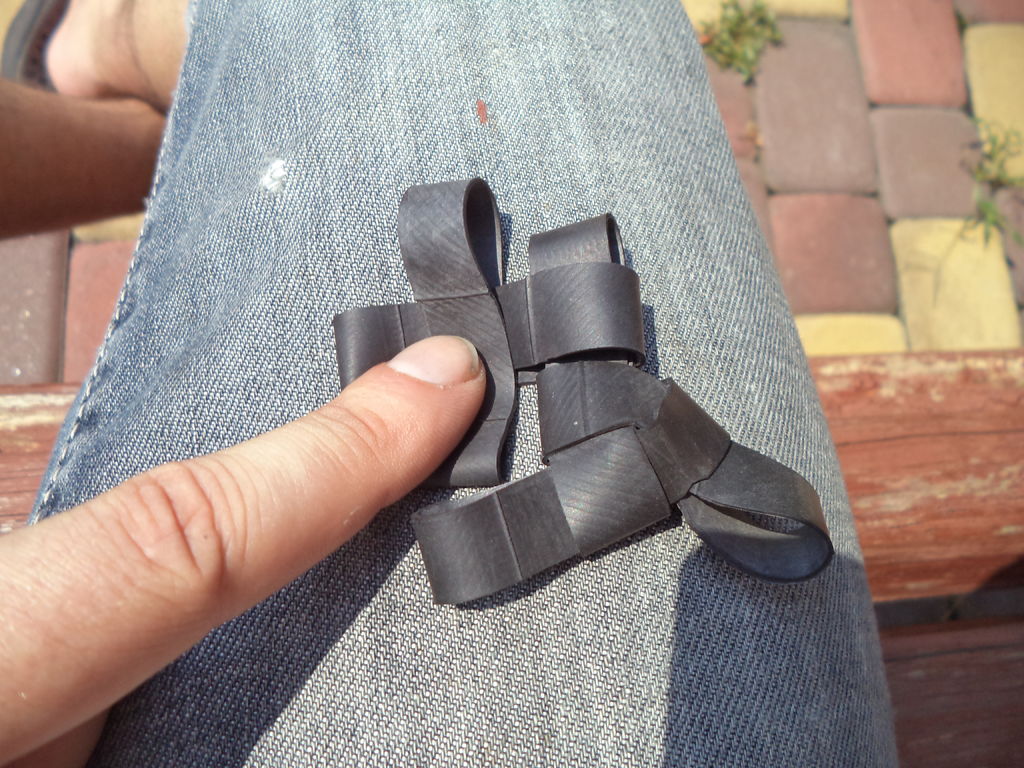
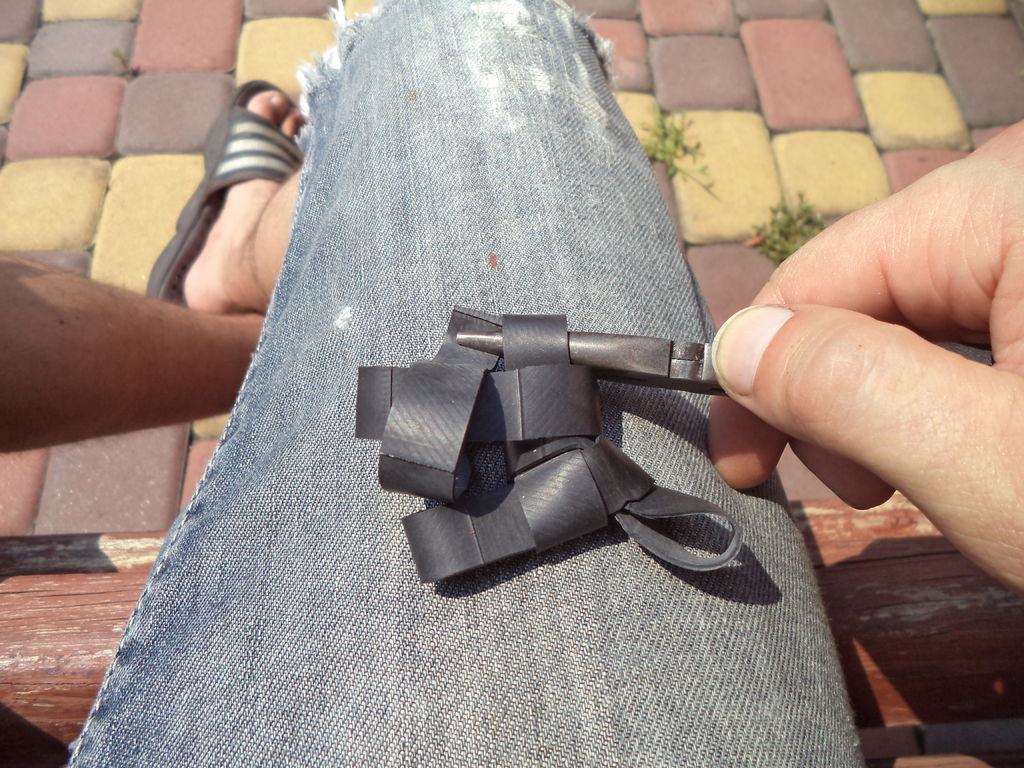
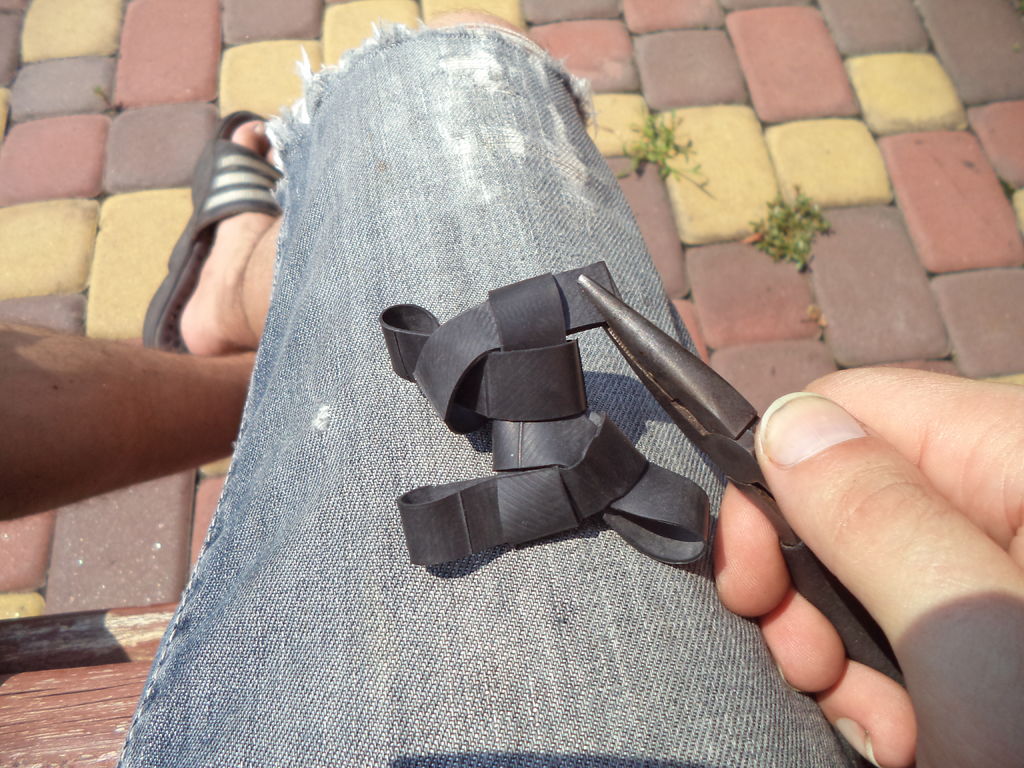
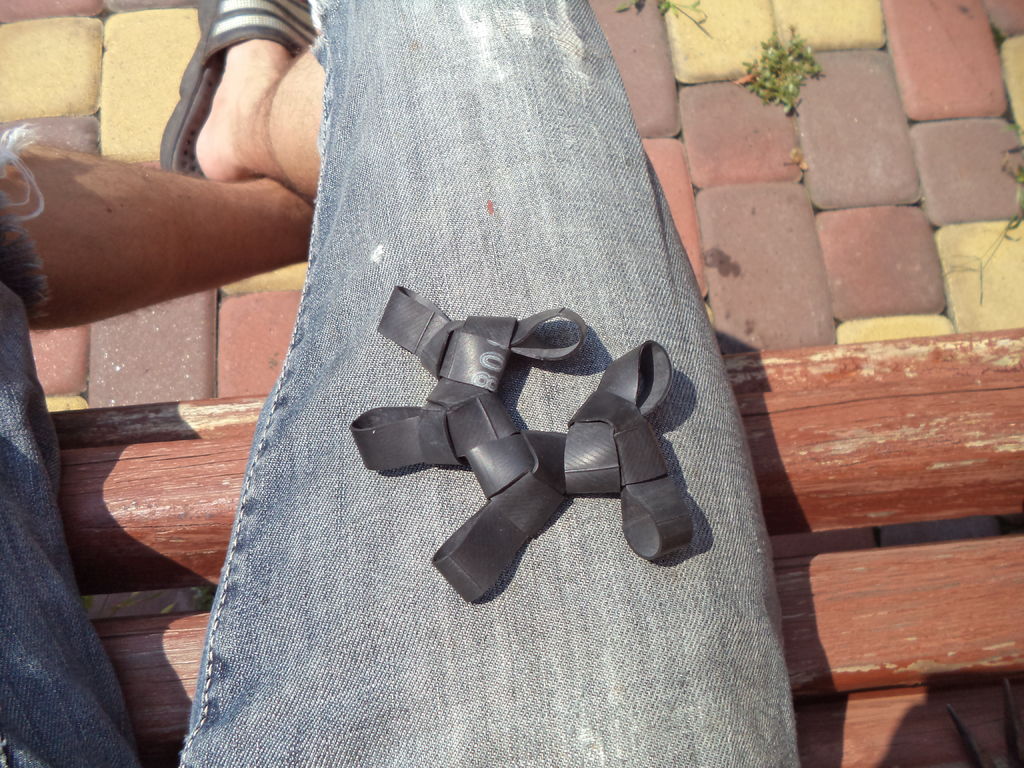
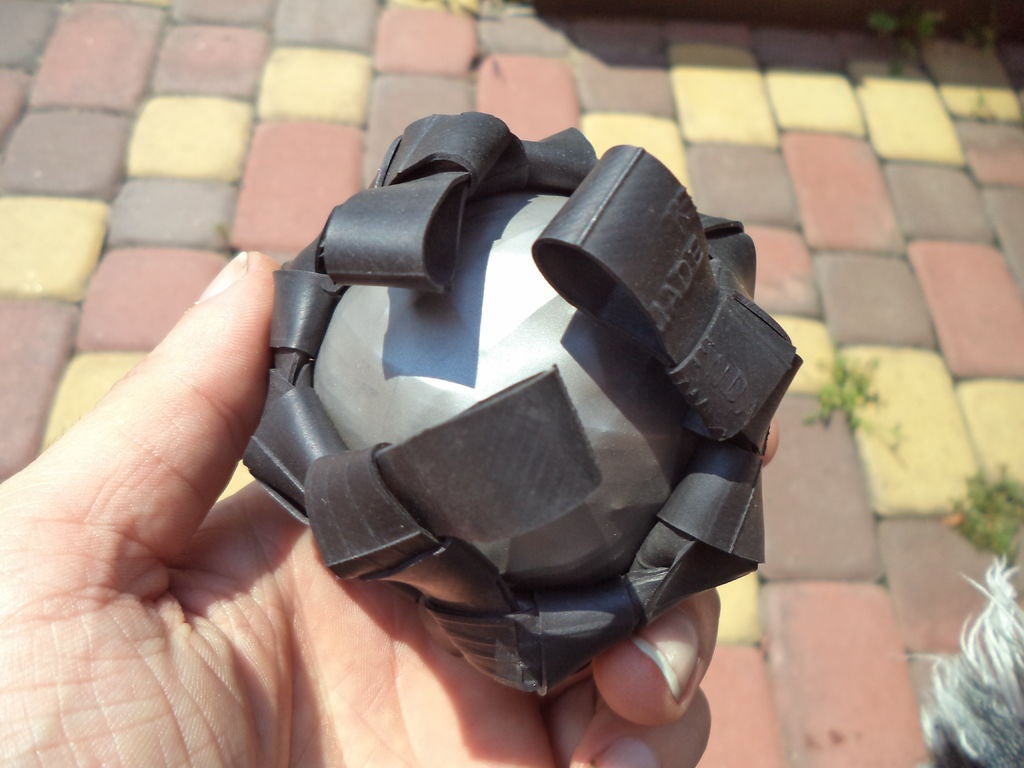
6. Make the first pentagon
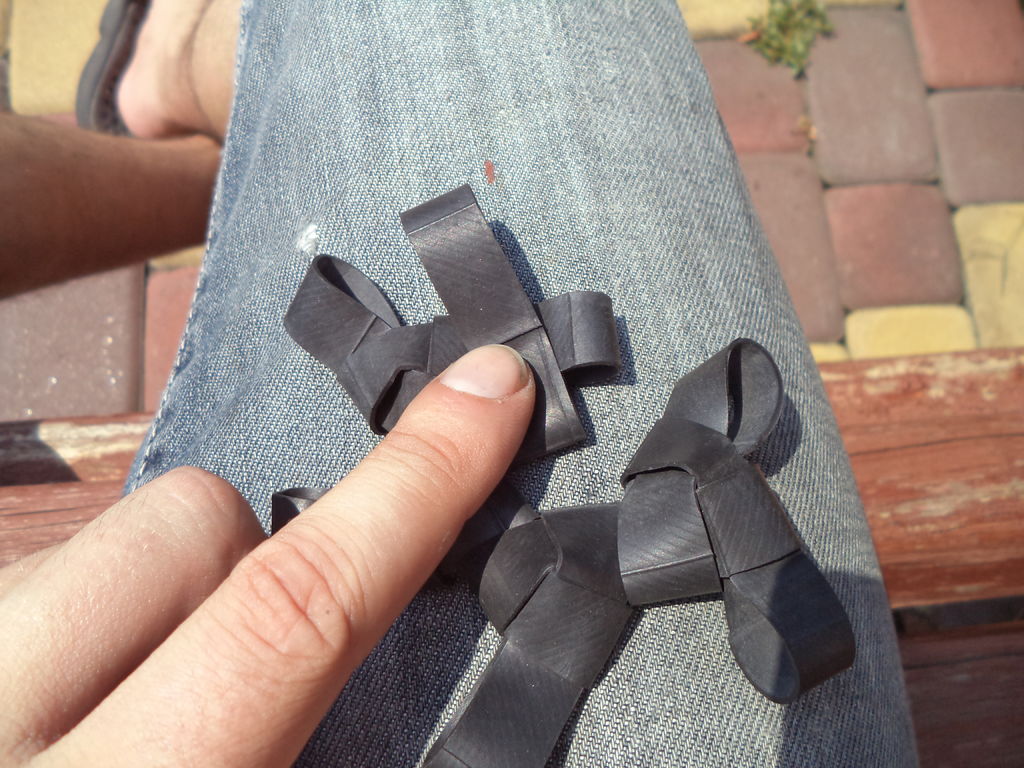
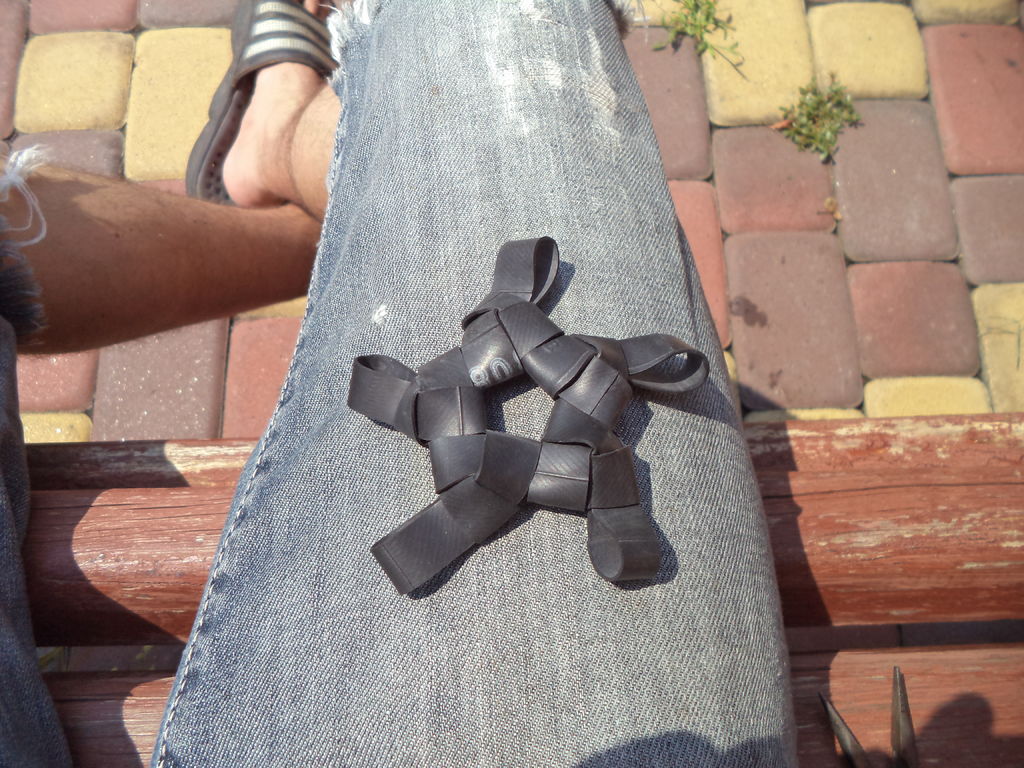
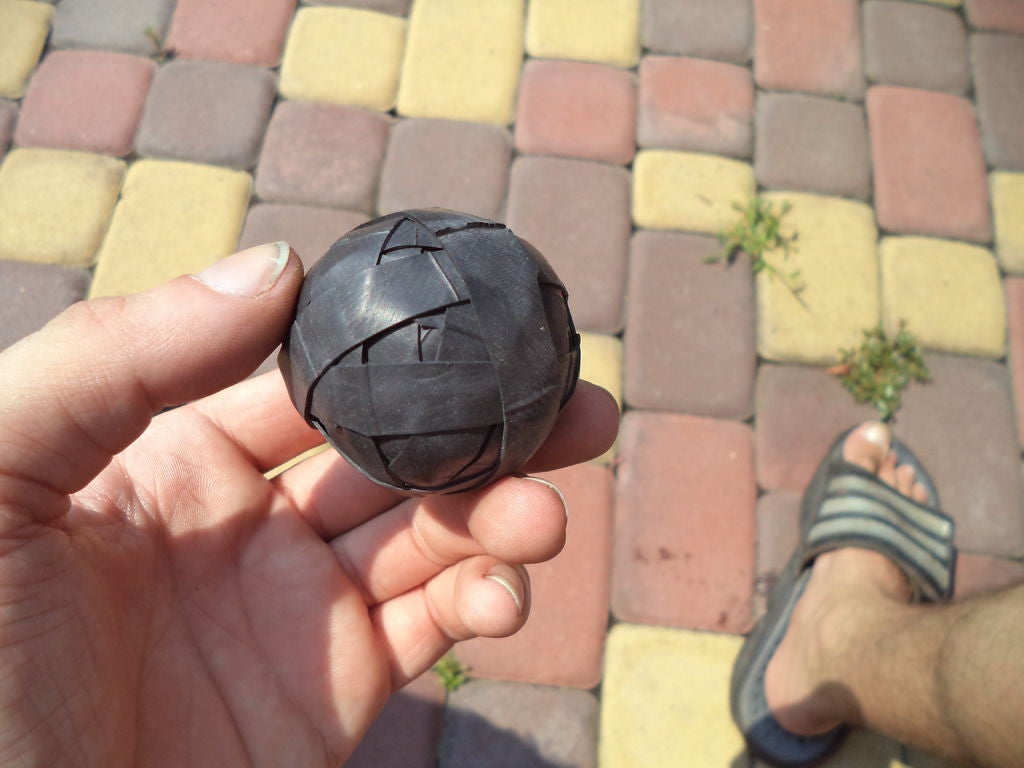
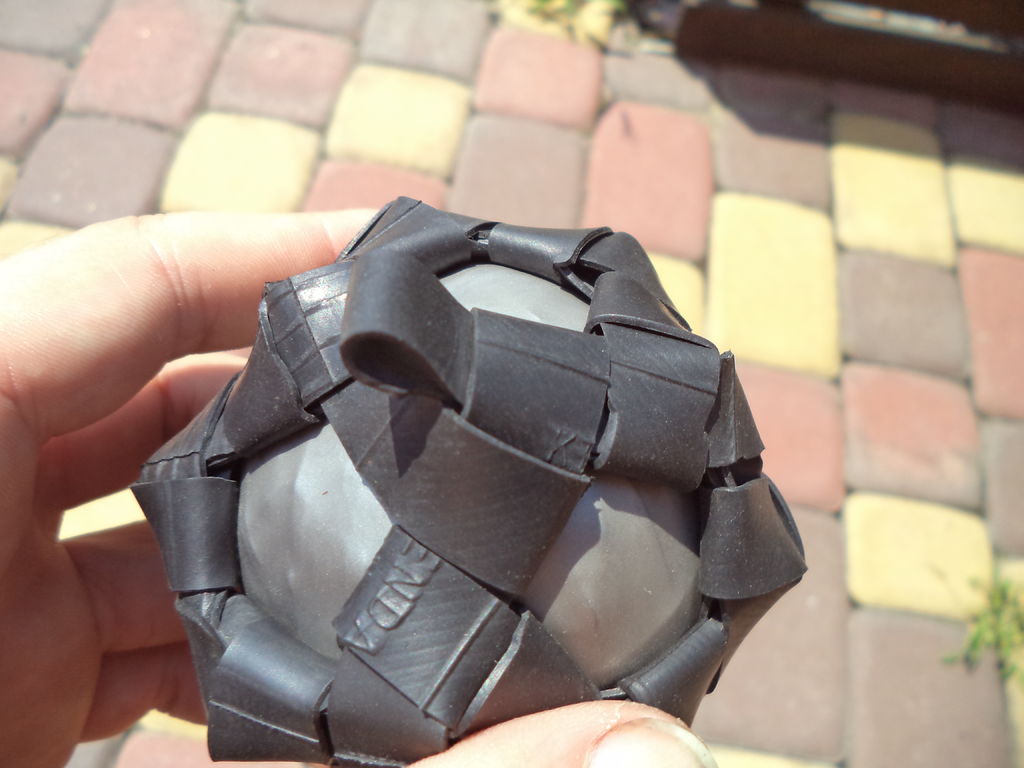
7. Build 5 pentagons around
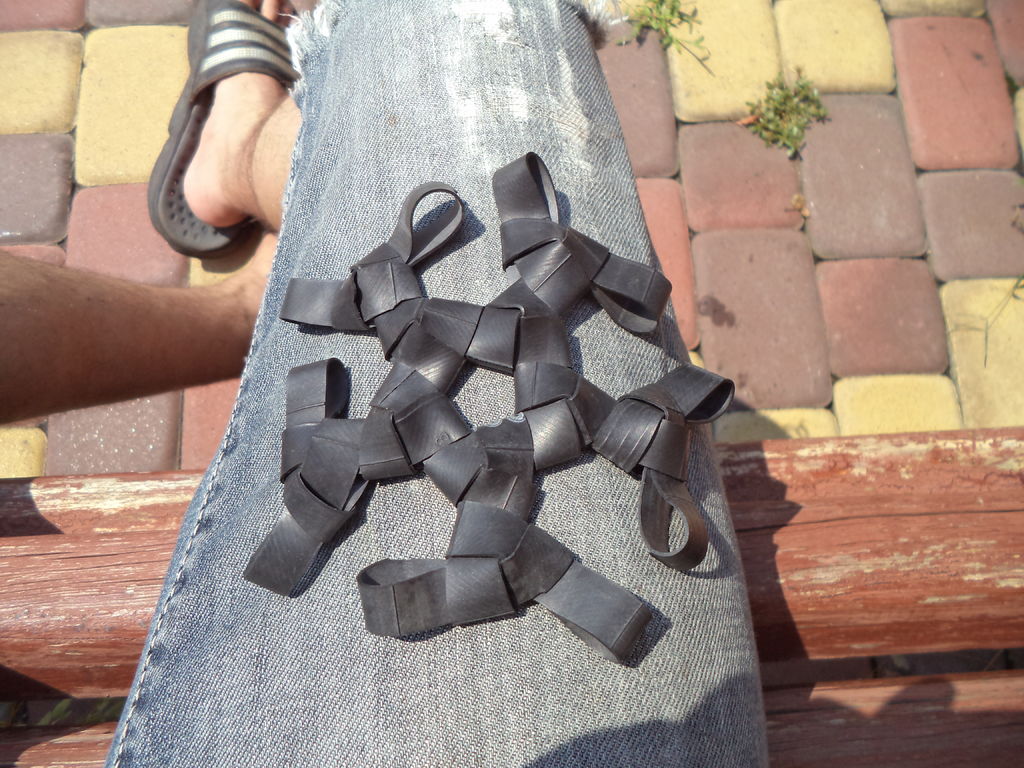
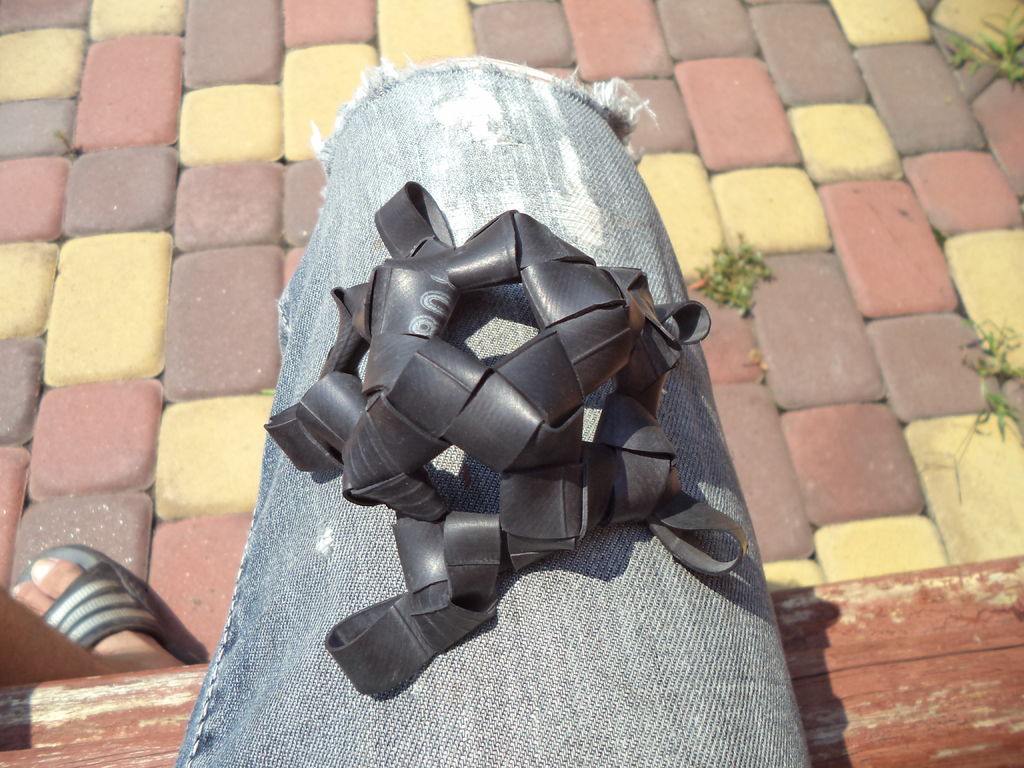
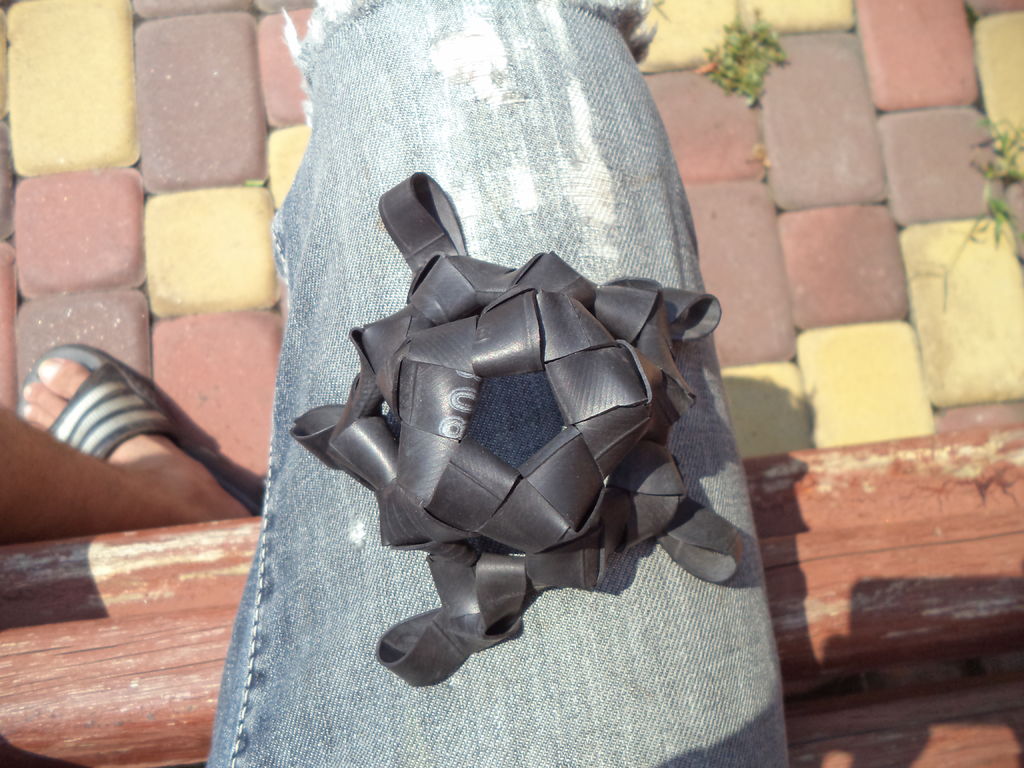
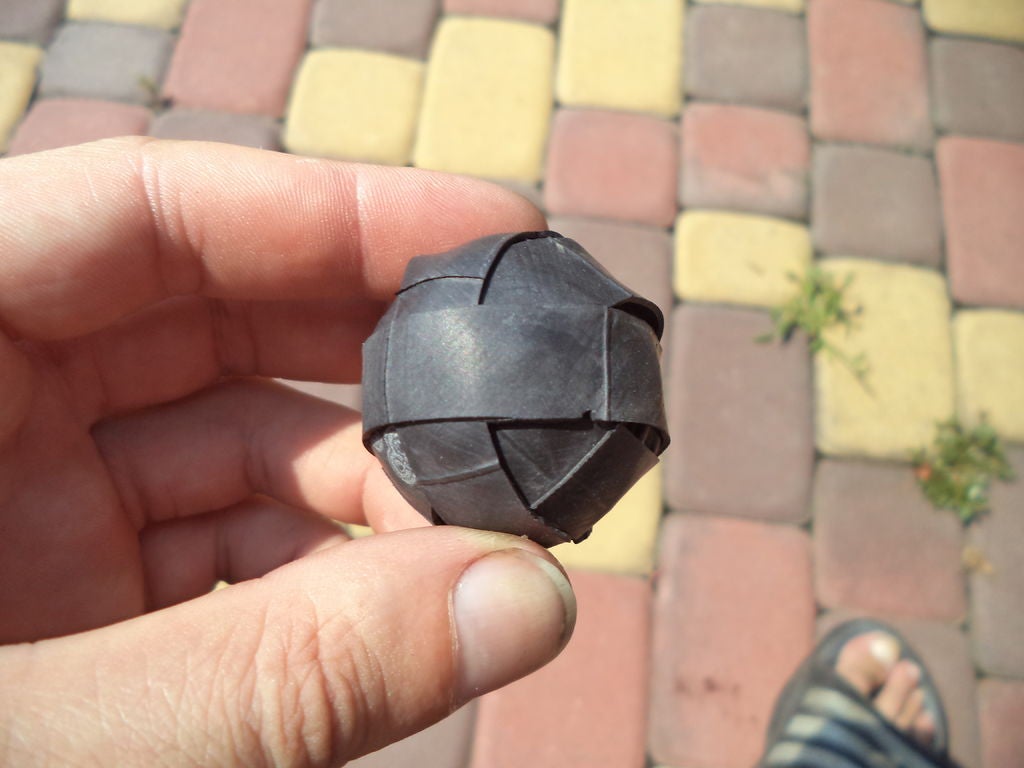
8. Try the ball for size
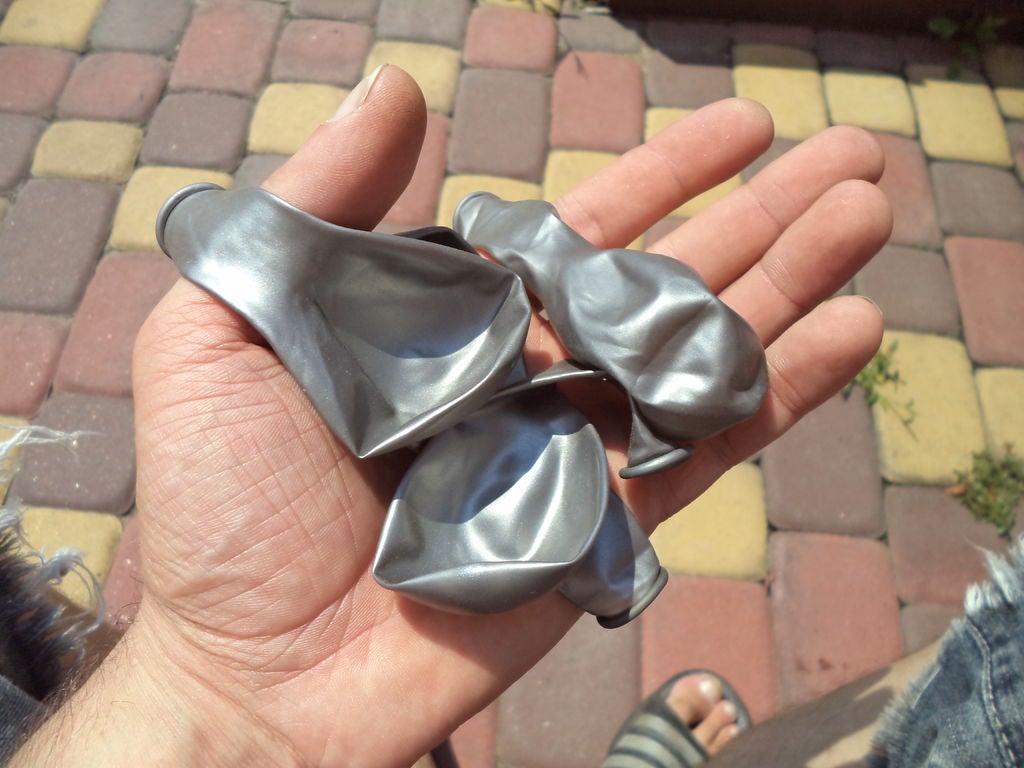
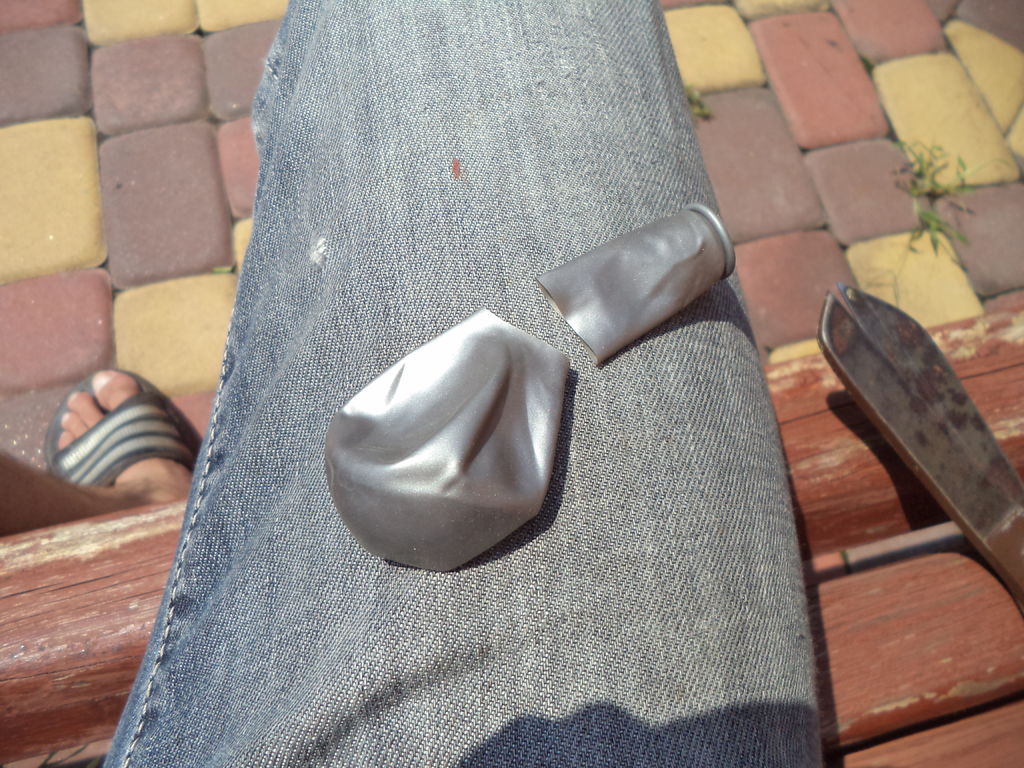
9. Cover with balloons (optional)
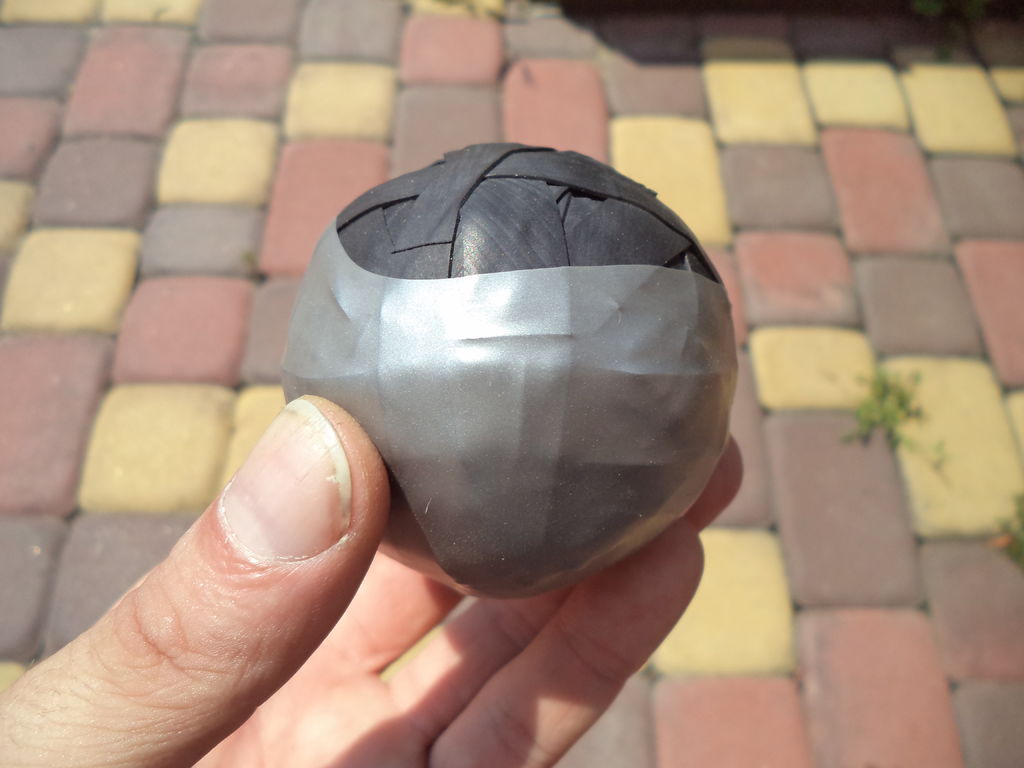
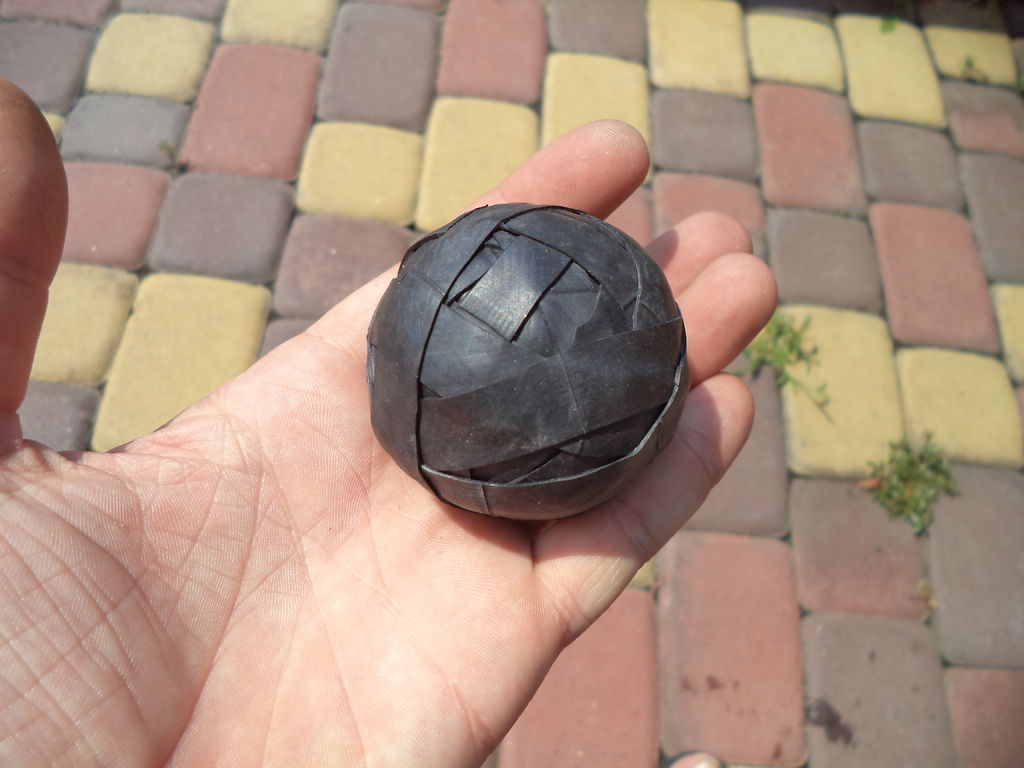
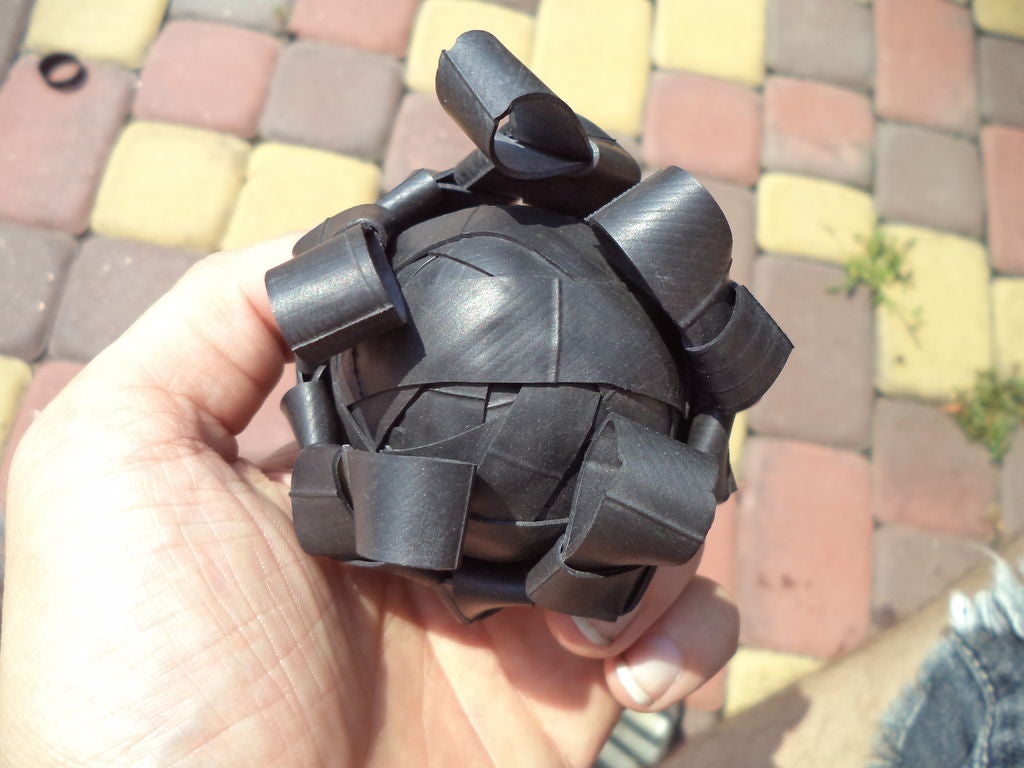
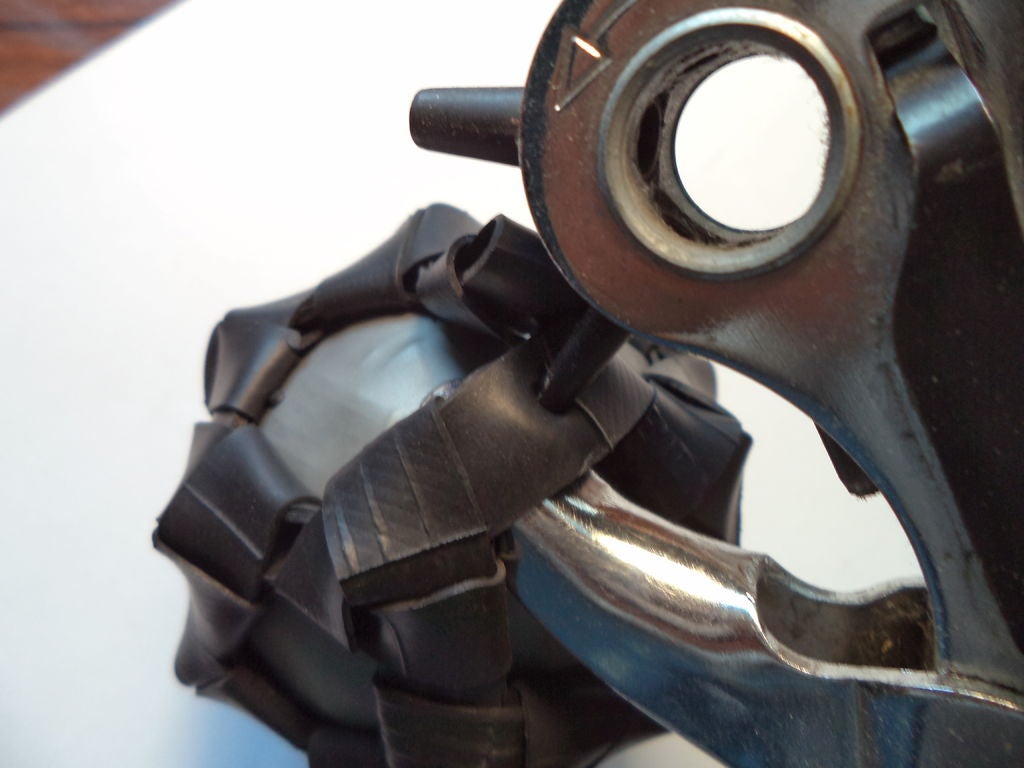
10. Close the last loop
Instructables

PROFILE
Instructables is a a web-based documentation system allowing the community to document, and share creations.
Established in 2006, and has gone on to grow from a modest hundreds of projects to over one hundred thousand.