Fabric Rotating Ring Flexagon
I think these are called rotating ring flexagons… it seems an appropriate name, anyways. I made one out of paper a long time ago and thought it was really fun to play with, but I was always worried about breaking it by using it too much. I thought it would be interesting to make a sort of more organic and cuddly one out of fabric, and see if the rotating mechanism would translate well into that medium.
It came out pretty well! If you want to make one yourself, you will need:
- Four types of fabric
- Fabric scissors
- Batting
- Sewing machine
- Sewing supplies (needle, thread, pins, marking pen)
Step 1: Create Your Templates and Cut Out the Pieces
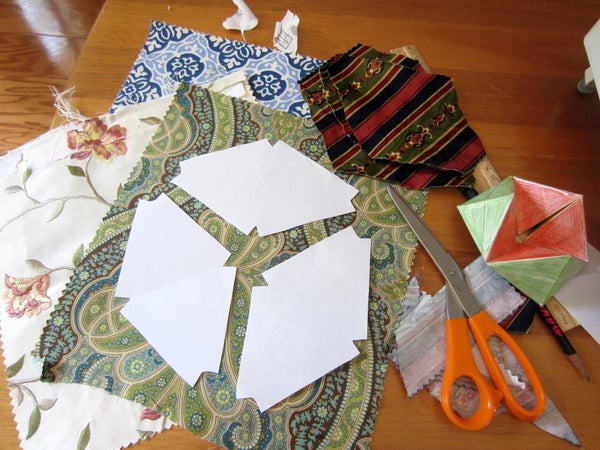
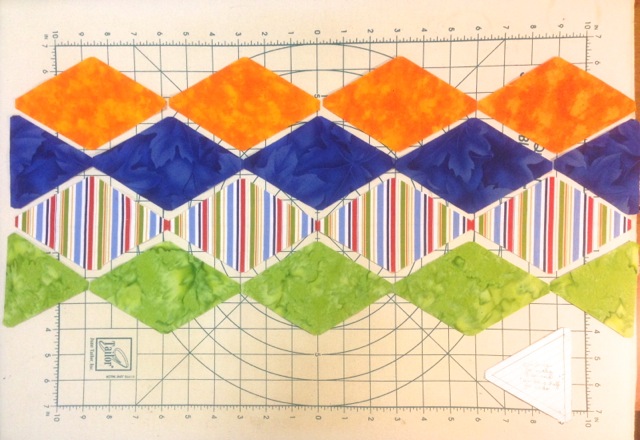
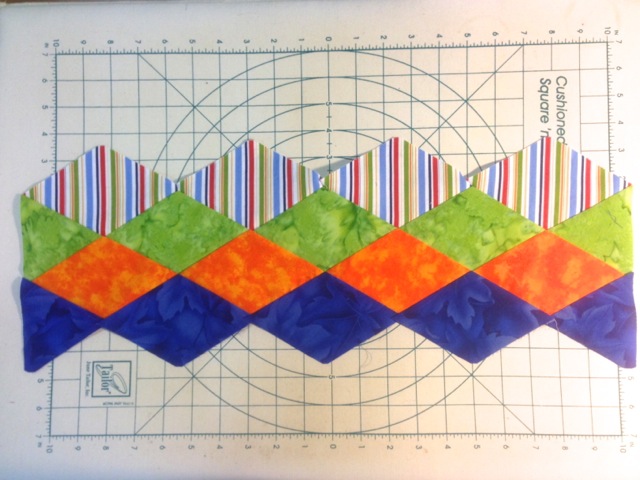
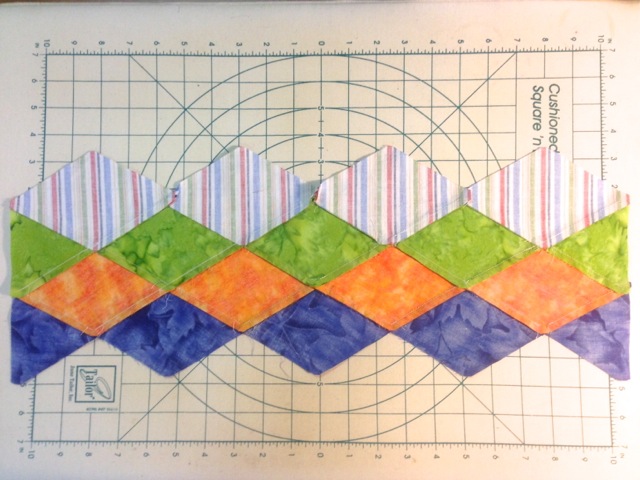
You’ll need three identical templates (you can reuse one if you don’t need to worry about arranging them on your fabric). You want the end product to be composed of pairs of isosceles triangles, joined at the base to form diamonds. The triangles I made were 75mm along the base, and 85mm along each leg. You can do any size you’d like, as long as you maintain the correct proportions. I was limited by my small fabric samples.
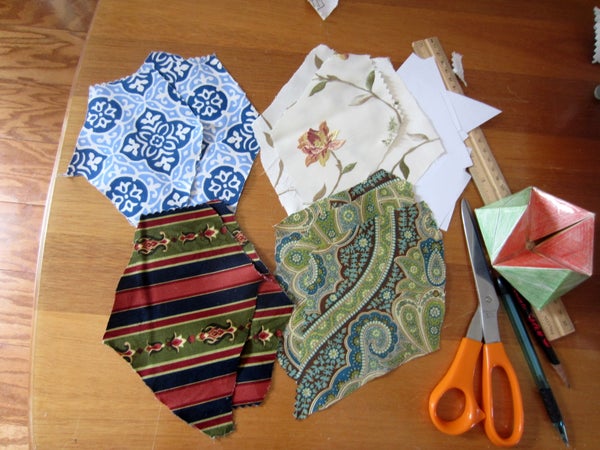
Use the templates to cut out three diamonds from each type of fabric. Make sure to leave ample borders, you can always trim later. You need 12 diamonds total.
*Note* My end product was a tiny bit ‘loose’ to my taste – the sides could have pressed together more tightly. It might be a good idea to go with more nearly-equilateral triangles for the template, to fatten them up and bring everything a bit closer. The exact measurements here are based on the rigid paper version.
Step 2: Sew Them Into a Tube!
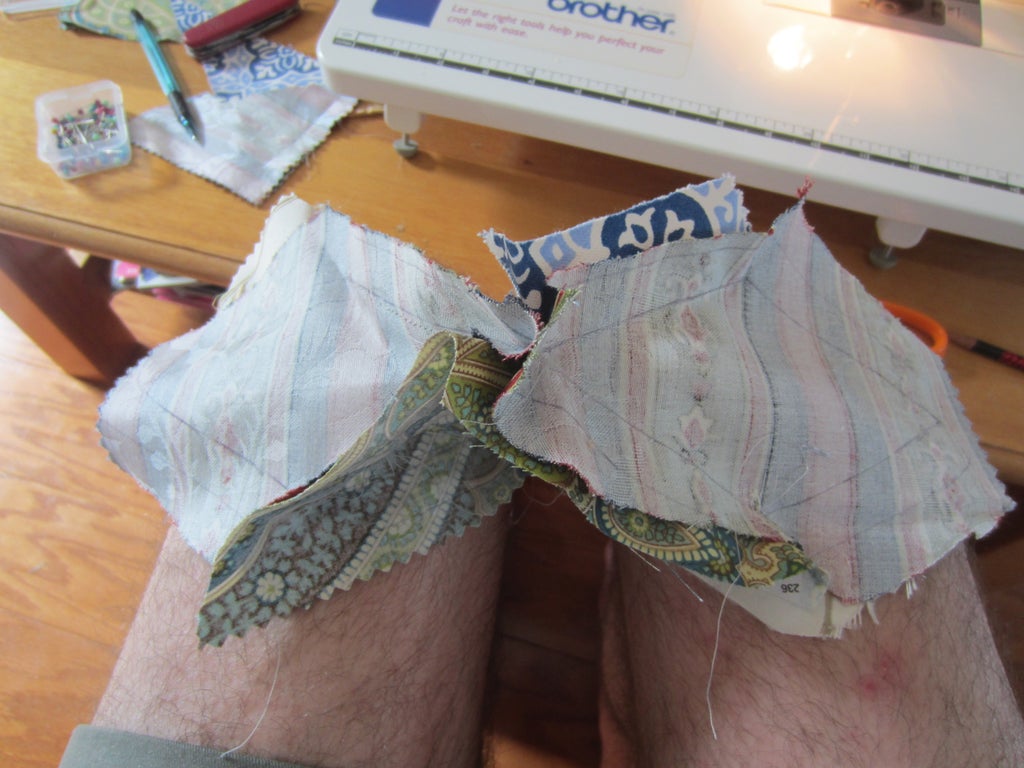
The sewing process is a bit confusing to visualize at first, so make sure that you really have it straight in your head before you start.
You’re going to sew them into a sort of four-sided tube. Decide which colors will be opposite each other – these pairs will NEVER be sewn to each other. I paired the bluish and greenish fabrics, and then the beige and darker-striped fabrics.
Let’s refer to the first pair of fabrics as A&B, and the second as C&D. Place one A diamond on top of one B diamond so that they are facing each other, nice sides in. Lift the top of the A so that they separate, like an alligator’s mouth. Now take a C diamond, and fit the bottom of it into one side of that ‘mouth’. Its lower edges will be sewn to one top edge of A and one top edge of B. A D diamond will be placed in the same position on the other side. Once these are sewn into place, you’ll have four new free edges – the top halves of the C&D diamonds. The pattern continues by inserting an A&B into that new ‘mouth’, making sure to keep the fabrics on the same sides consistently.
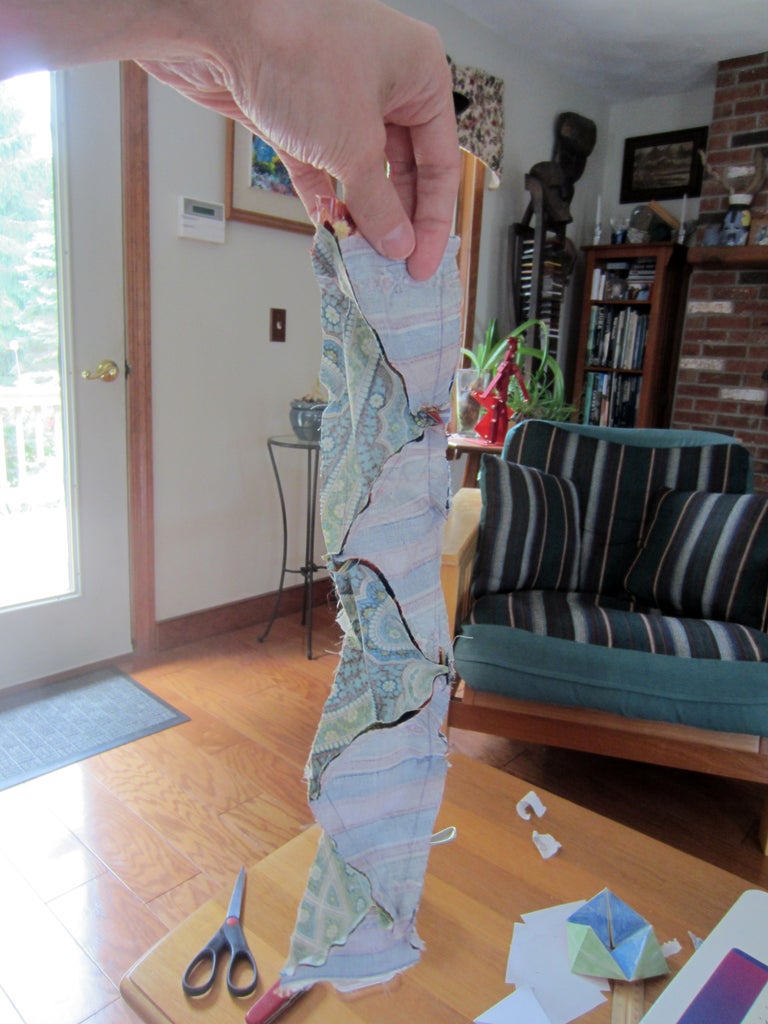
Make sure that your seams overlap or end very close to each other, so that there are no holes for the batting to escape the final form. Continue sewing the diamonds together until you’ve used them all up, and have a single long tube. I cut the final two diamonds in half and sewed half of them to each end of the tube so that your final seam is a simple line when you go to make this into a ring.
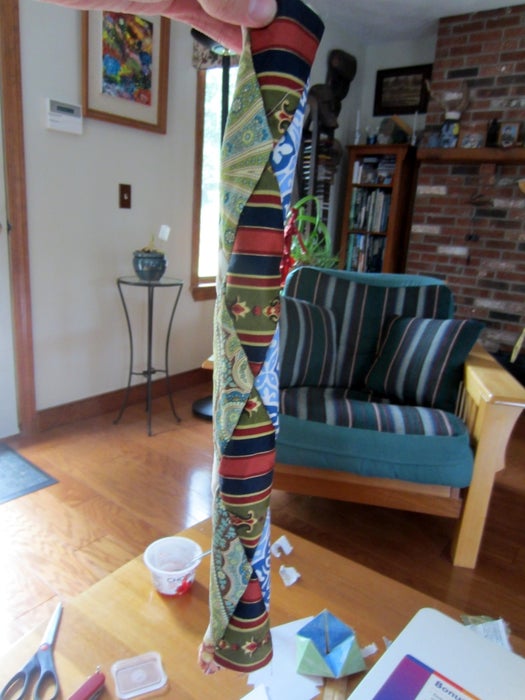
Trim any excess edges, and turn it inside out! You should have a pretty diamond-patterned tube!
I apologize if this is confusing, it’s difficult to describe in text. I tried my best for those who aren’t visual learners, but most people can probably just look at the photos to figure it out. Good luck!
Step 3: Stuff It and Close It Up!
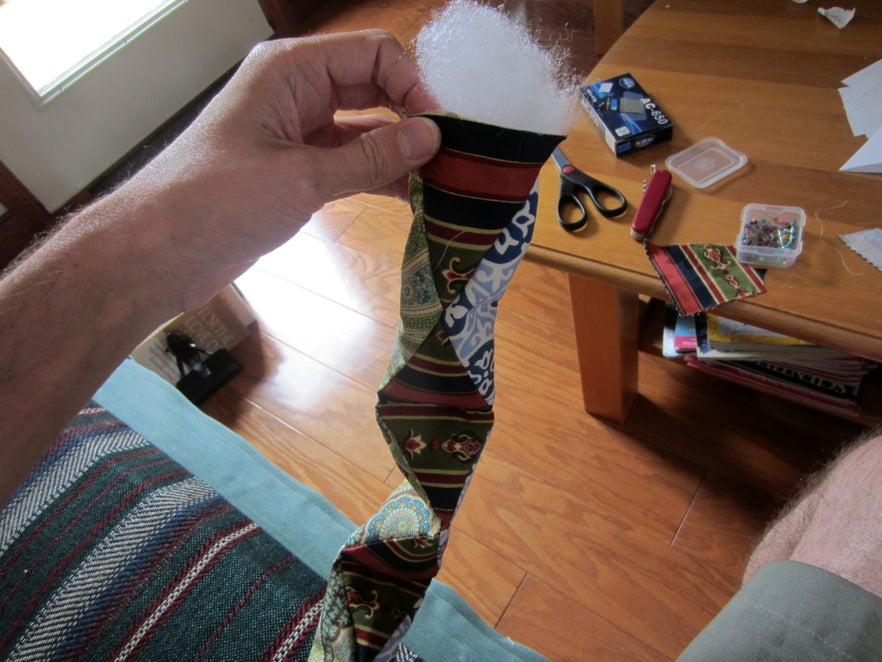
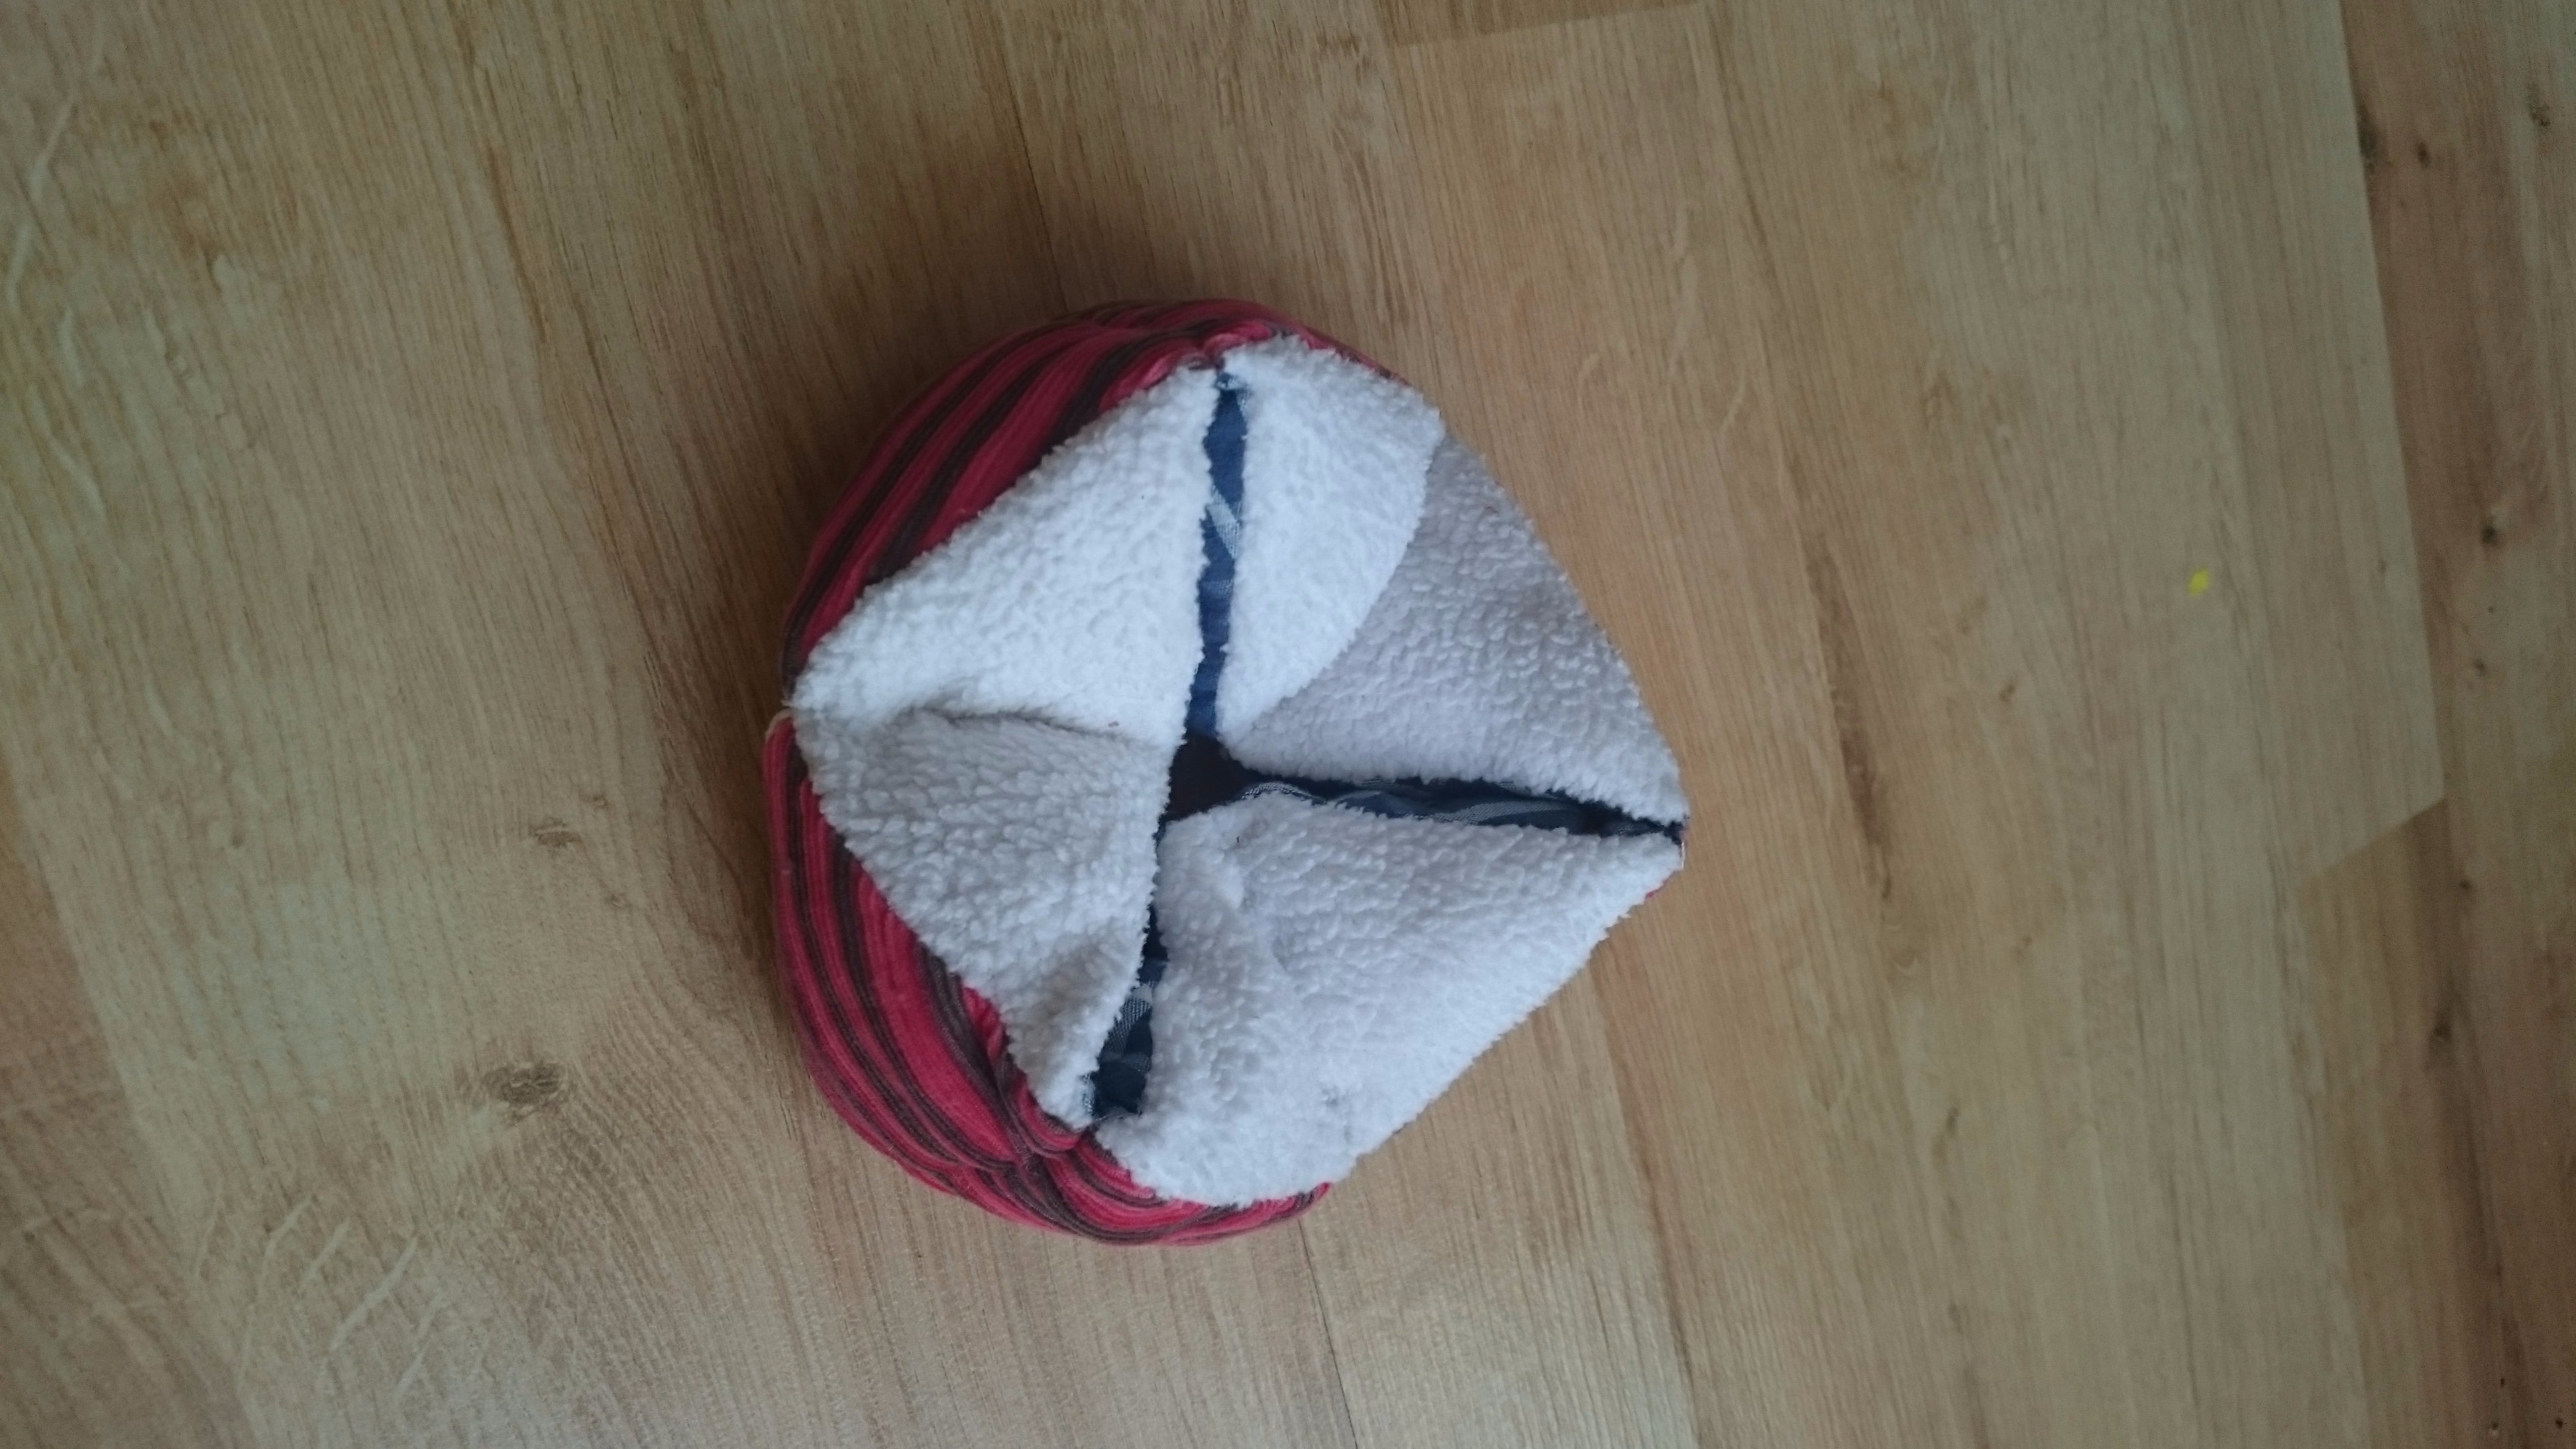
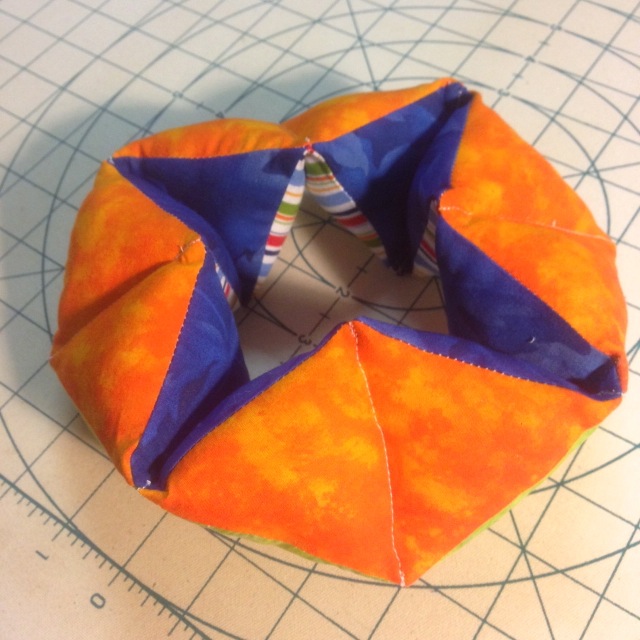
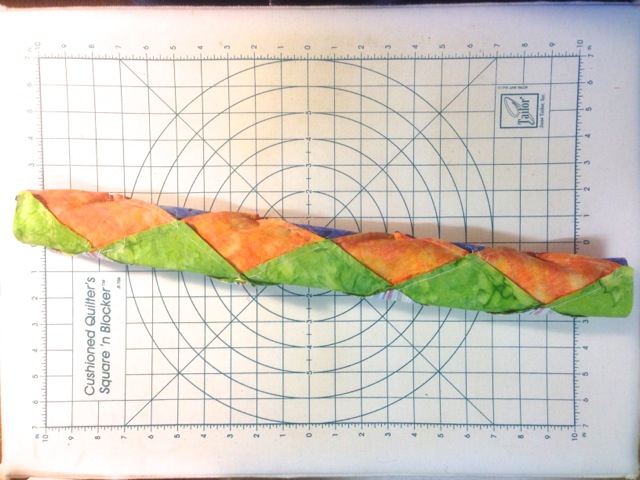
Now you want to convert this diamond-patterned tube into a chain of three-dimensional four-sided little pillows (tetrahedra for you geometers).
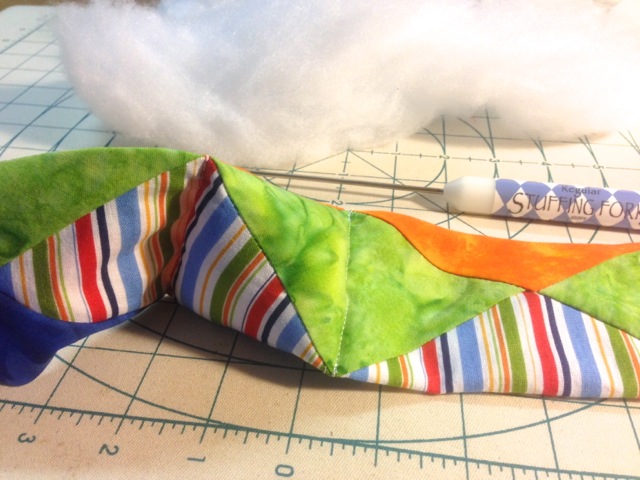
You’re going to flatten the tube so that one pair of diamonds (A&B) is perfectly laid out, then sew a straight line across their middles. Stuff some batting into the tube, making sure to poke it into those pesky corners. You’re looking to fill the shape up to the middles of the next pair (C&D), whose seam will sit at 90 degrees relative to the A&B seam. Once you’re happy with the amount of batting you have, turn the tube 90 degrees and sew across that B&C pair to seal it in. Continue this process until you’ve filled all of the segments save the ones on the very ends.
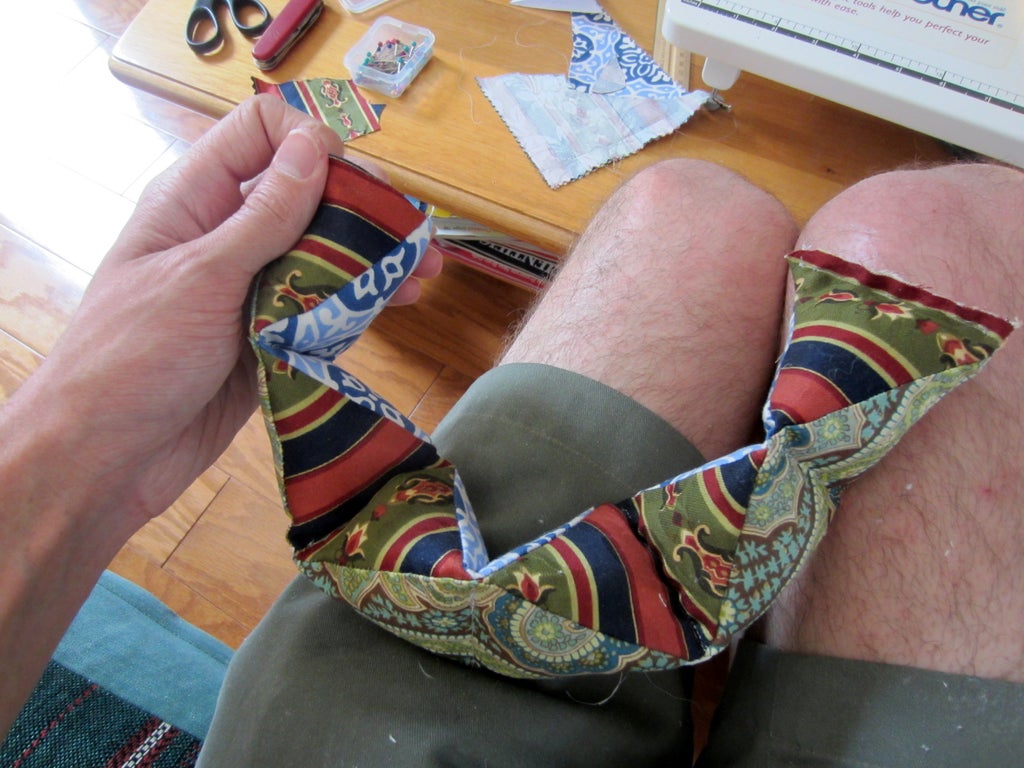
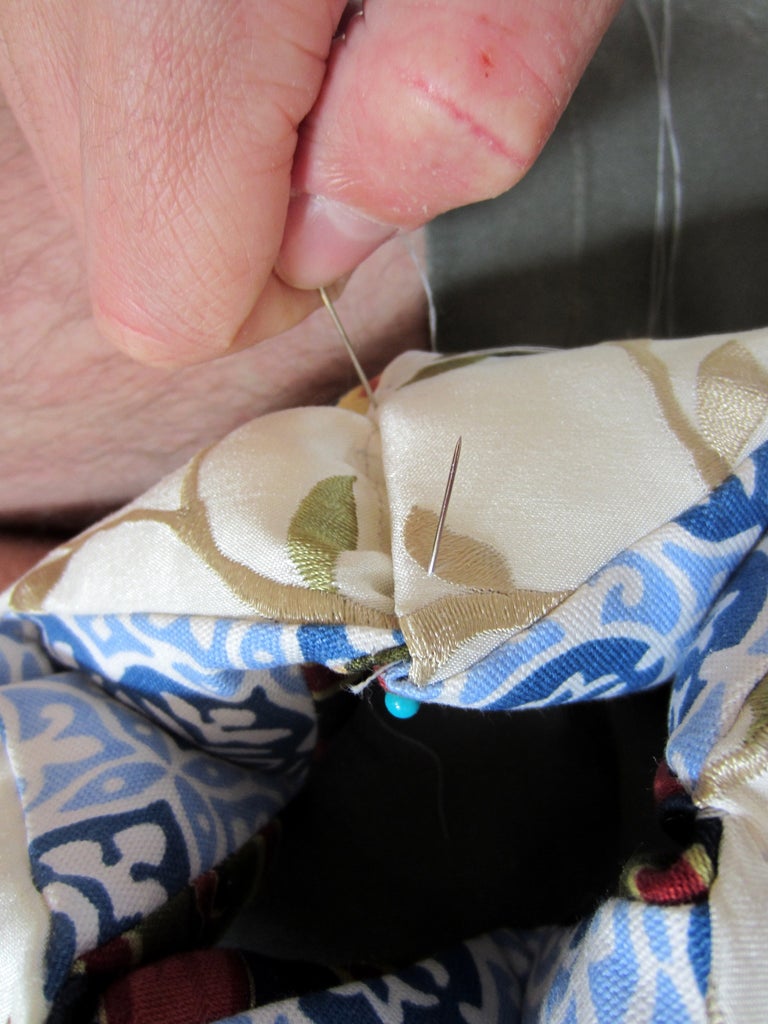
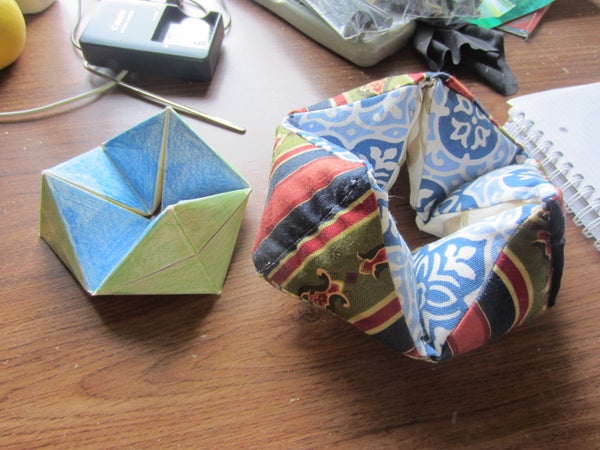
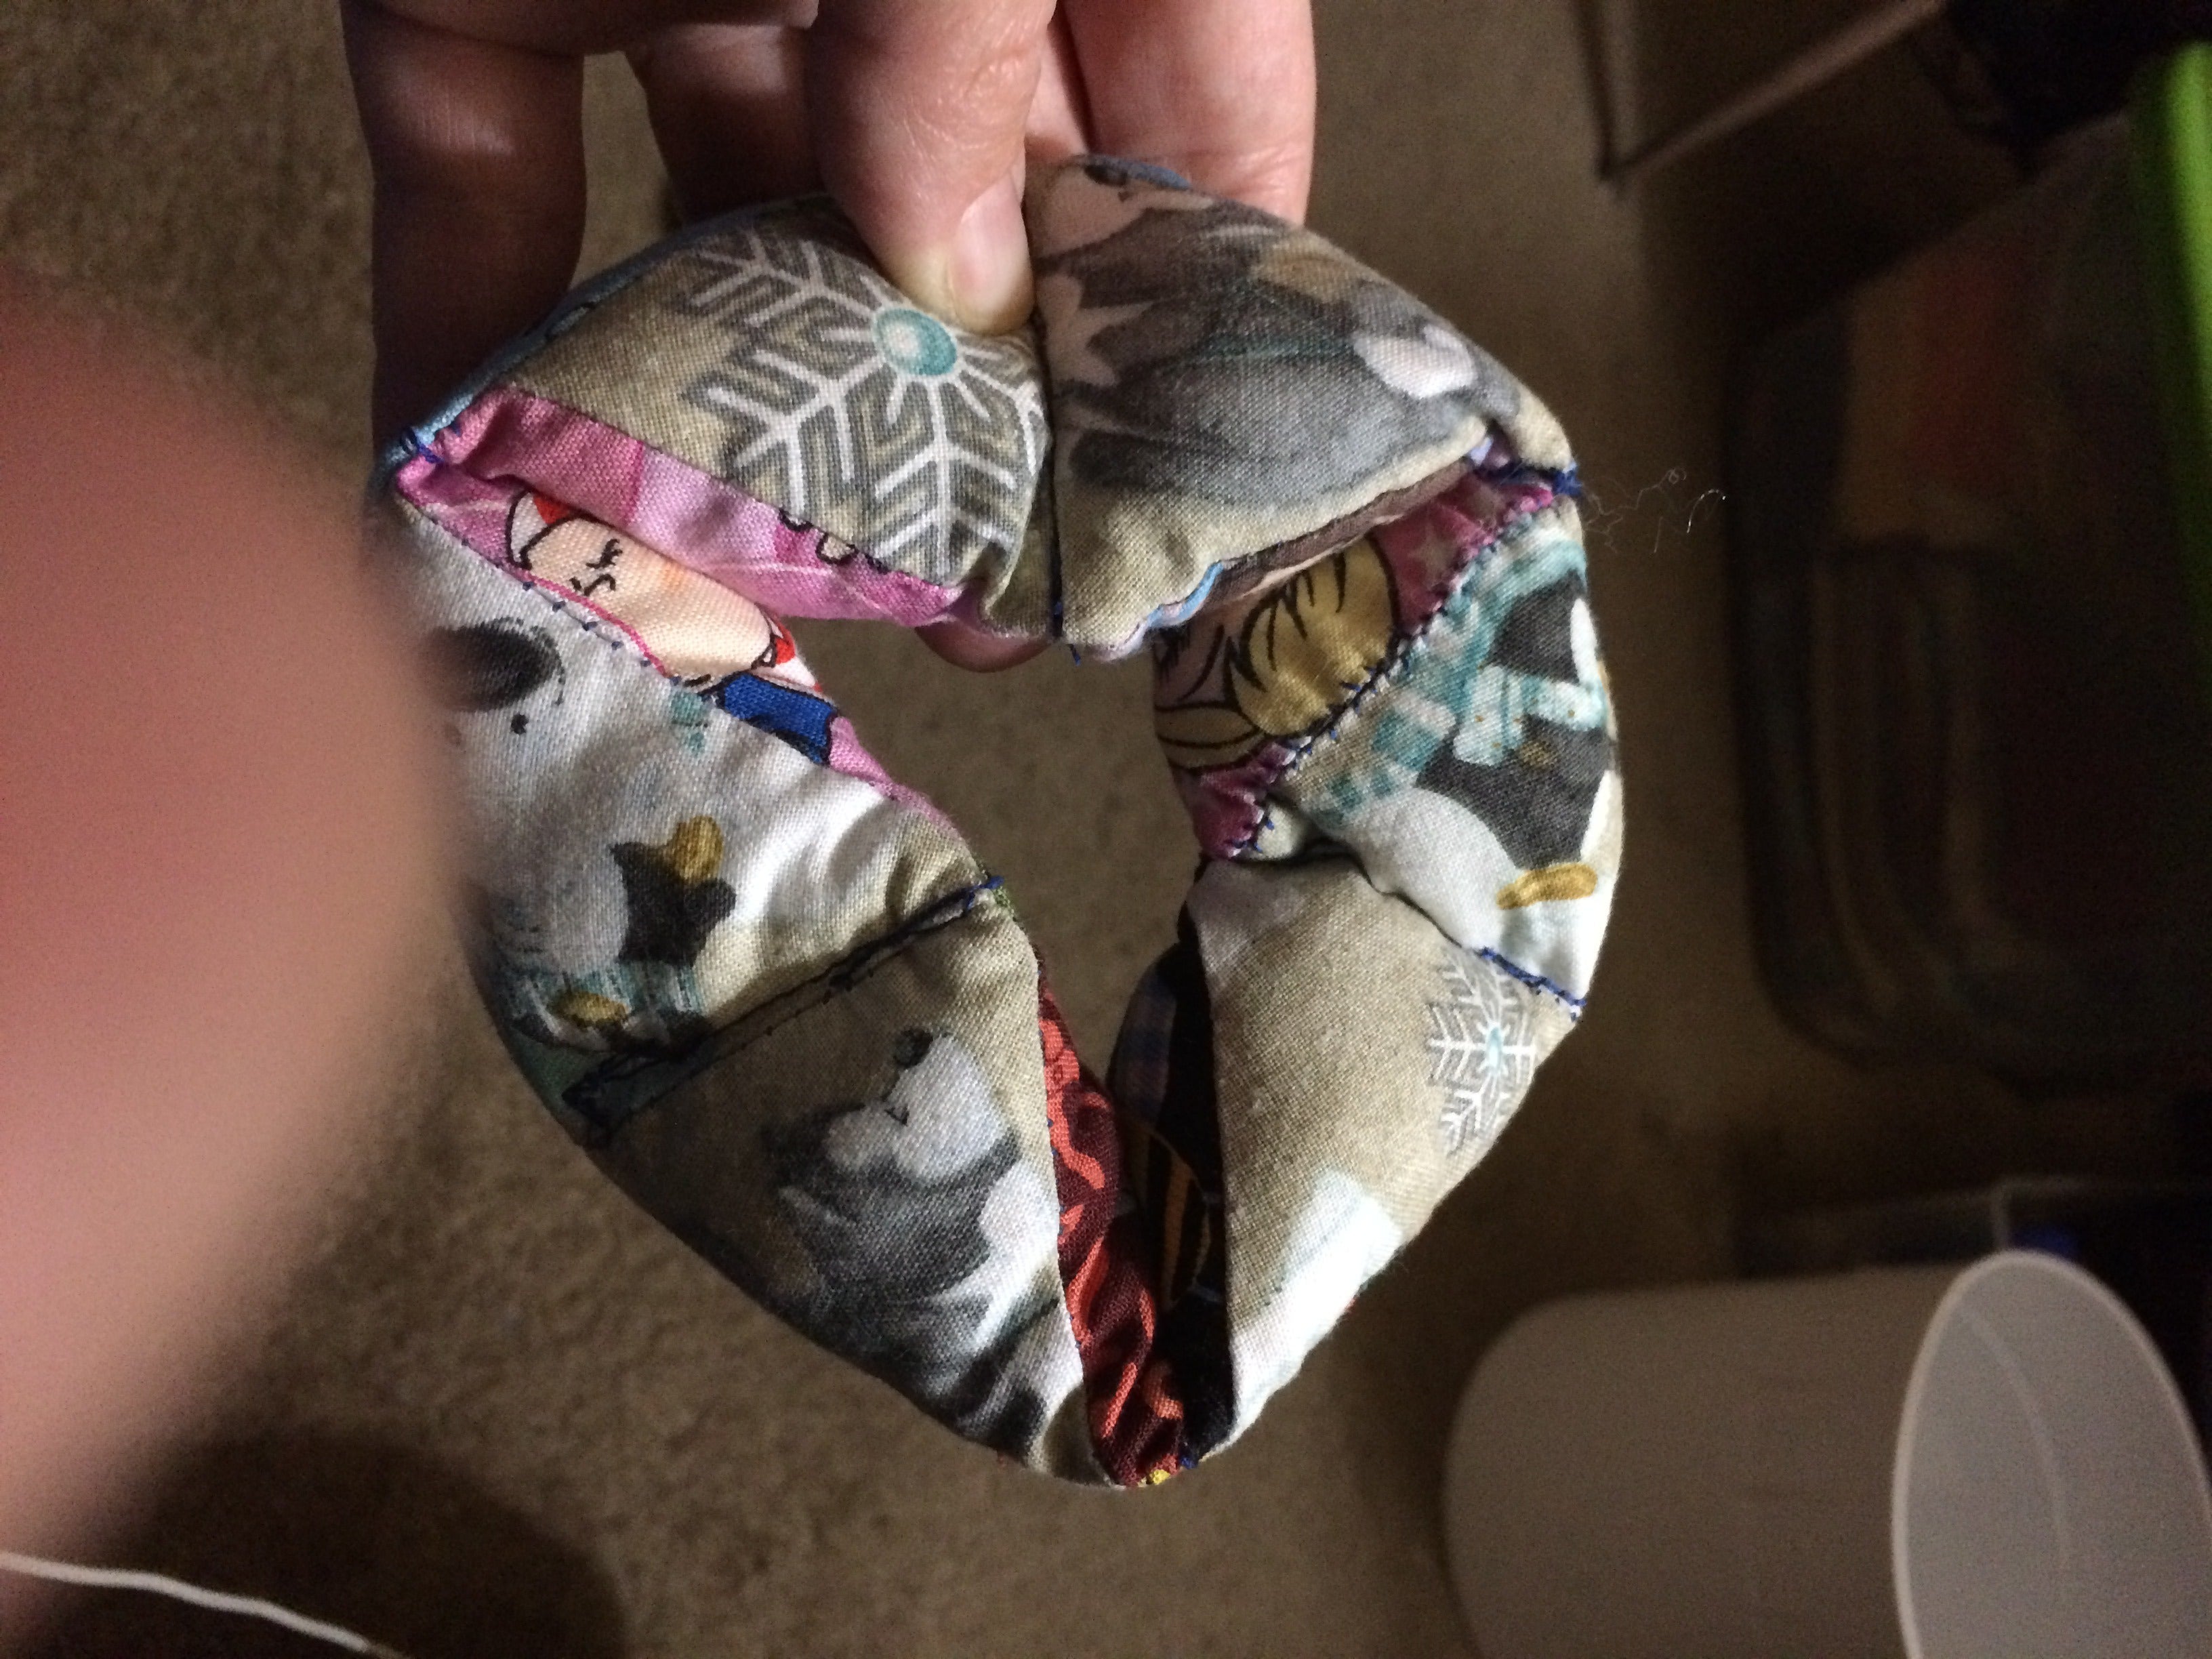
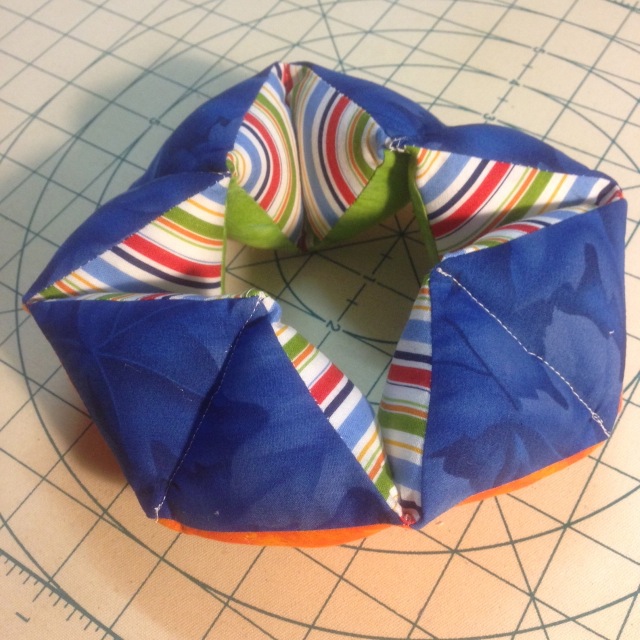
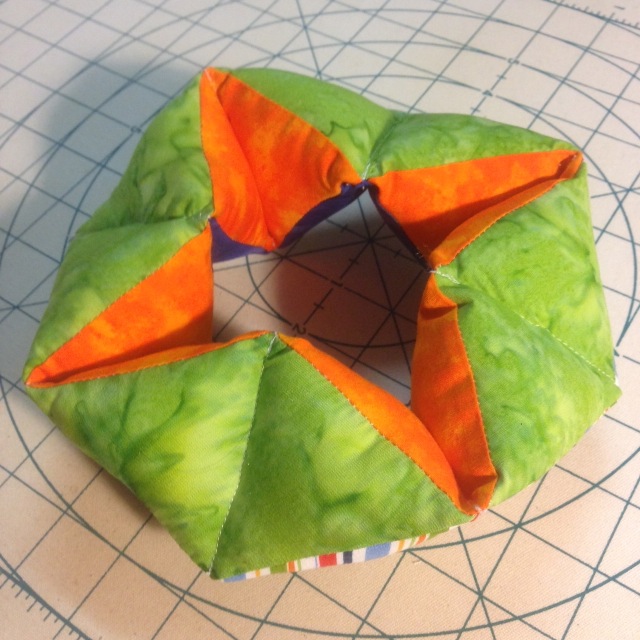
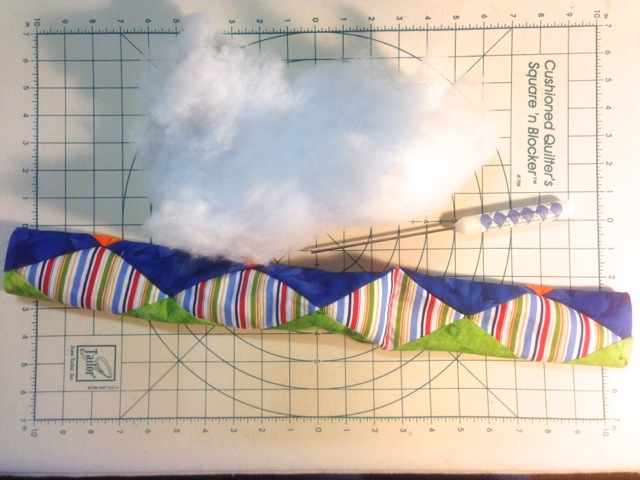
Now comes probably the most difficult part – sealing the ring! Again, I cut the last pair of diamonds in half (resulting in four triangles with seam allowances) and sewed a pair to each end. This meant that I could stuff every segment of the ring before joining the ends together (see the second picture). Before sealing the very last segment, I folded its edges inwards and pulled it around the segment at the other end of the chain. I was then able to sew straight through the first and last segments in order to complete the ring (third picture).
Step 4: Done, Rotate It!
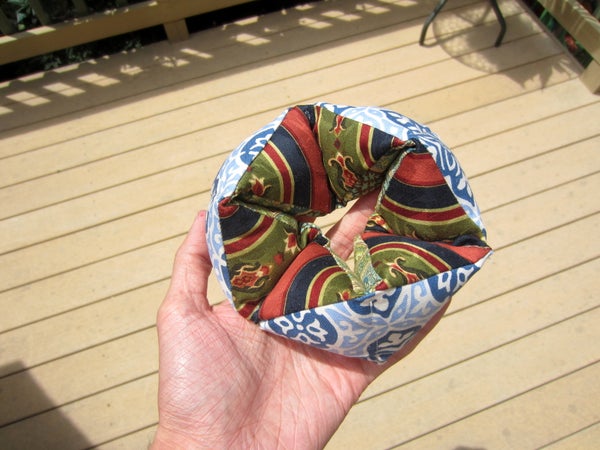
Your fabric rotating ring flexagon is complete! Be prepared to enjoy hours of comforting and addictive fiddling. It’s geometry in motion!
Others who made this;

The Critical Tinkerer, US

PROFILE
A blog by Guillaume Riesen, a neurosciences PhD student studying human visual perception. He studied cognitive neuroscience at Brown University, where he made his first educational YouTube videos. He has continued producing these and taking part in science outreach throughout his academic career.
Main Research Source
- Fabric Rotating Ring Flexagon(07/2013)
- Instructable by By thegnome54(2014)