Make your own reusable party pennants!
I like to celebrate! I love hosting birthdays, gatherings and having people over for dinner. I also enjoy decorating the table to make it a little more special when we have a special gathering of some sort. I have collected from markets and op shops a variety of linen, serviettes and candle holders but I was buying paper things to hang from the ceiling each time and then, of course, throwing them in the bin after one (or maybe two uses) There had to be a cheaper, more sustainable way of decorating for special occasions. Then one day at the botanical gardens I saw knitted, felted and sewn pennants and thought they were wonderful!
Totally out of my league to make, but gave me an idea for making my own, very basic, celebration pennants…
Here’s what I did…
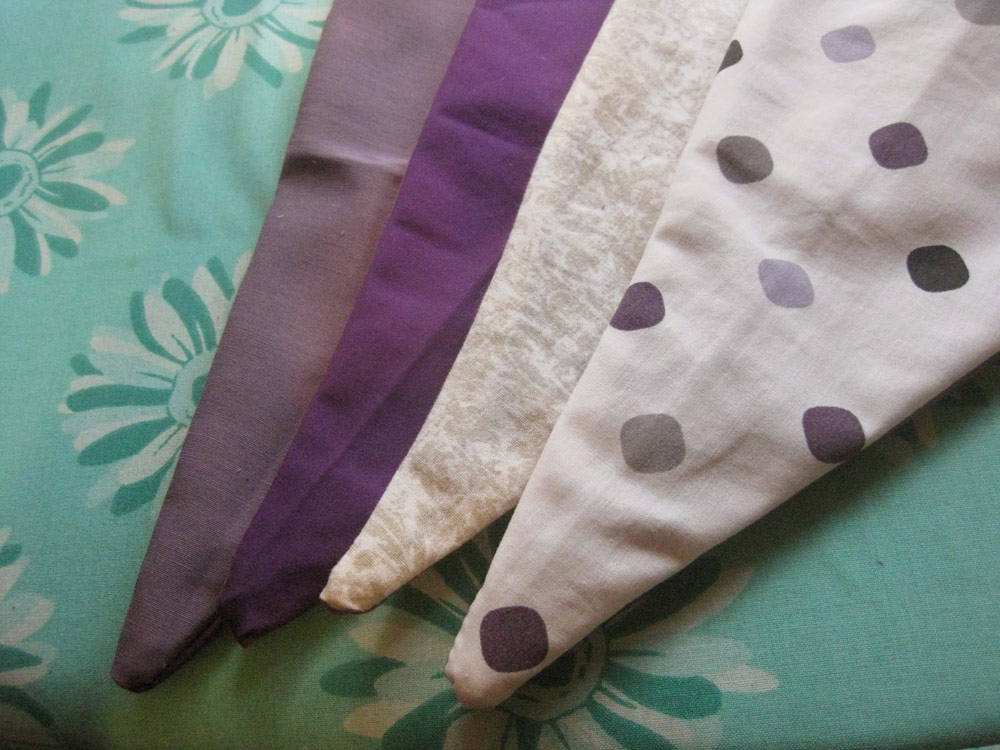
I gathered together old bits of material I had in my stash around the purple theme. I didn’t have quite enough so I went to the local op shops and bought pillow cases in the right colours for a $1 each and bought them home and opened them up into a sizeable piece of material. Ironing the ex pillow case goes a long way to making life easy when you go to cut them, too.
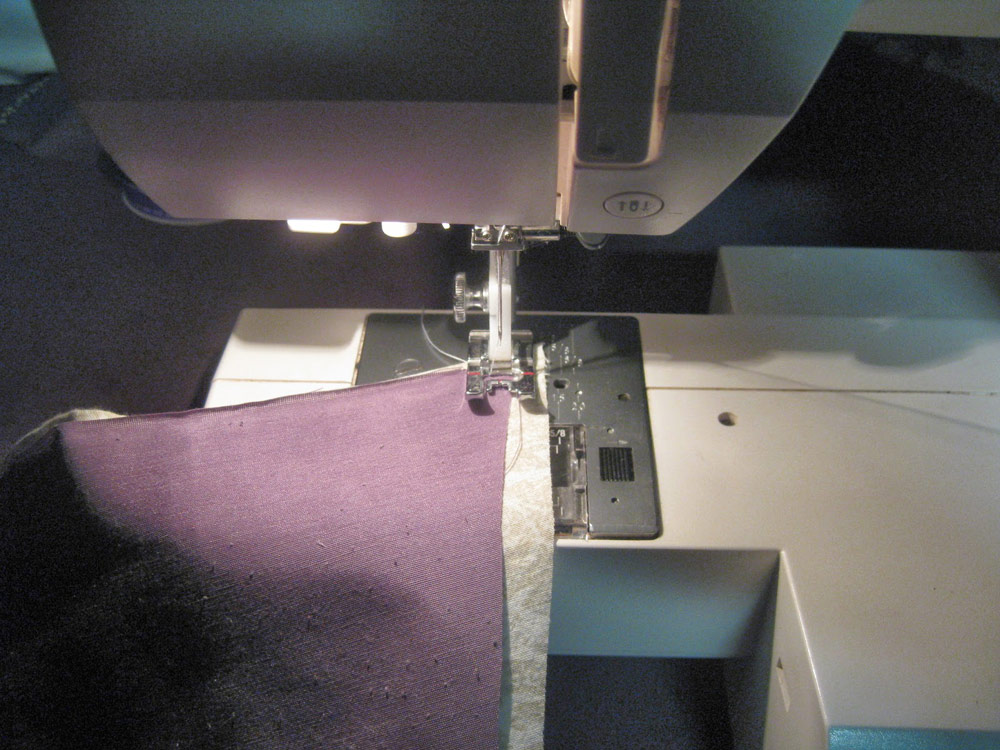
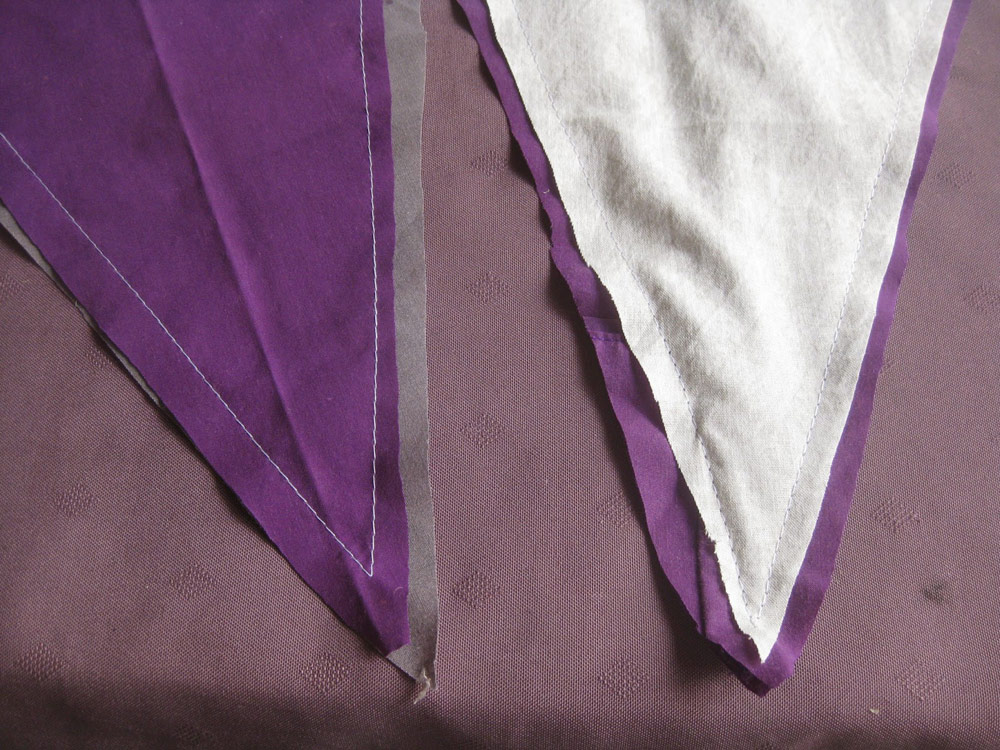
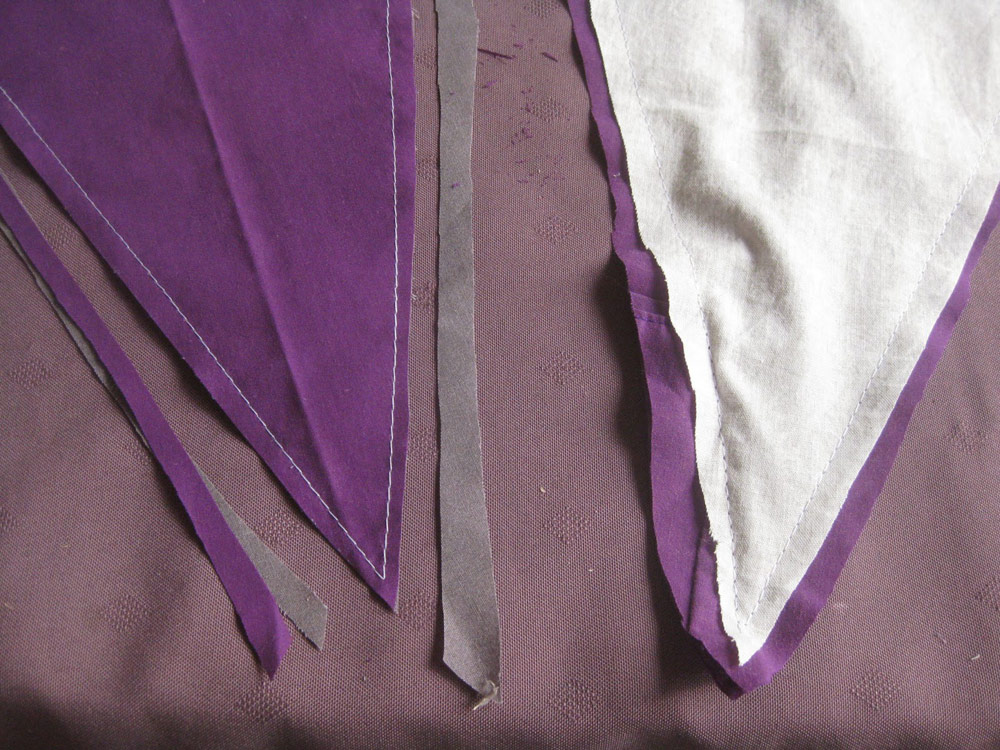
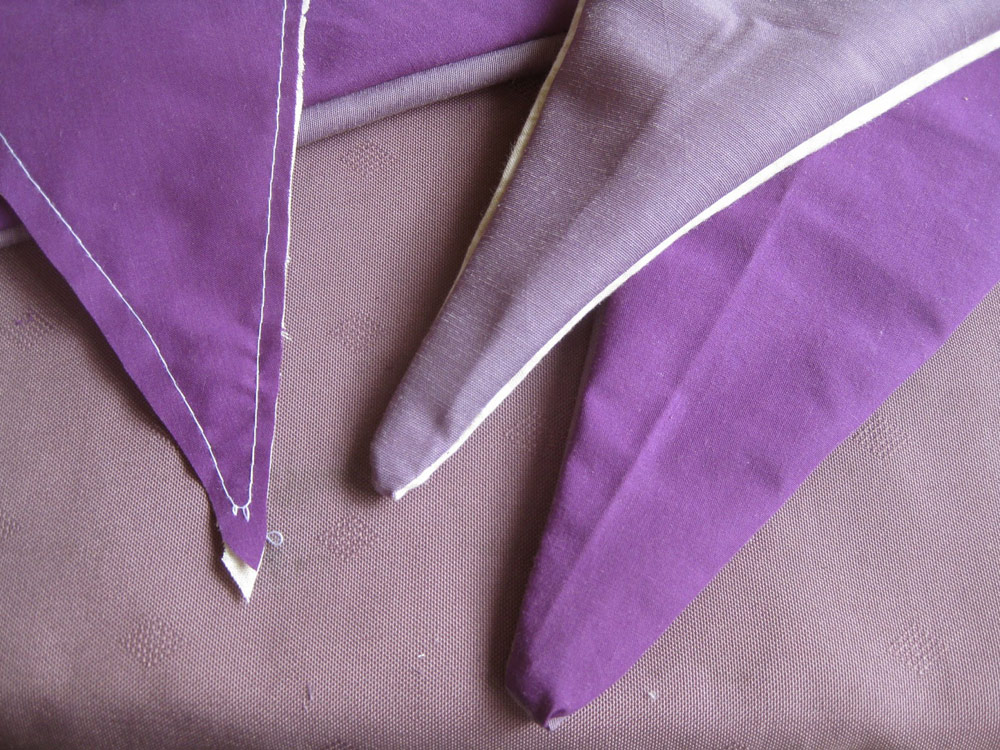
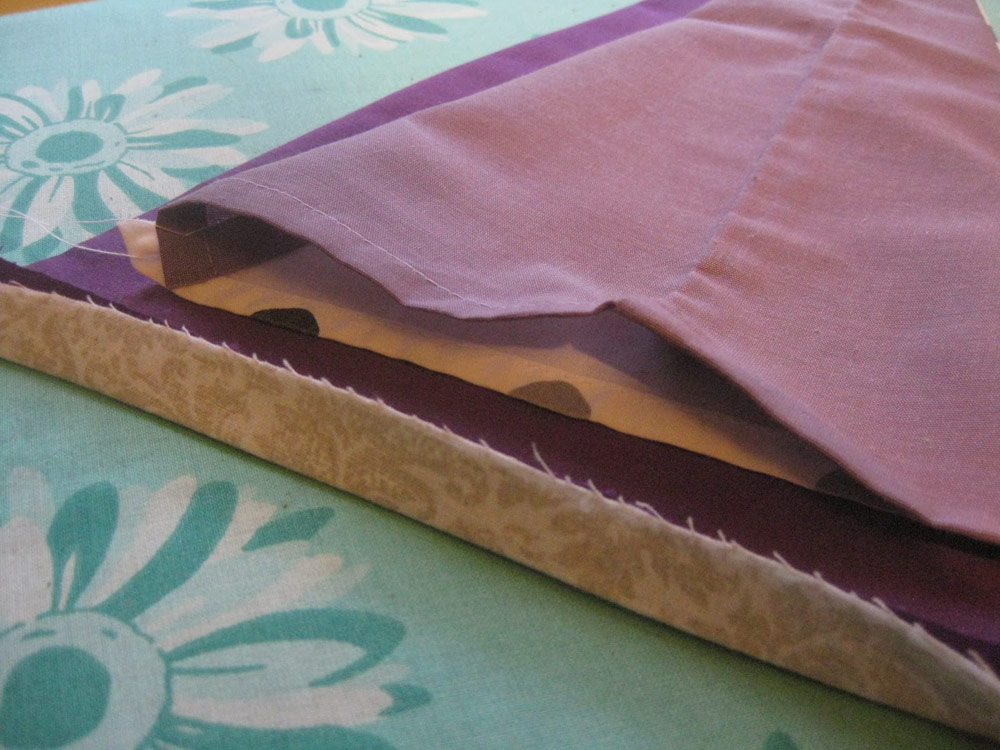
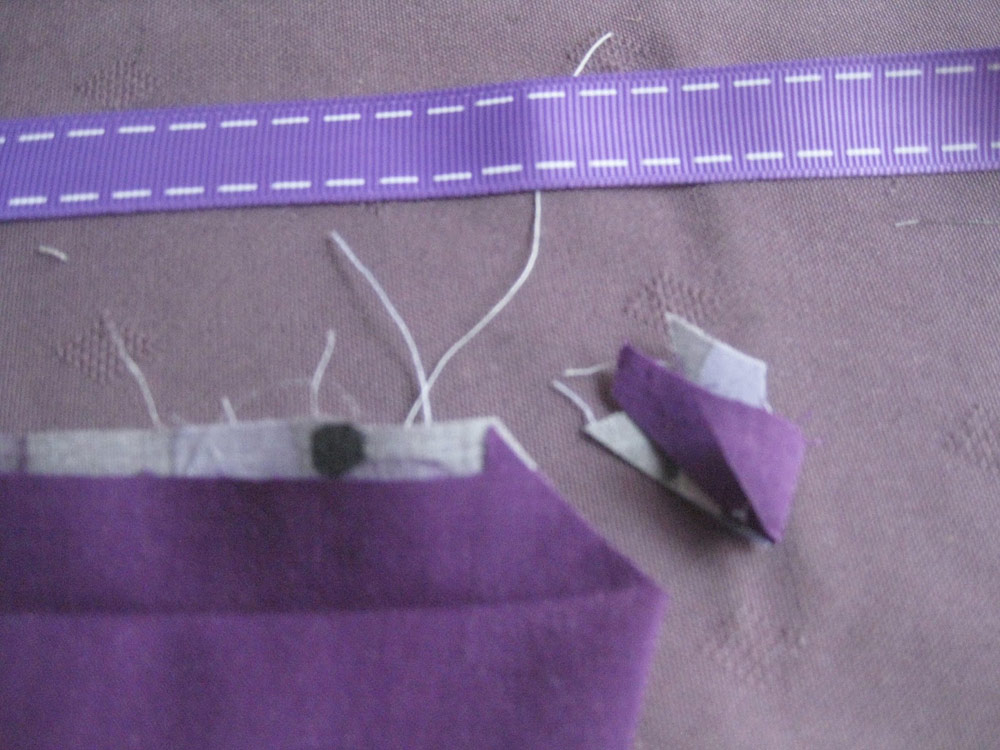
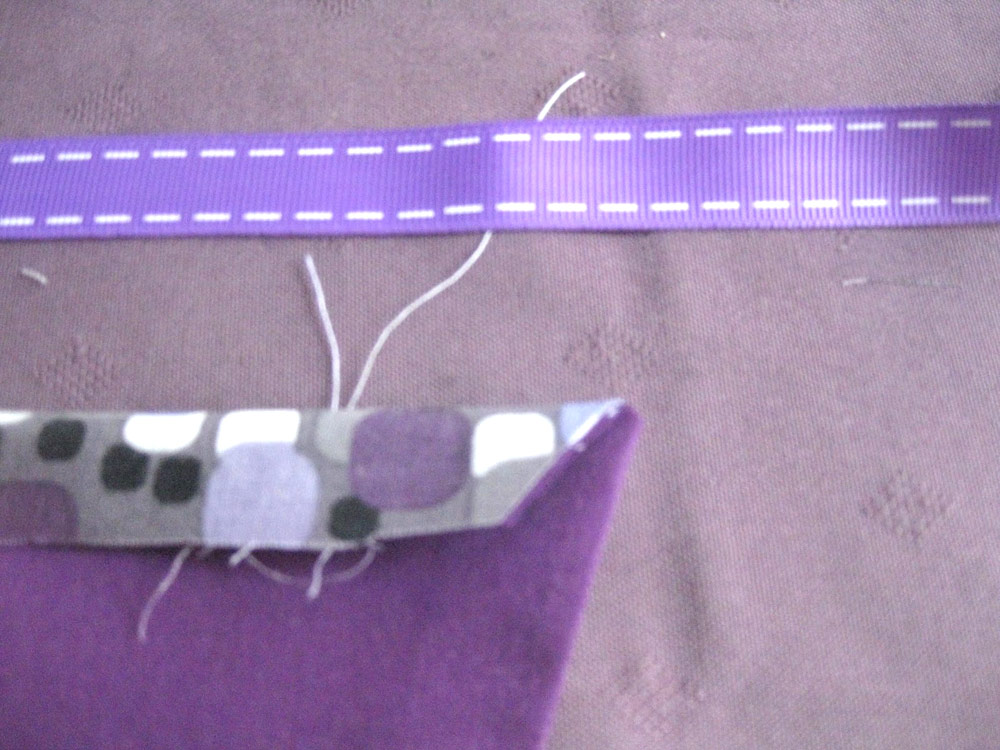
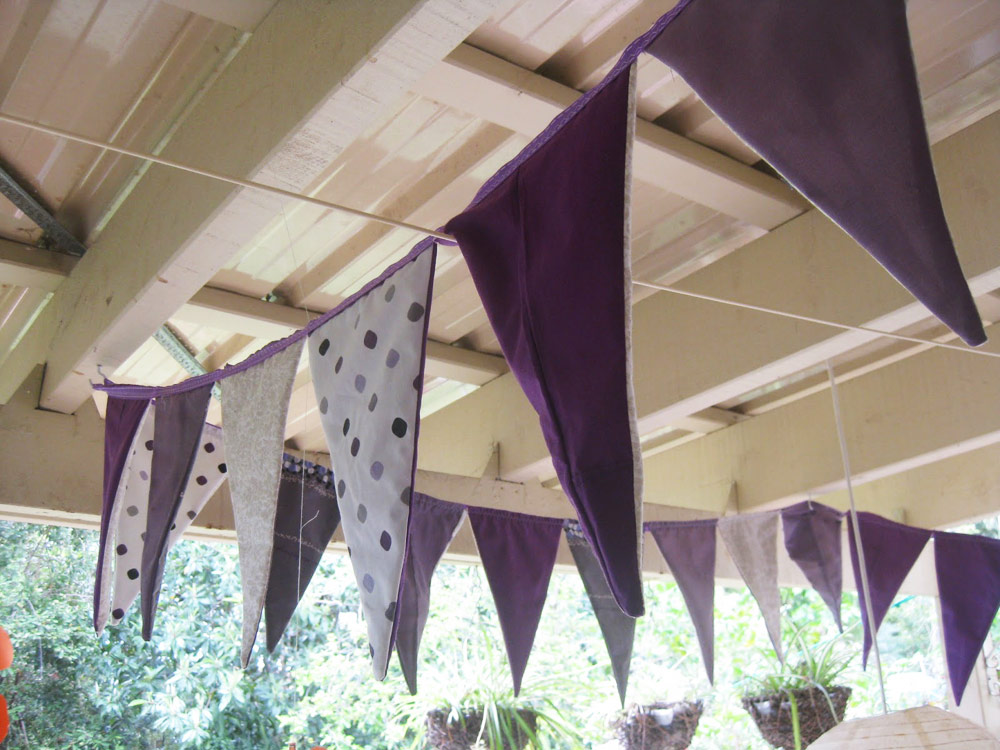
I decided on a pennant/flag size and cut the material into strips and from there into triangles with two long sides and one much shorter in the classic pennant shape. (The two end 1/2 triangles can be sewn together to make an extra full triangle if you need it.)
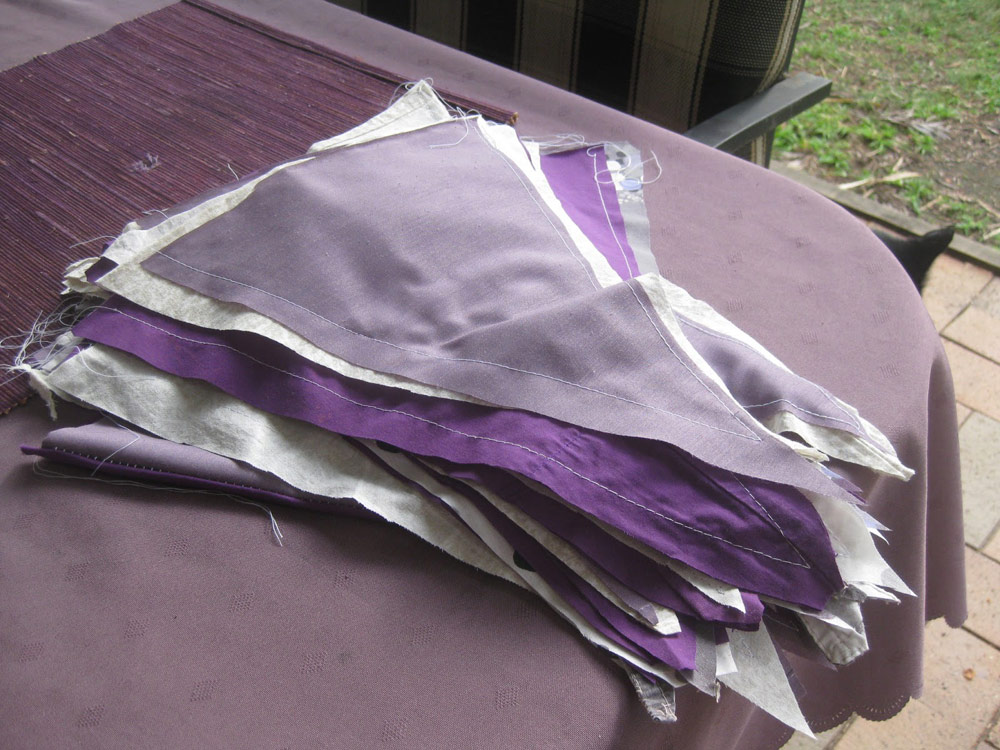
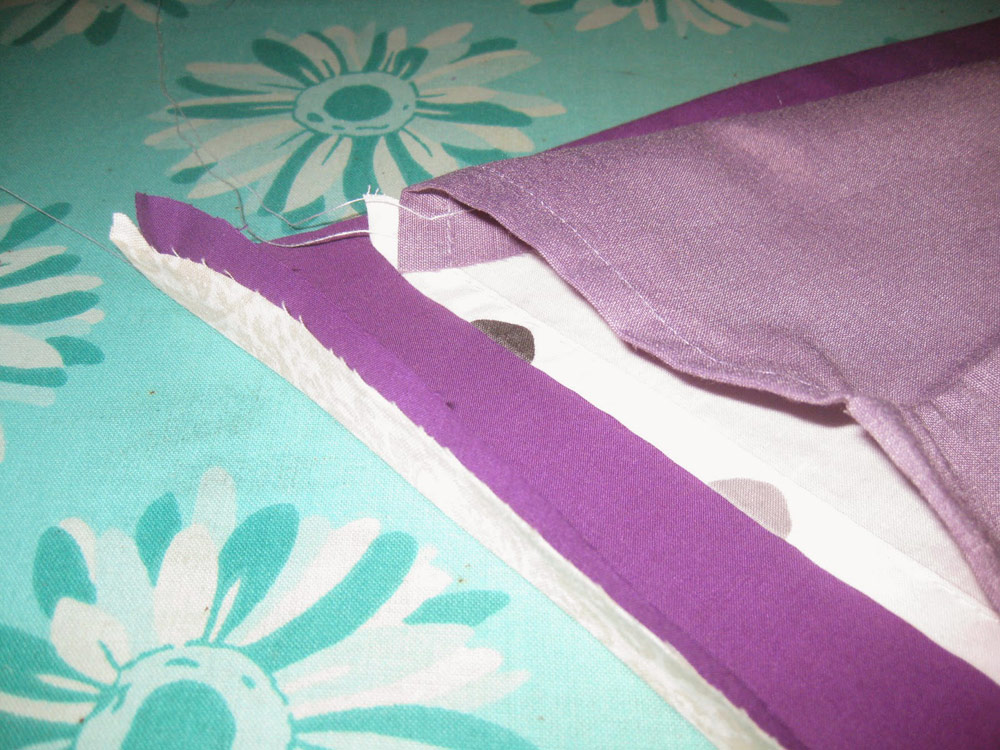
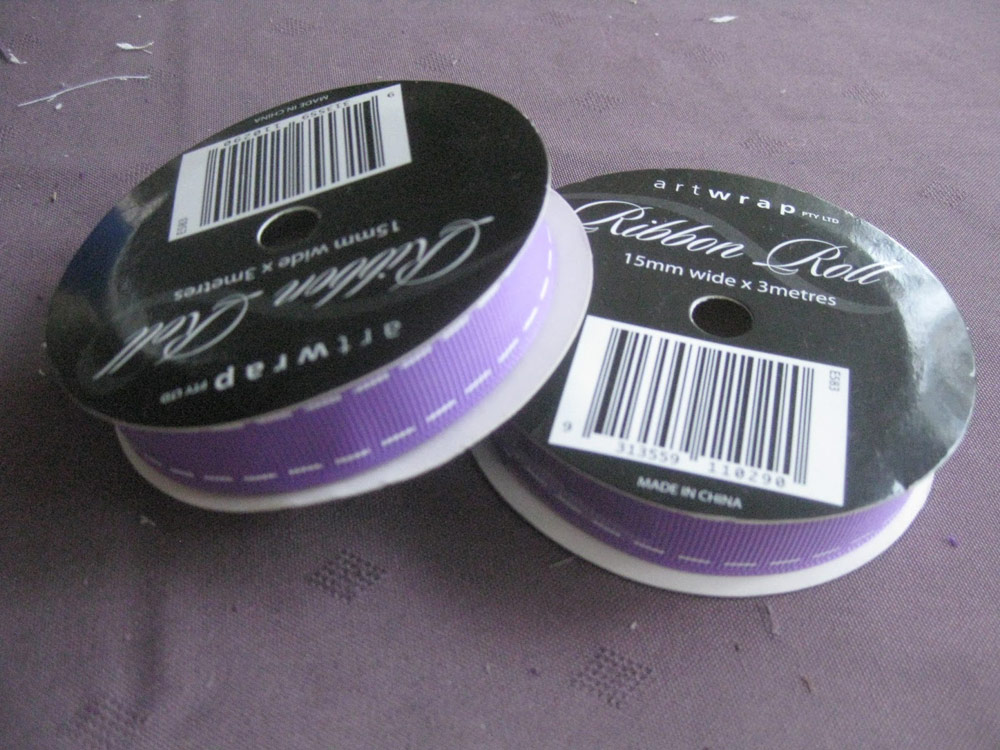
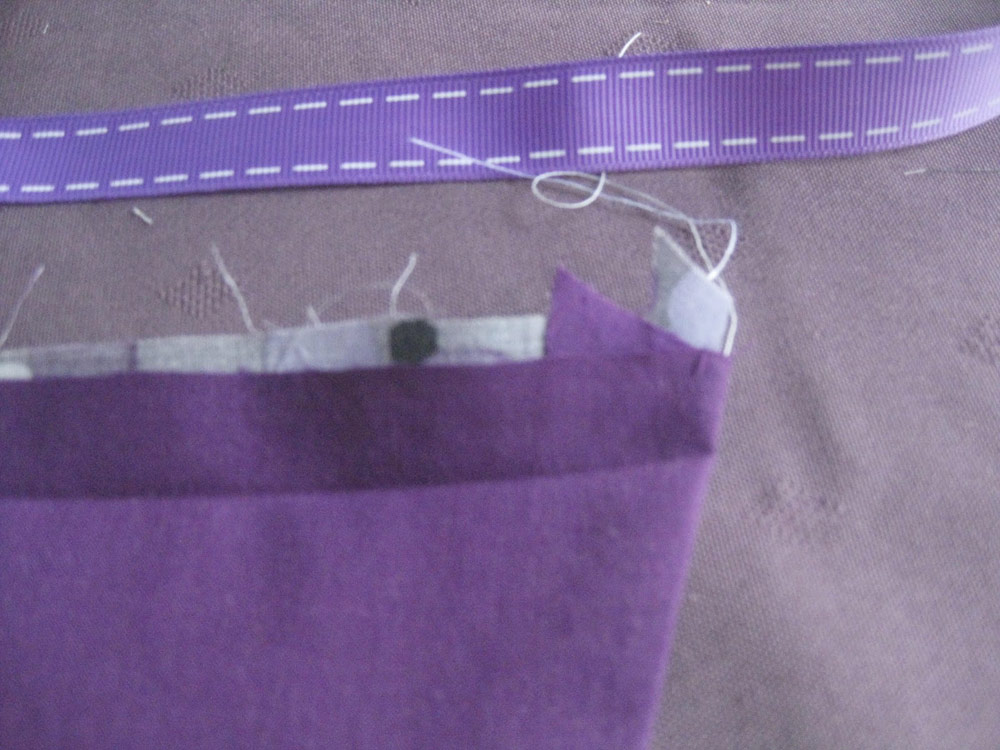
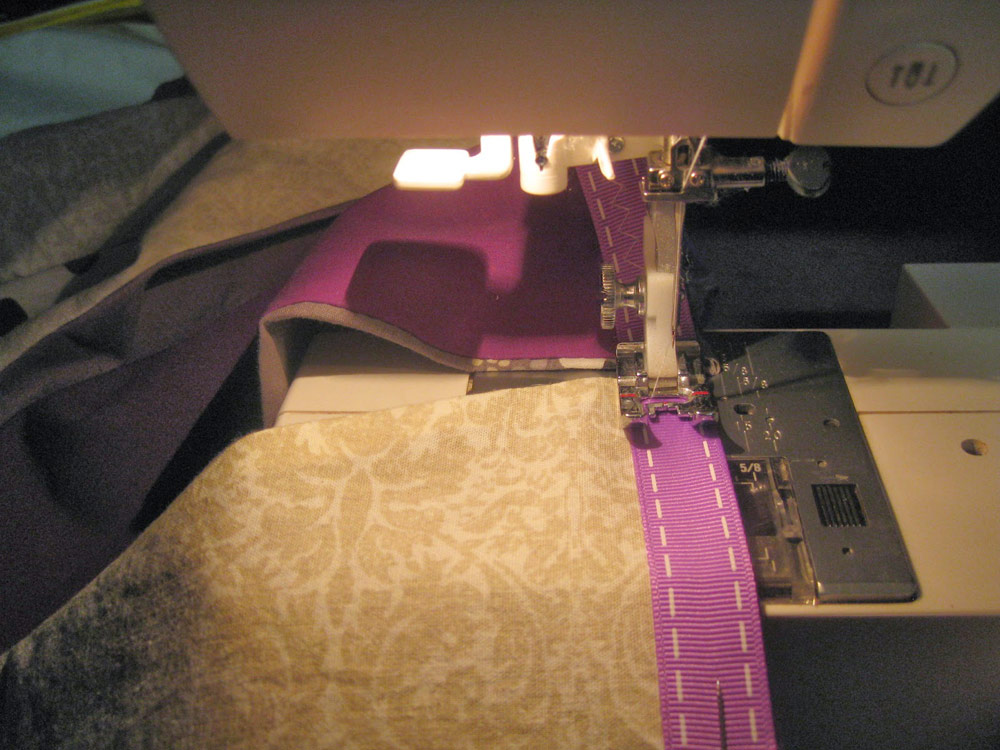
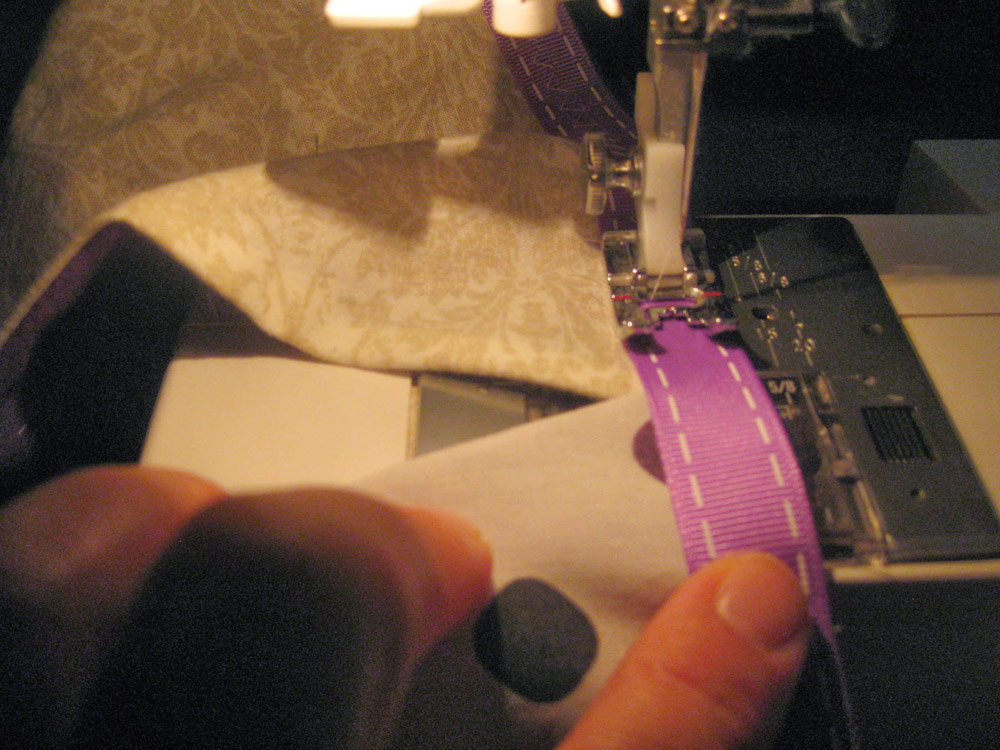
Then, I sorted them into pairs – I was going for a mix and match theme rather than a line of solid colours or a pattern (makes it easier to hide mistakes and saves me having to purchase a large quantity of the same material!) so as long as the back didn’t match the front I was happy! I did a plain back and a patterned front so that when I went to sew them on the ribbon, I could get the mix and match pattern for sure!
Steps
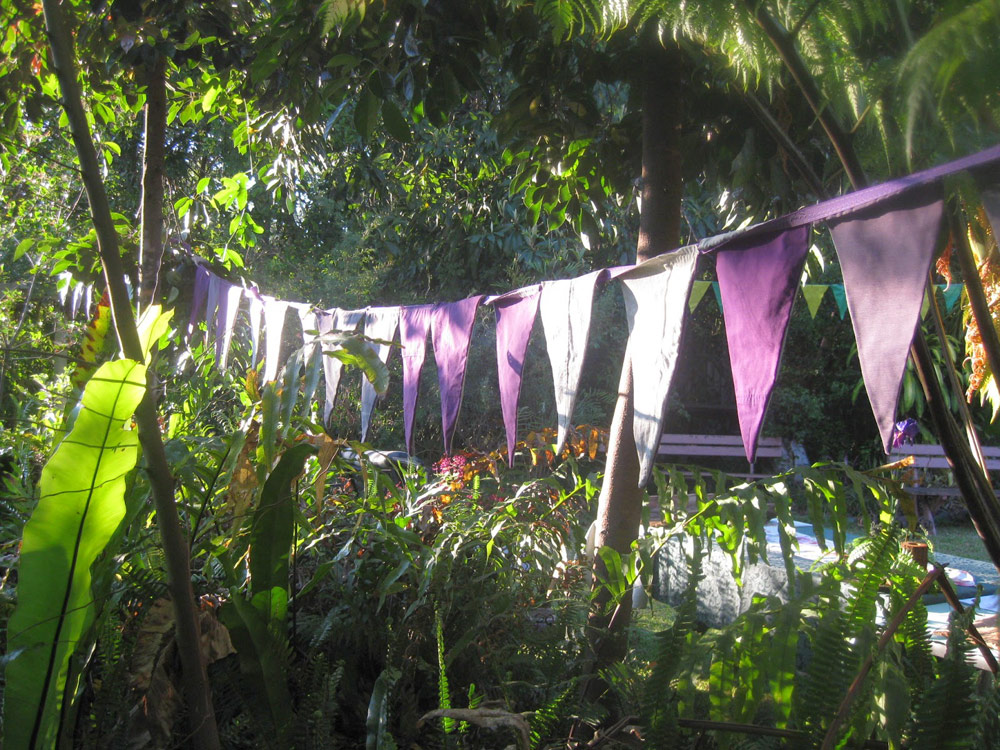
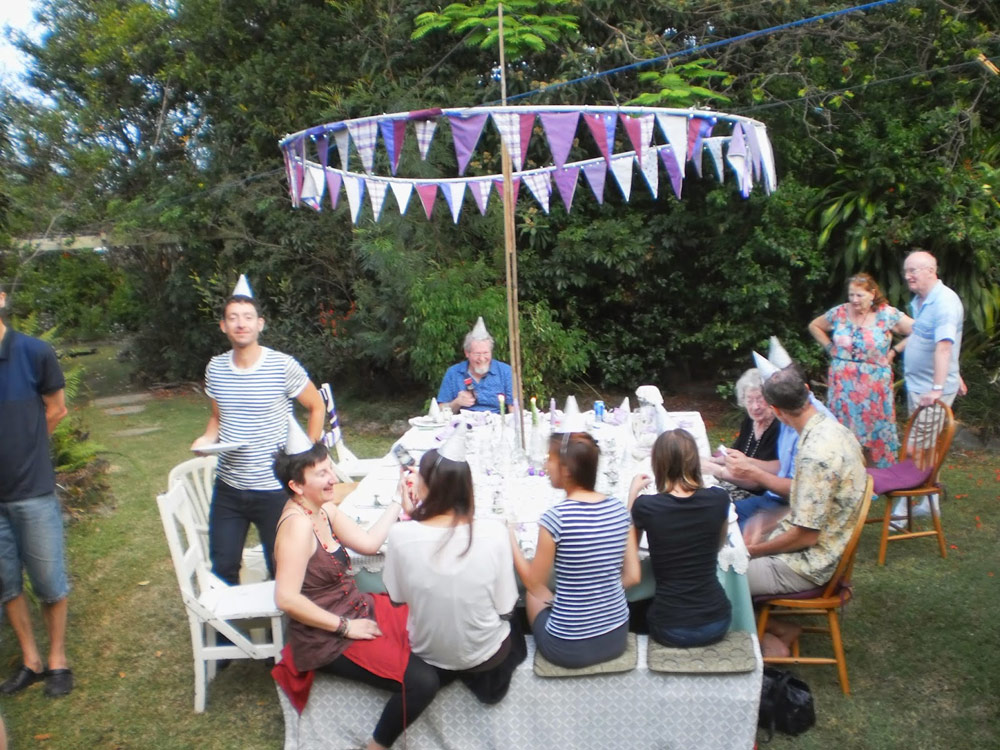
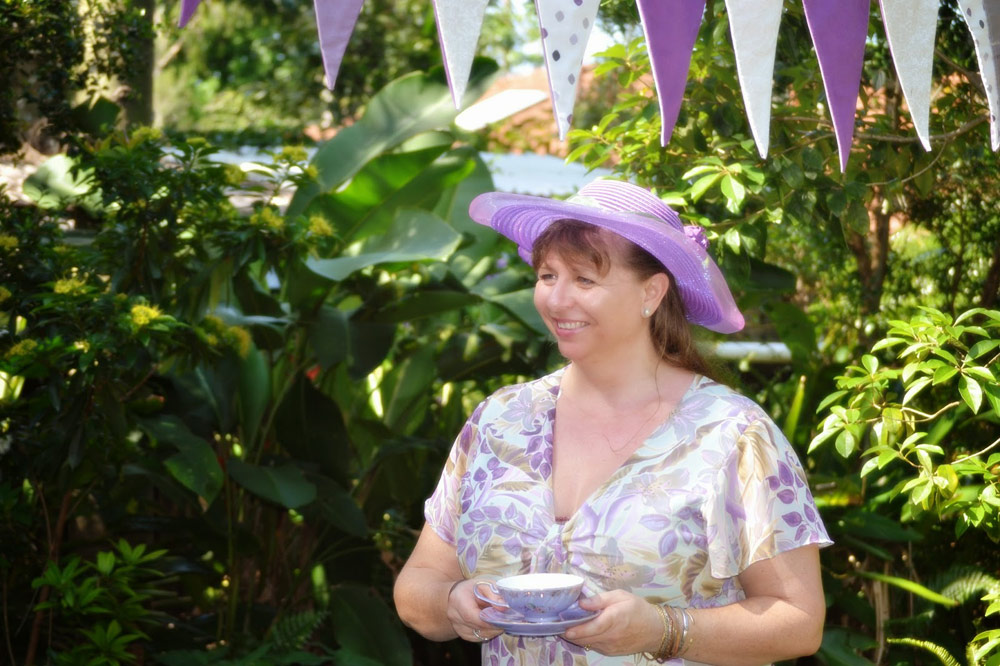
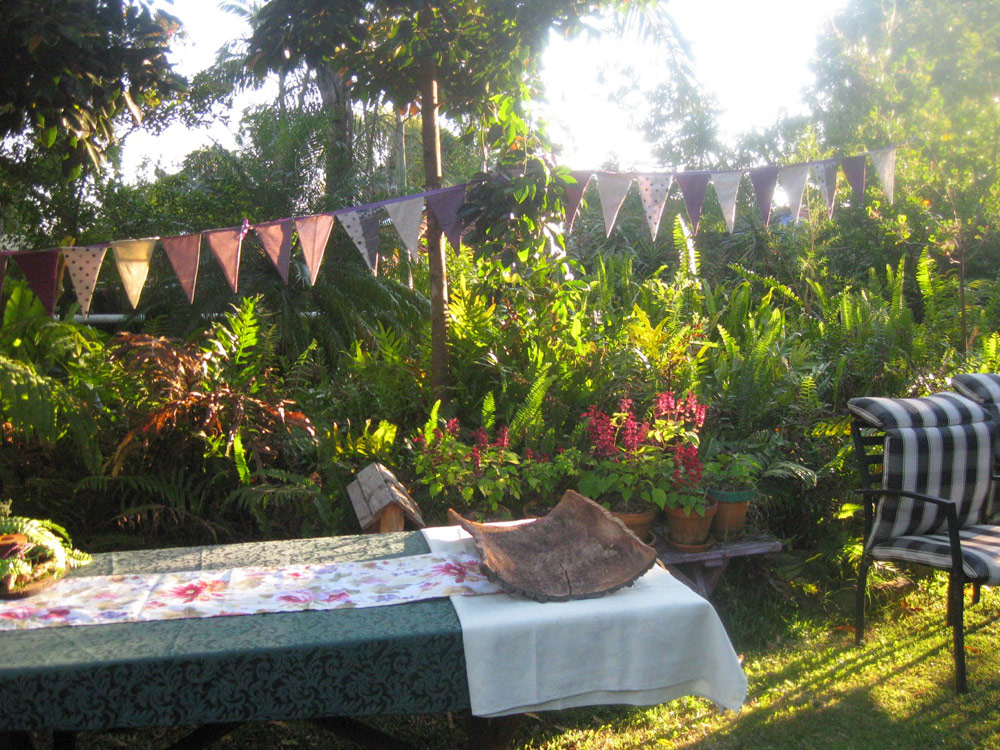
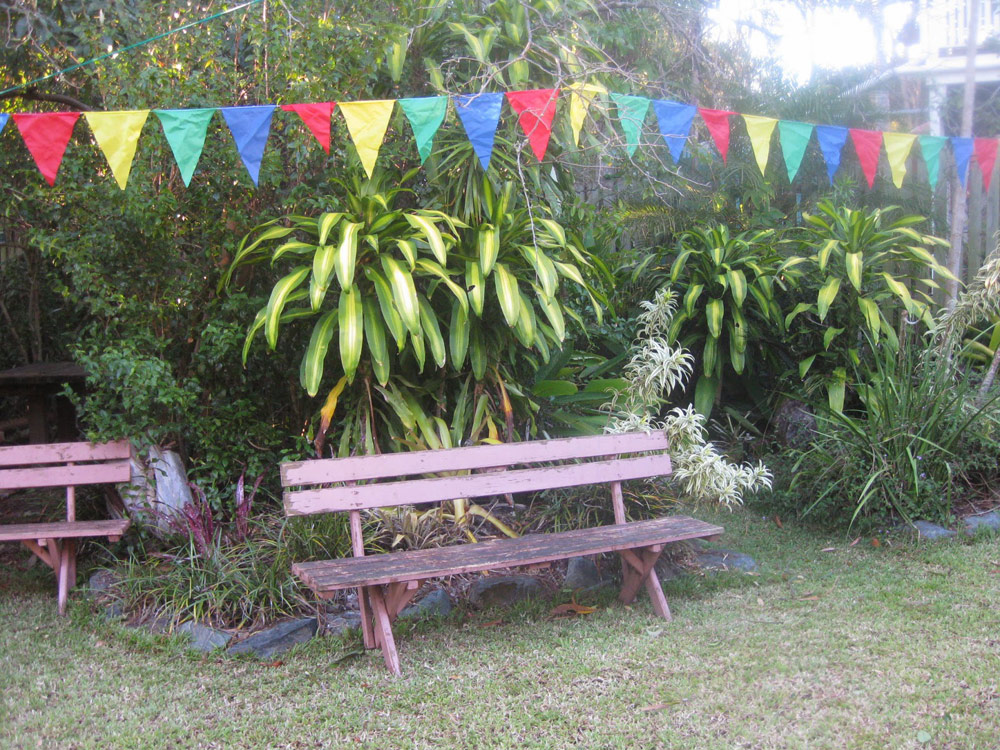
And then hang in the garden, over the table, on a wall or where ever you need a splash of colour! I use mine a lot in the garden as we live in the subtropics and entertain outside a lot. But they work just as well under the pergola as well as inside the house.
I made another set out of an umbrella whose metal parts had given up but whose stop rip nylon most certainly hadn’t! My husband devised a way of cutting each umbrella segment into about eight pieces that were the same size and since it was stop rip material and the same colour on both sides, I just cut it and then sewed it straight onto a piece of ribbon – very, very easy and very colourful as well!
One of the things I love the most about my pennants is that if they fall on the ground, get wet or get dirty, you can simply wash them (hand wash them though – the machine will do very bad things to them!) and hang them out to dry and they are as good as gold again. I haven’t bought paper decorations since I made these. These pennants have become our symbol of a special gathering.
I chose purple as I have a lot of purple table wear anyway. Obviously when you make your own, you will be naturally drawn to certain colours and patterns and each set of pennants will look totally different. I have seen these made with doilies cut in half as well which are very pretty indeed!
I store mine by folding them in a zig-zag pattern (back, front, back, front) and then securing them with a large bull dog clip. We have put a few hooks up in various places where we tend to hang the pennants from to make it easy to pop them up. If they aren’t long enough to go where you want them to, I use a piece of string on each end to lengthen them so they fit across the area I want them to. I have even cut them for a super duper special occasion to fit, as its easy enough to sew them back together when its all over.
I love my pennants and think they are great value for the time and cost it took to make them
Score card:
Green-ness: 5/5 for repurposing material and not needing to buy a disposable product ever again.
Frugal-ness: 5/5 for buying from an op shop or using material from your stash.
Time cost: Around an hour for me from go to whoa.
Skill level: Sew and cut in a straight(ish) line skill.
Fun-ness: Great fun to pull them out over and over for celebrations! They get a specialness about them after a while!
The Practical Frog Blog, Australia

was used when creating this post
PROFILE
Kara is a practical, crafty, frugal greenie who likes to garden, cook, preserve, ferment and bake bread. She lives with a bunch of chooks, a flock of quails, sixteen native bee hives, a cat, a dog and a husband. she shares her homesteading adventures in her blog.
Main Research Source
- Make your own reusable party penants! (04/2014)
 What have we learnt?
- Pennants look lovely from mismatched fabrics chosen by colour
- They are fairly simple to sew
- How can you get 8 traingles from one umbrella segment? This would be good to try
- I like Kara’s score card