Transform Your TV
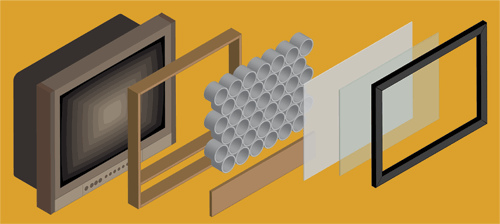
The TV Pixelator
I originally stumbled on this idea a few years back in an issue of Ready Made magazine. Their plans included wax paper and toilet paper tubes, but I wanted something sturdier. After trying a few different combinations, this is what I came up with.
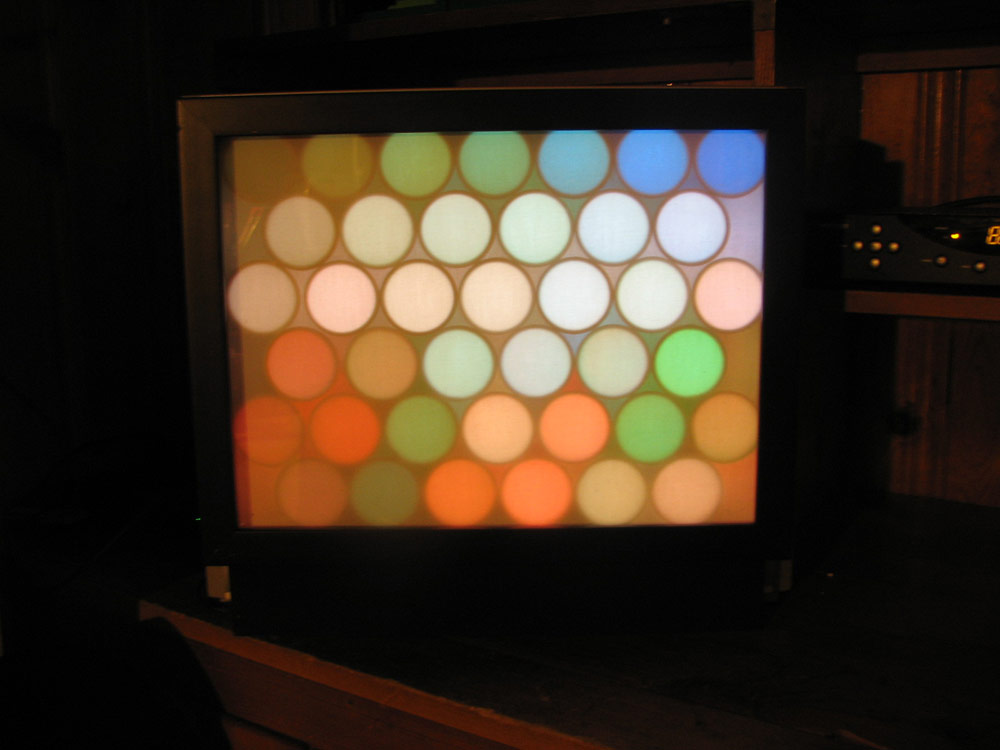

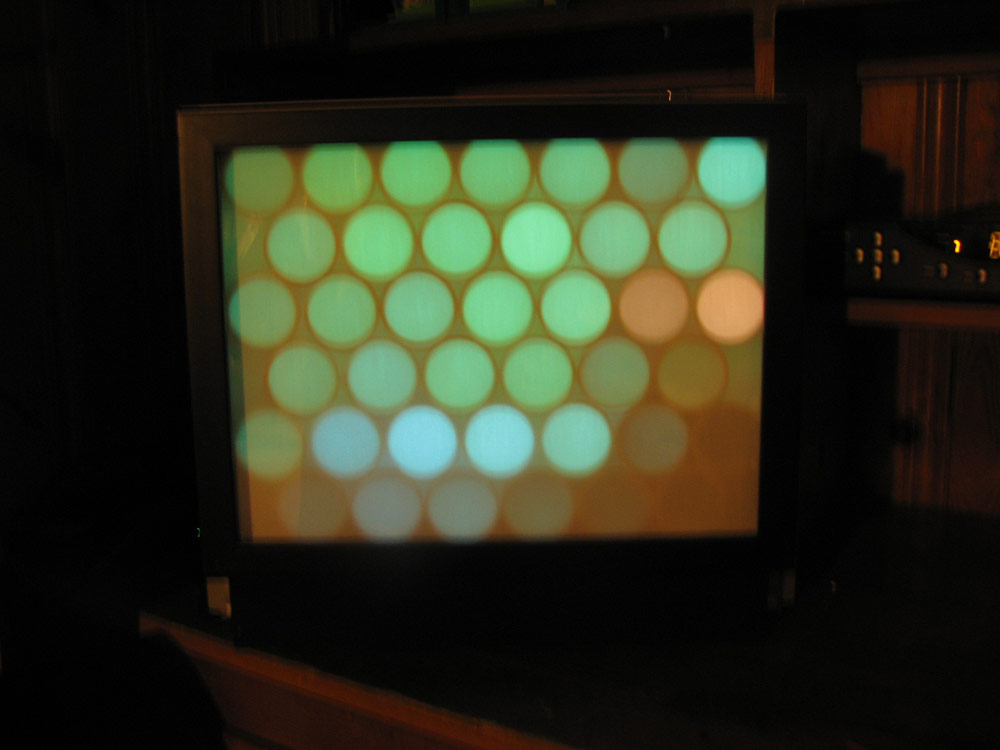
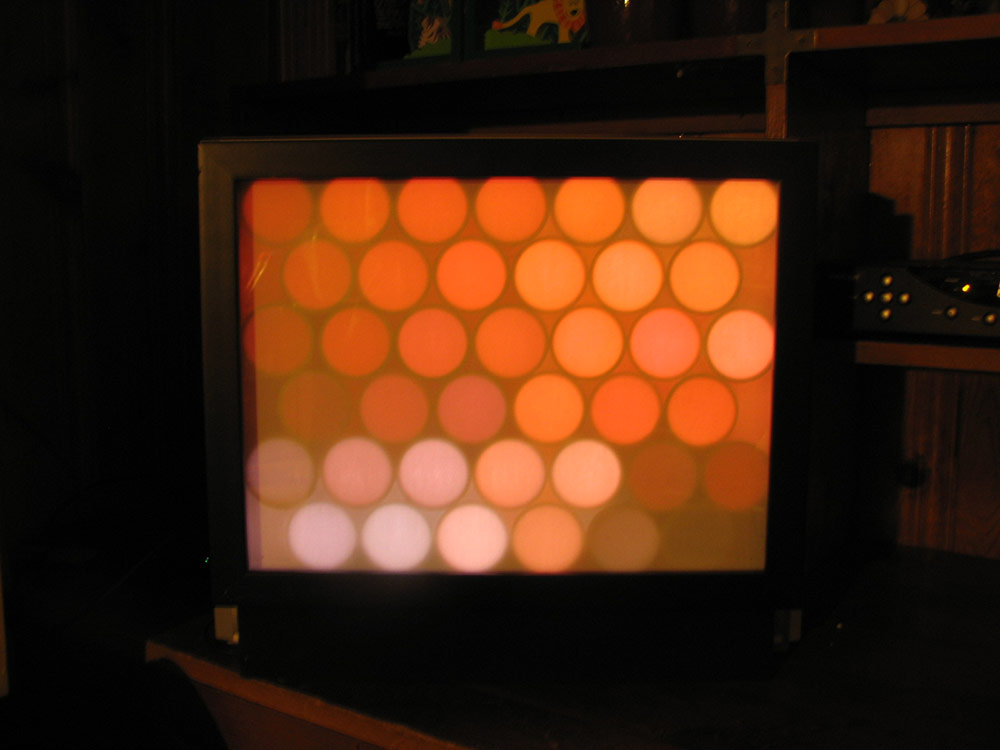
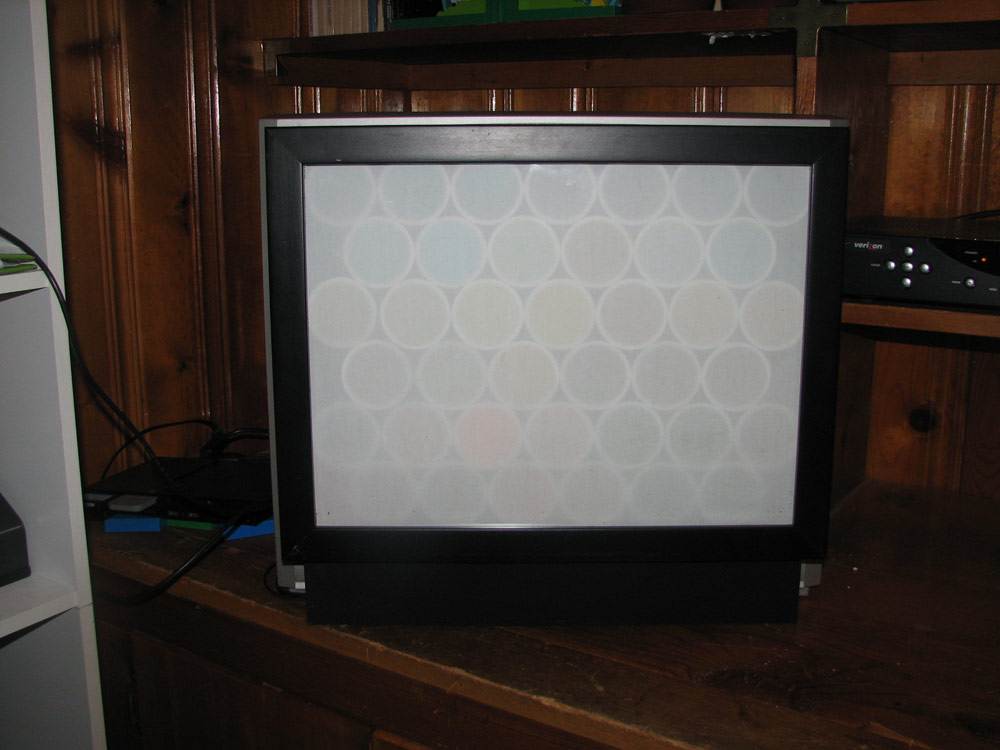
A TV pixelator is great for parties. Turn on a bright and colorful channel with fast edits and lots of colors (music videos or cartoons work best, but ANYTHING looks neat!) and hit the mute button. Place the pixelator in front of your television and put on your own music for an instant light show.
Supplies will vary slightly, because you’ll need to measure your television and adjust measurements accordingly.
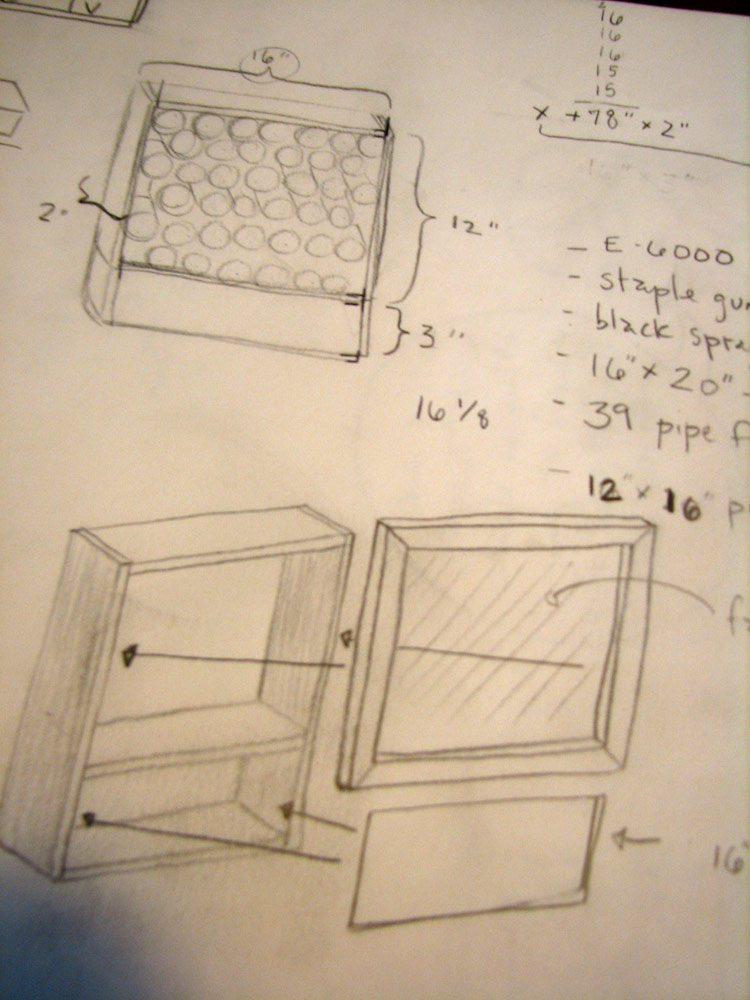
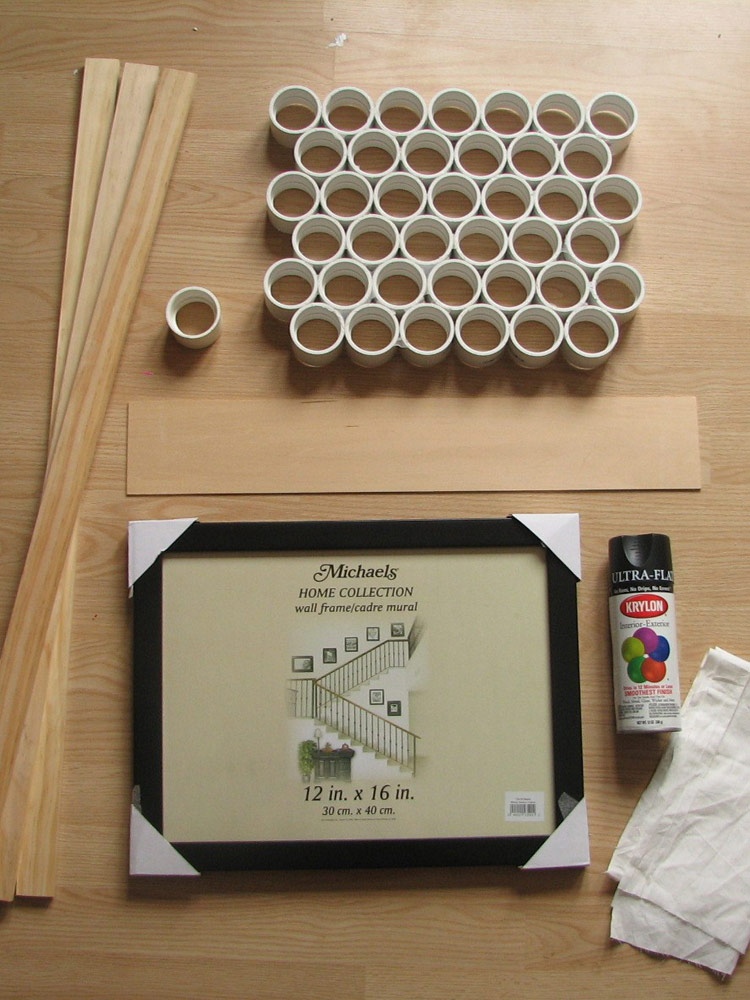
Here’s what I used for my 20” set:
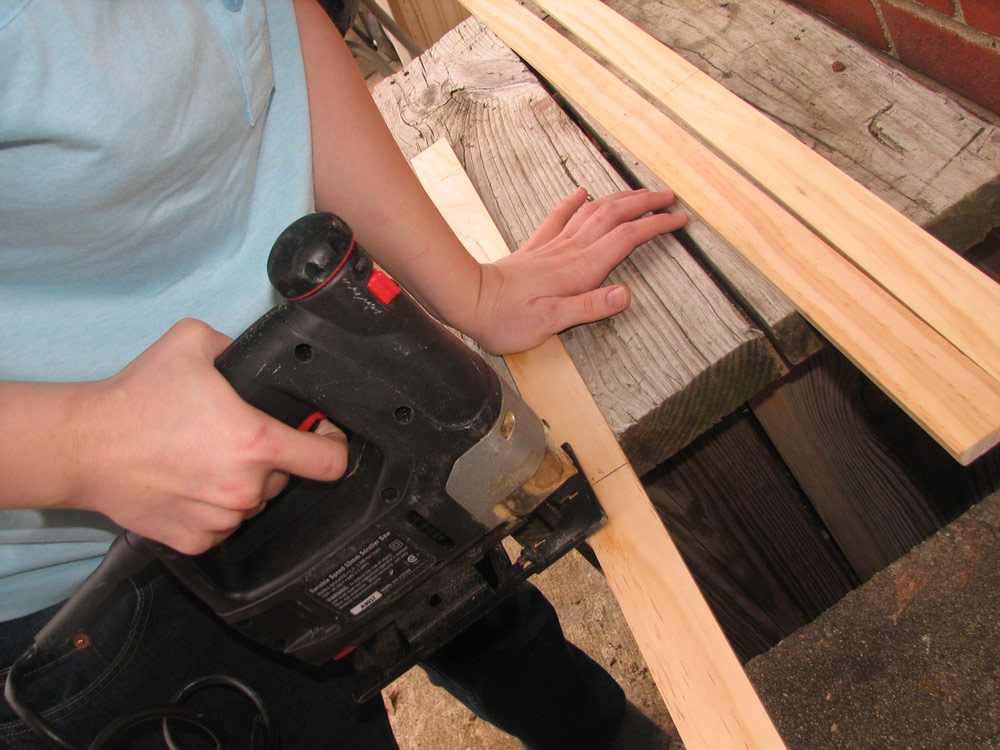
- Three 2” x 36” craft boards, cut into five 16” long pieces.
- 16” x 3” panel
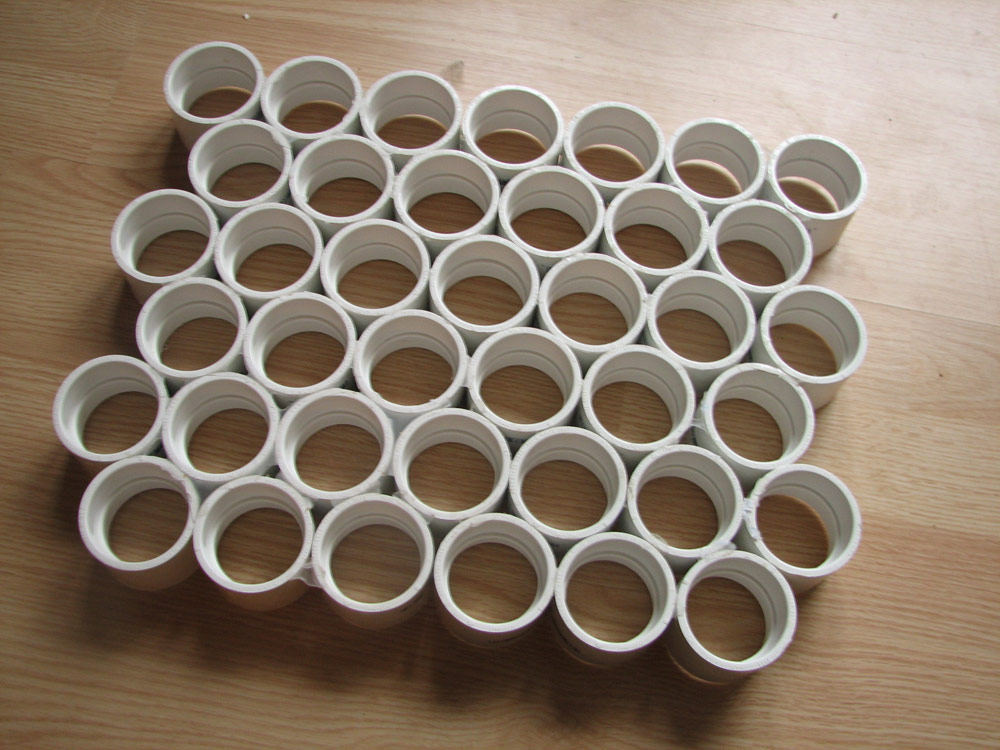
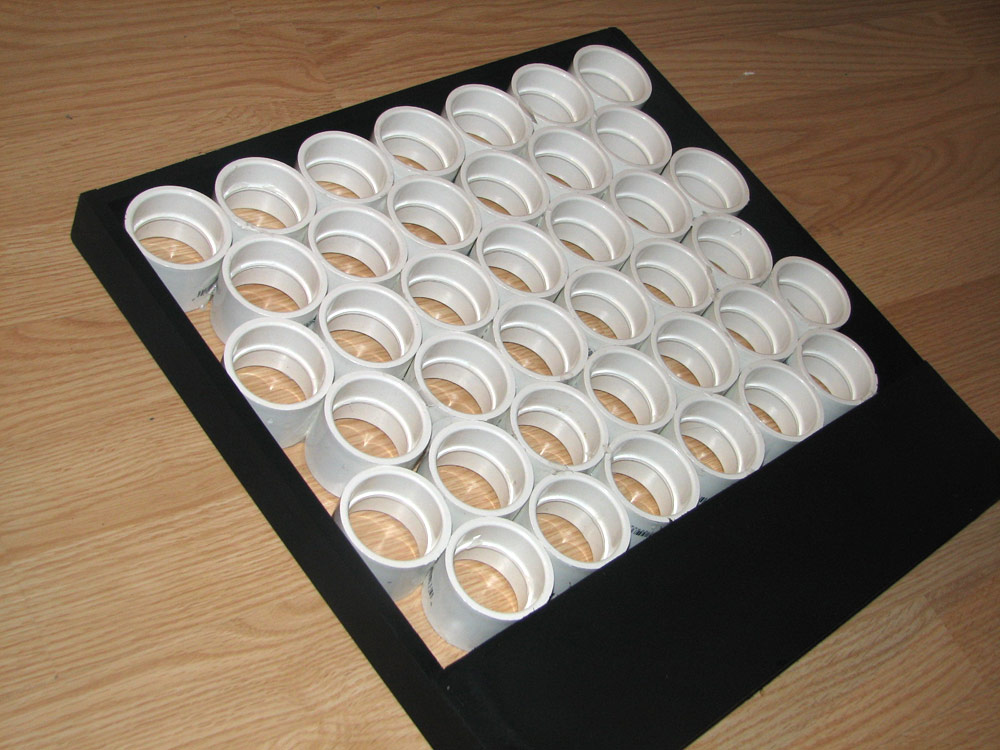
- 39 1½” PVC couplers
- 12” x 14” picture frame
- 13” x 15” of white knit fabric
You’ll also need:
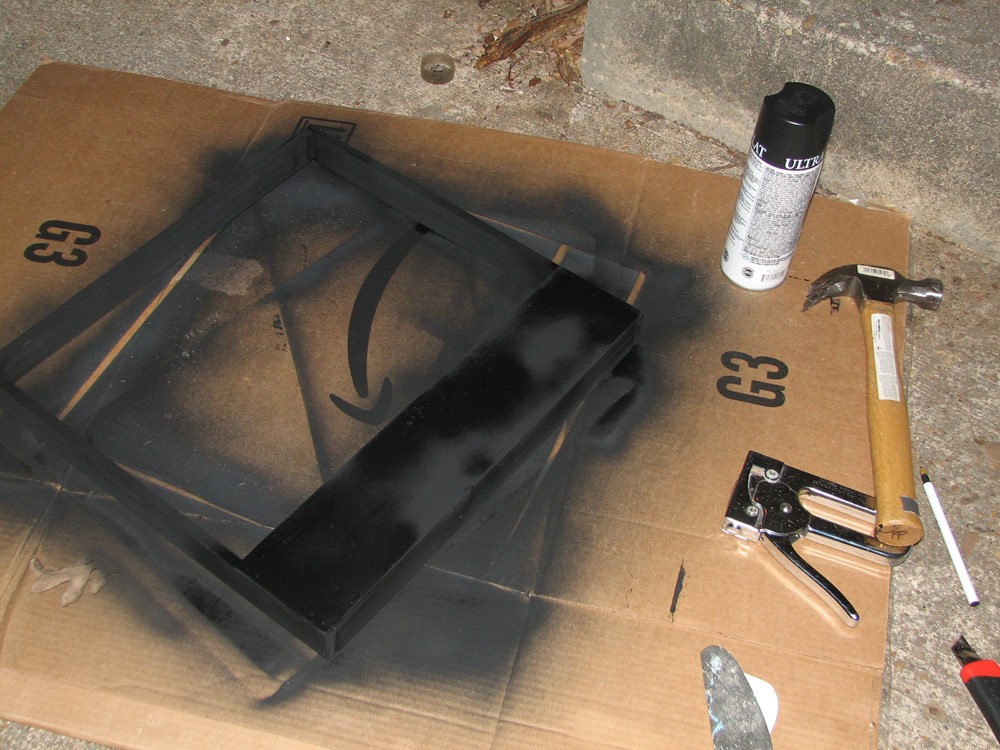
- black spray paint
- hammer & nails
- staple gun
- saw
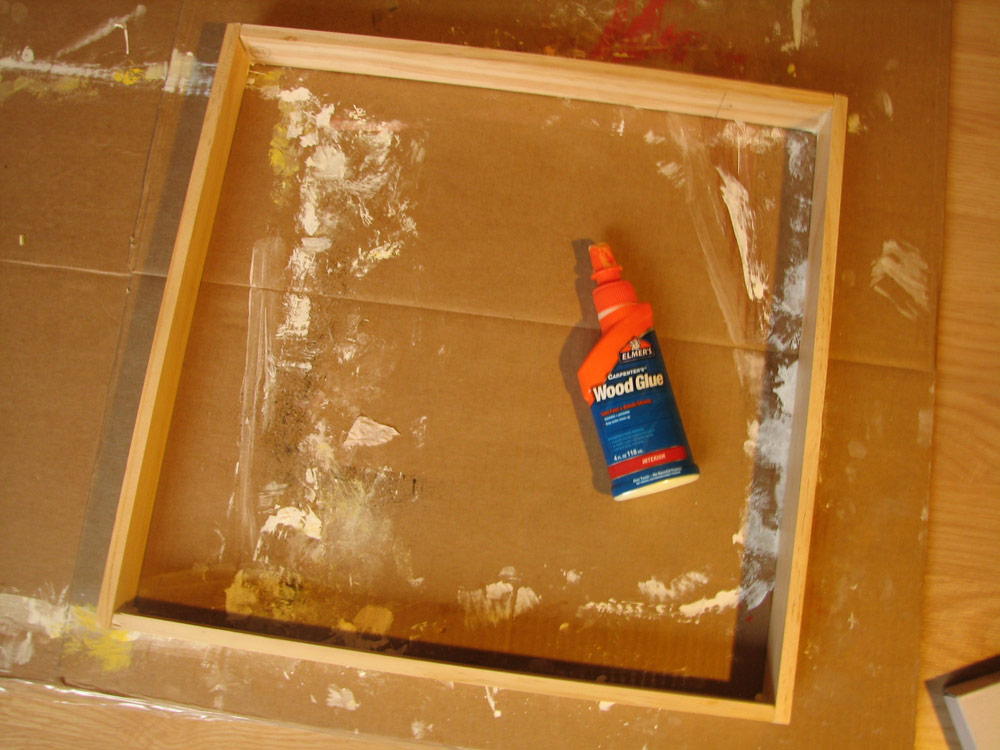
- wood glue
- strong craft glue (I like E-6000.)
To build the outside box and the front panel, you can use whatever scrap wood you have lying around, or can salvage from another project. Pine craft boards were only $1.50 each. The PVC couplers (the hard plastic straight pieces that are meant to connect two pieces of PVC pipe) run about 40 cents a piece. You can use any type of white fabric, as long as light will shine through it. Even an old white T-shirt would work.
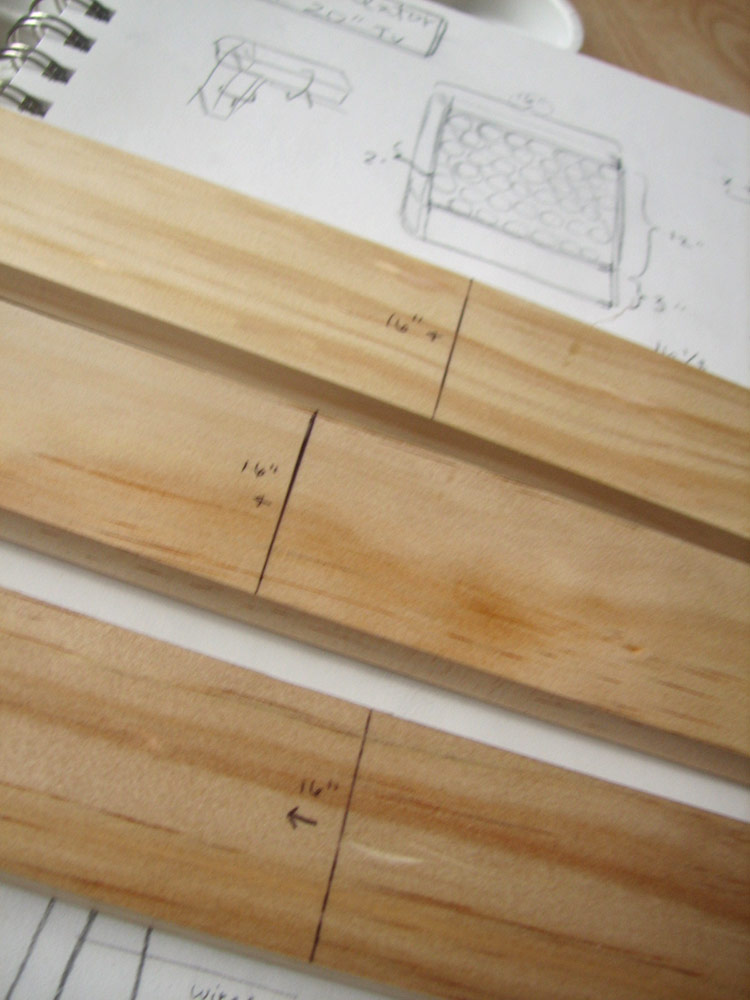
Get to Work!
The Hipster’s Guide, US

PROFILE
The Hipster’s Guide to Conquering Domestica was a blog by Corey Marie.
Towards the end of 2008, she was offered an opportunity to write it as a weekly column for Brick Weekly in Richmond, VA and this blog contains those articles, as well as other tutorials, reviews, lists of links and posts about her own personal projects.
Main Research Source
 What have we learnt?
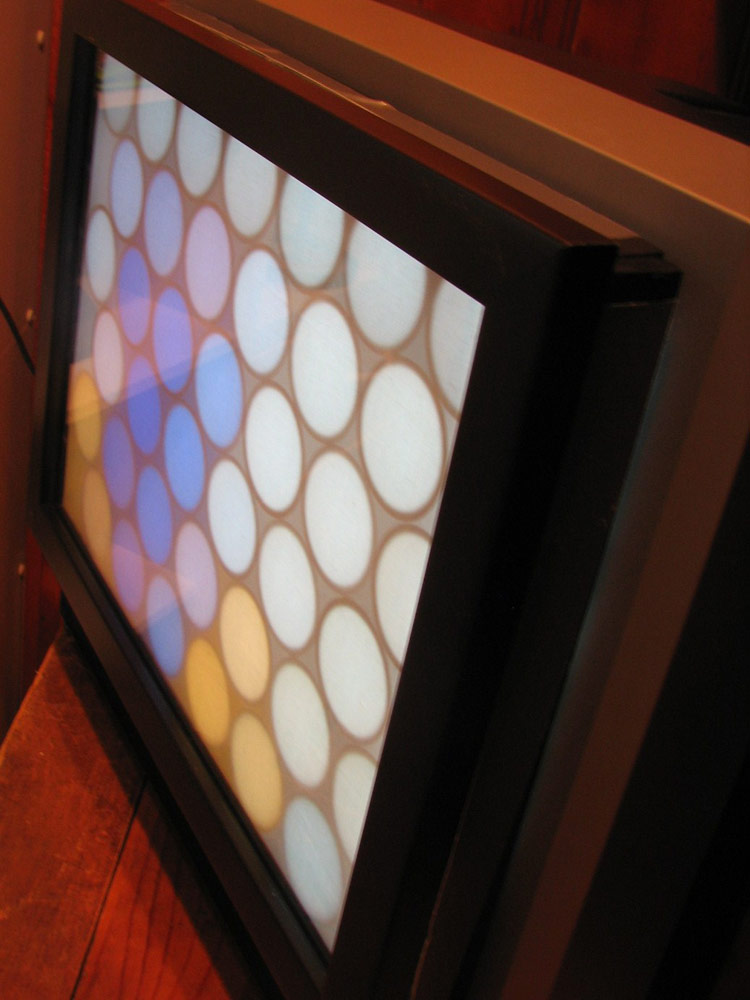
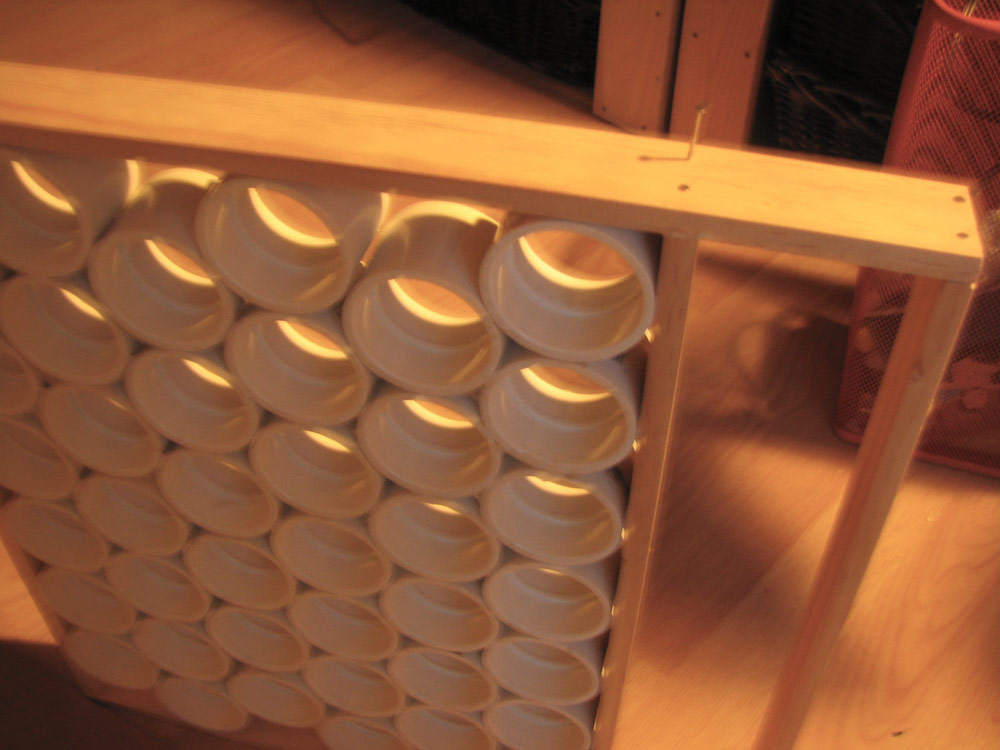
It’s easier to see in the video that there are gaps at the edges where there aren’t any tubes. It would look nicer if the tubes overlapped the edges.