Tutorial: Paisley Necktie Schoolbag
It’s back-to-school time and time for a new schoolbag. Sure, backpacks and messengers are great but how about something new?

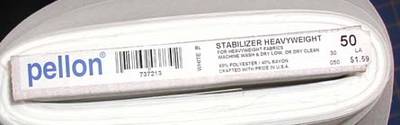
Okay, you’ll need a bunch of ties. Mine are all paisleys. A lot of lining fabric – mine is black velveteen. One 18mm magnetic snap. Heavyweight stabilizer. Large graph paper (or newspaper) for pattern. Basic sewing supplies.
SECTION ONE:
Let’s start with the gusset/handle:
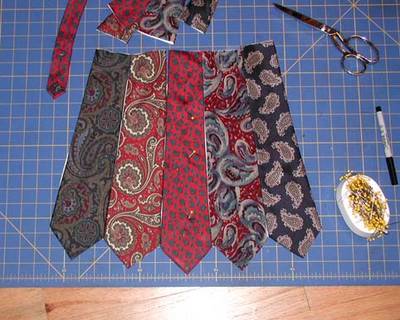
you’ll need four ties:
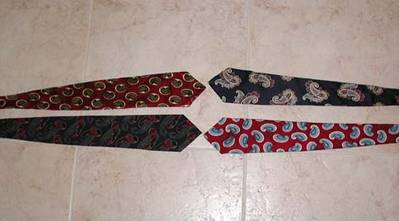
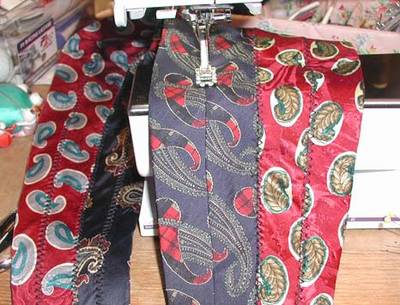
Lay them out like this. Measure up each tie halfway and mark with a pin. These pieces are joined together in pairs halfway up with the top parts left loose.
Join each pair side by side with a super-wide triple zigzag stitch. This is the number 7 stitch on my Bernina Artista 165. Most fancy machines have a similar stitch. If yours doesn’t, you can use a regular zigzag with heavy thread for a similar result.
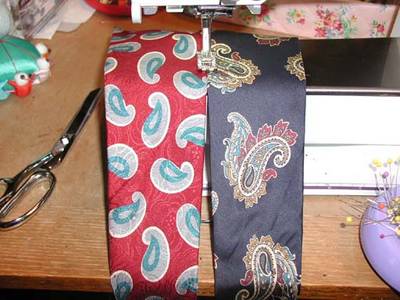
Just feed the ties through side by side, no “right sides together” or pinning or anything.
Stitch each pair together side by side halfway up. Leave the tops free. When you reach the halfway mark, do a bartack to secure.
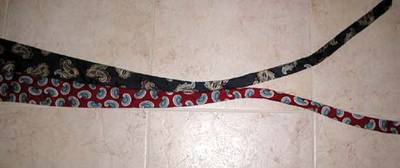
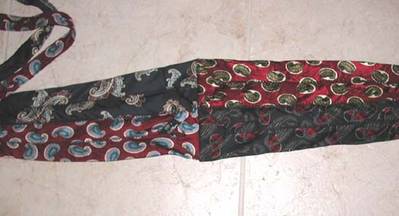
Now you have have two pairs of ties sewn together. Flip them over to the wrong side. See the seam on the back of the tie? See how it is hand-basted? Well, after making HUNDREDS of necktie projects experience has shown me that these tend to come loose with wear. So we are going to take care of that right now. Do not skip this step. No cheating.
Just do another triple zigzag over the center of each tie following the center seam on the wrong side. You can do the entire tie or just halfway up. Either way is fine but no cheating. You will regret it….and I’m watching….
Now place the fat ends of the ties right sides together and stitch across with a regular straight stitch. Fold back the little triangles and stitch them down as well.
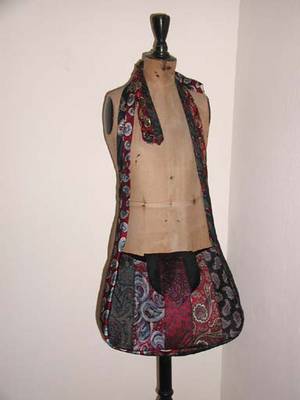
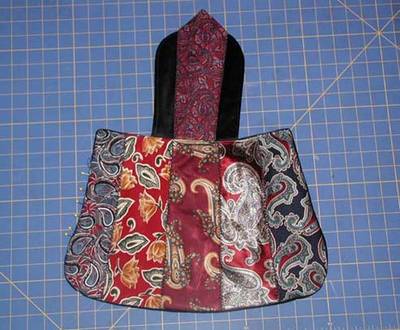
Your gusset/strap piece is now complete! The center of this piece where the fat ends of the ties are so neatly sewn will become the center bottom of the bag. Get it?
SECTION TWO:
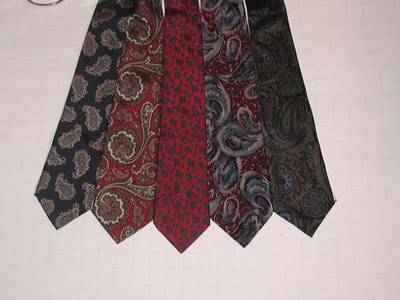
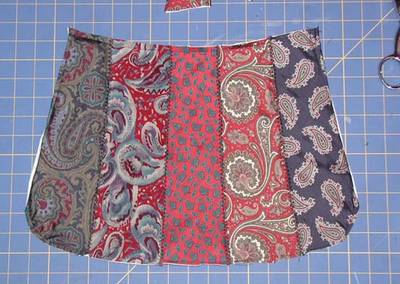
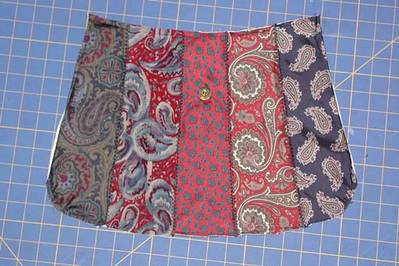
Now we are going to make the pattern for the front and back of the bag. Select five ties from your stash. Arrange them in a pleasing order. Don’t try too hard. Okay. Place them on the large piece of paper with the sides touching. Line up the center tie with a straight line on the graph or newspaper.
Now mark a dot at the inside points between the ties. Trace the slanting sides of the outside ties as well.
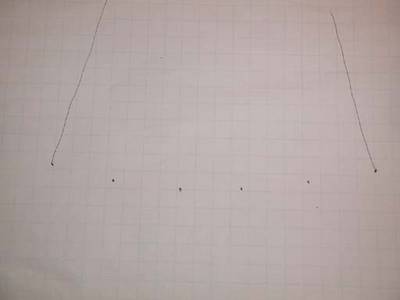
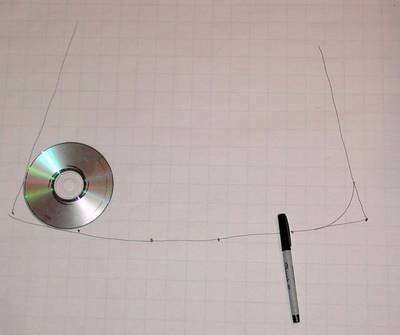
Remove the ties and connect the dots. Decide how tall you want the bag to be. Mine is about 12 inches. Draw a line across the top. Trace a “junk” cd to curve the corners. Oh….Did I forget to put “junk cd” in the supply list? Sorry!
Cut this pattern out. Fold it in half. Trim the sides and bottom to make the shape symmetric. Cut a “smiley” shape out of the top (see photo.)
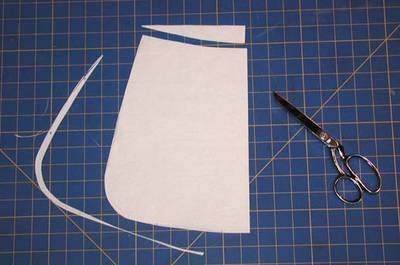
Unfold paper – Voila! Behold your pattern.

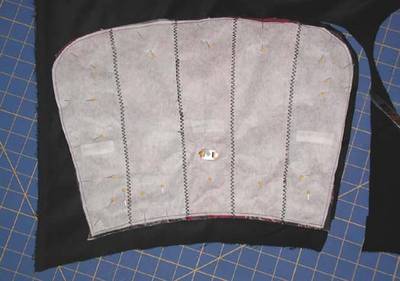
Cut two of these from the heavyweight stabilizer.
Fold the stabilizer in half to determine the center. Mark with pencil. Align the center of the middle tie on this line. Pin this tie securely.
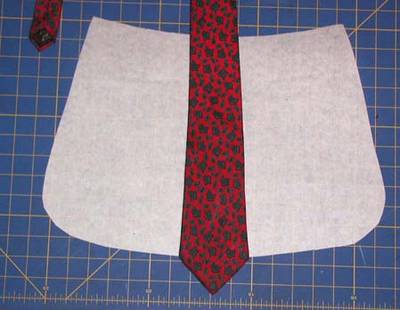
Add remaining ties. Cut them all off well above the stabilizer.
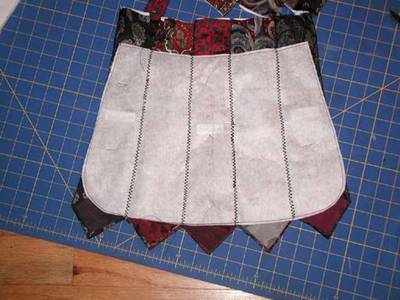
Stitch the ties to the stabilizer with the famous triple zigzag.
Stitch from the front but here is what the back will look like when you are done. Stitch from the front. Not the back. The front.
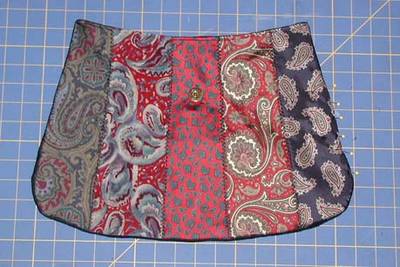
Now trim off the ends and the tops. Pin and stitch all the way around about 1/8 inch in from the edge.
Repeat this section for the back of the bag.
SECTION THREE:
Now we are going to make the flap. Cut your pattern about 6 x 8 inches. Round off two of the corners with the junk cd.

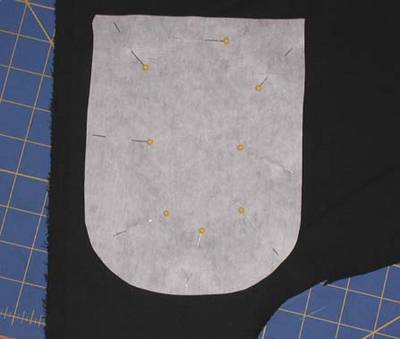
Cut one flap pattern from heavyweight stabilizer.
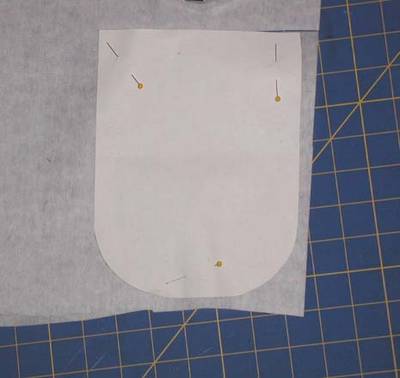
Place stabilizer on the wrong side of the black velveteen, pin, cut out and stitch about 1/8-inch in from the edge.
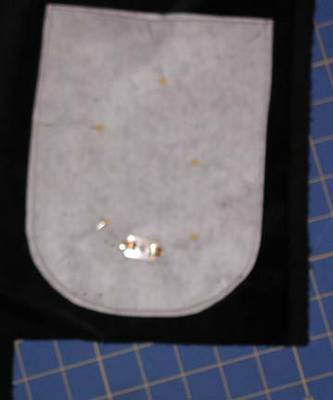
Install the “male” part of the magnetic snap to the flap.

Now place this piece right sides together on another piece of velveteen. Cut out, pin and stitch around the flap leaving the top straight edge open.
Sorry about the blurry image.
Trim seam allowance, turn to right side and topstitch all around the edge.

Choose another necktie to decorate the flap. Center and pin it to the top of the flap. You should still see the magnet on the back.
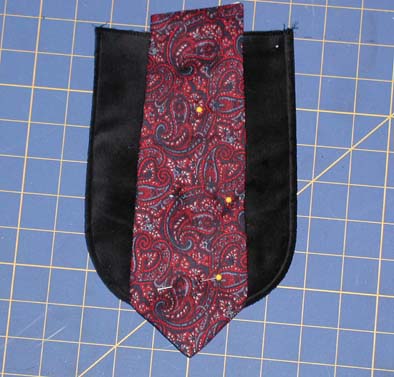
Pin securely and stitch down the sides with the triple zigzag. Add a bartack at the end to secure.
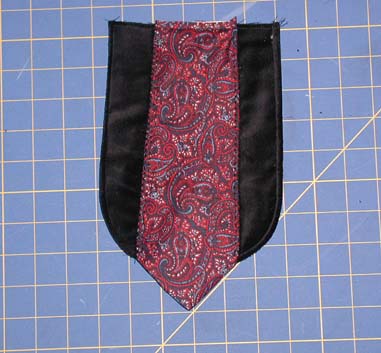
This is the back.

You have completed your flap. Time to take a nap.
SECTION FOUR: The pocket
Time to make a pocket! I use a large index card as the pattern for this.
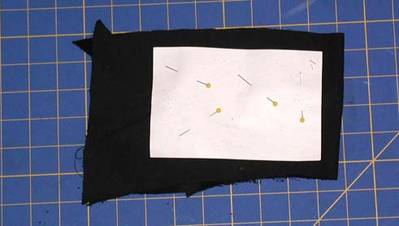
Cut two rectangles, sew with right sides together, leave opening, turn, topstitch the top edge, add tag and yada yada yada – pocket!
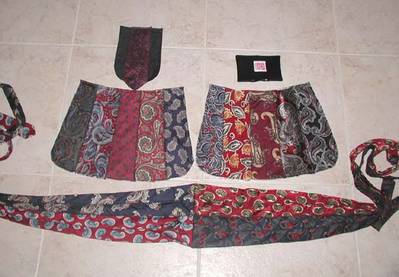
Now to review – we have one long gusset/handle piece, a front and a back, a flap and a pocket, right?
SECTION FIVE:
Now we will line the bag. Ready?
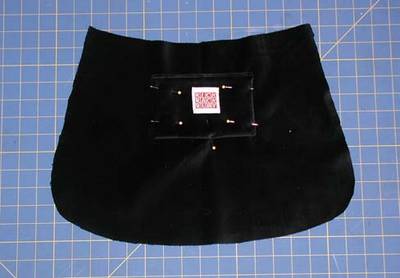
We’ll start with the back. You’ll need the back piece, the flap, the pocket and the lining fabric. Use the back piece as a pattern to cut out a lining piece slightly bigger than the back.

Center and stitch the pocket onto this lining piece.
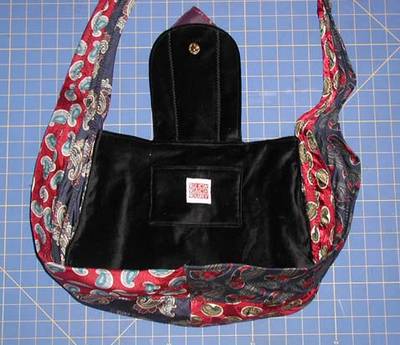
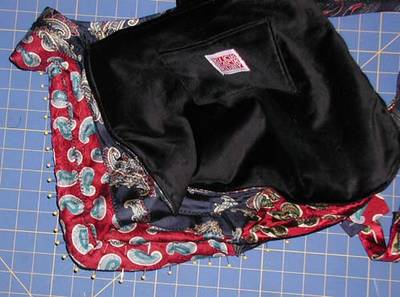
Center the flap right sides together on top of the back piece, pin raw edges together. Pin back lining piece right sides together to back piece with flap piece in between.
I know you can’t really see the flap but it’s in there I promise!
Stitch around the edge leaving an opening for turning. Trim seam allowance and turn to right side. Topstitch top edge. Pin opening closed.
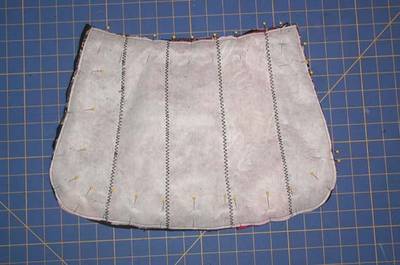
Starting at the center bottom, with right sides together, pin gusset/handle piece to edge of bag back.
Stitch around edge, backstitching at ends. This is the inside.
Now install the female part of the magnet on the center front of the bag.
Cut a lining for the front piece.
Pin and stitch leaving an opening for turning. Turn to right side and topstitch the top edge. Pin the opening closed.
Starting at the center bottom, pin the gusset/handle piece to the bag front.
Stitch around the edge, backstitching to secure.
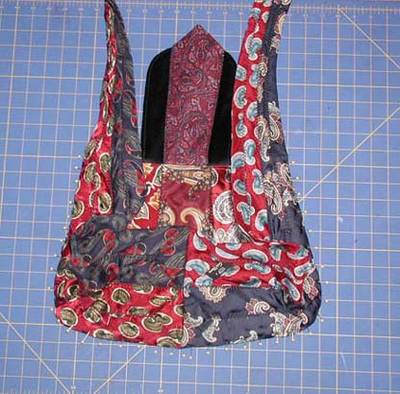
Turn bag right side out – and voila!
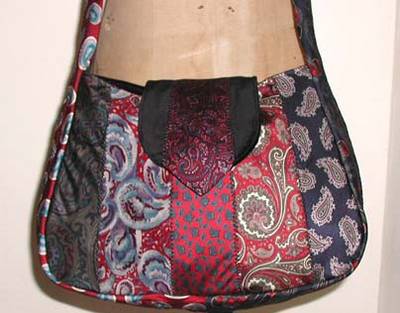
Now, if your ties reek of cologne/cigarette smoke/must and dust – I’d like to recommend a home-dry-cleaning product called Dryel. I use this for all of my necktie projects and it works like a charm. Have fun!
Rick Rack Ruby, USA
PROFILE
Laura Kluvo is a fashion designer in Scottsdale Arizona. She has a blog where she shares some of the things she’s working on. She also presents original sewing and craft tutorials on youtube.
Main Research Source
- Tutorial for Necktie Schoolbag! (02/08/2005)
- Tutorial: Paisley Necktie Schoolbag (01/08/2005)